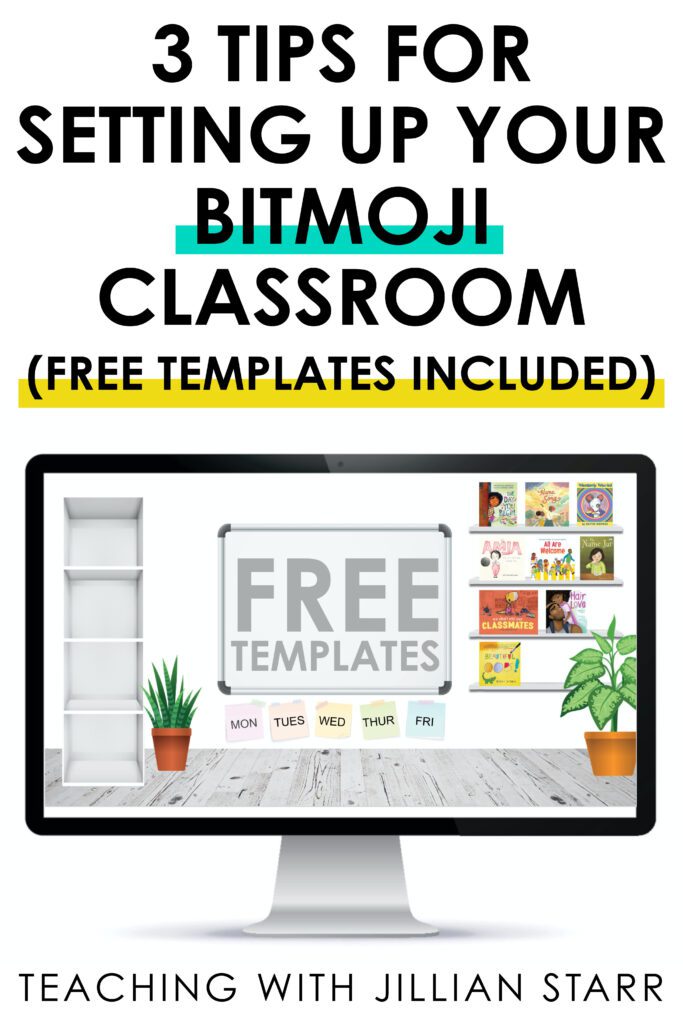
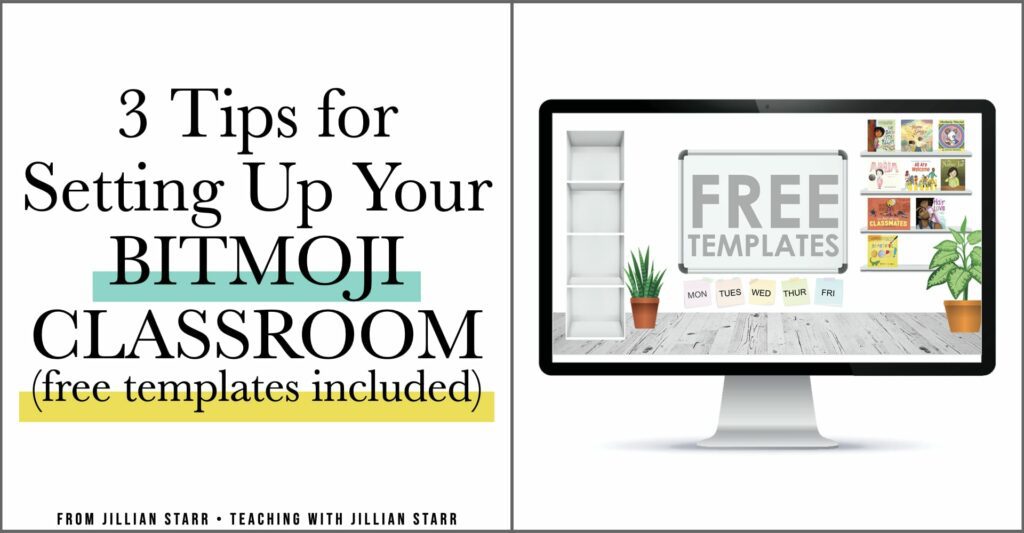
I know so many of us are planning for remote teaching right now, and Bitmoji classrooms designs are popping up everywhere. I love so many of the amazing features of Google™ Classroom, but it can feel OVERWHELMING.
Today I want to share some of my favorite features and some important reminders (and offer you some FREE Bitmoji Classroom Templates!)
Google™ Classroom Tip #1
Just like our physical classrooms, we need to make sure that our Google™ Classrooms are accessible (to both students and caregivers). This might mean adding audio to your slide, or ensuring that you include alt text for all of your images. Why is this important?
For some students and caregivers, reading can prove challenging. Having the ability to listen to directions, a message, or important information can be game changing! It’s also offers a personal connection that allows your students to hear your voice.
For some students and caregivers, alt text can help screen readers identify the images on your slides. This is really essential when you’ve created resource libraries or slides with clickable image links. All you have to do to add alt text is: Select an image > right click > alt text. Then type in the image descriptor and you’re good to go!
Adding alt text helps screen readers identify the images on your slide. This is especially important if you’ve created a resource hub with clickable links. To add alt text, select an image -> right click —> alt text.
Google™ Classroom Tip #2
When creating your bitmoji classroom, embed a Google™ Slide presentation with clickable links to create a “clickable home screen”. This can allow you to create amazing reference tools for your students! Some examples:
- Create libraries by adding book covers and linking them to read aloud videos.
- Create information portals for families filled with essential contact information and helpful links.
- Create math tool kits for students access manipulatives and math supports to assist them ini completing their work (see below).

Click HERE to check out these math mats and digital math manipulative libraries!
The awesome thing about Google™ Slides is that you can link to outside URLs as well as link to other slides within your presentation!
There are two ways to create clickable images in your Google™ Slides:
- If you have a google slide set as your background image that *ALREADY* includes your images, you simply need to create a shape and place it over the image you wish to link. Then, you will want to make that shape transparent, so go to change the color (the little paint bucket), click “custom”, and then slide the transparency bar all the way to the left. You can now right click on the transparent shape and add your link.
- If you have an image set as your slide background, but then wish to overlay new images, go ahead and do that first. These can be pulled from the internet or your hard drive. (Just make sure you use PNG formats with transparent backgrounds or you will have a white box around it.) Then right click on the image and add your link.
When you have your Google™ Slides all linked up and set, you just need to embed the presentation into your Google Site! To do this:
- Click on the share setting to copy your link.
- Change the end of the link from /edit to /preview?rm=minimal.
- Within your Google Site, go to Insert > Embed, and then copy and paste that link. Your clickable Slide should load and voila!
Google™ Classroom Tip #3
Similar to our physical classroom, we want to be REALLY mindful of overstimulating our students. That means ensuring that we do not clutter our pages with too much text or imagery.

As someone who has spent their whole life dealing with dyslexia, ADHD, and sensory processing issues, I can tell you that I clean, distraction free spaces are crucial (even online!). So what might this look like?
- Use calming, neutral colors as your background color, as bright colors can be very overstimulating.
- Ensure that you are using clear fonts. While I love a cute font, it can provide road blocks for many students, including students with dyslexia and our emerging bilinguals.
- Keep things clutter-free. Rather than having ALL of the things one page and creating visual overwhelm, create simple, inviting slides (they can still be aesthetically pleasing) but create clickable links (from tip #2) to spread out the information.
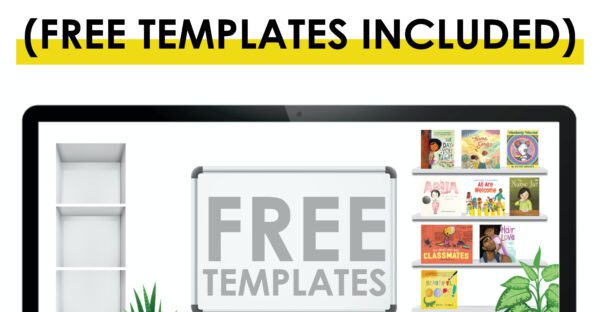
Want some FREE templates to help you out? I’ve created a few templates with different calming background colors and clean, streamlined elements to help you get started!
Happy Teaching!