
“Elapsed time” isn’t a phrase you hear much outside of school, but it is a skill we use all. the. time. If I leave now and it takes me 37 minutes to get to work, will I be late? Or, gymnastics starts at five and we need to have dinner first, which usually takes 45 minutes, so I should have dinner ready by four so we make it on time. Or something like, if the movie starts at 1:20 and is an hour and forty-two minutes long, we’ll be done just after three. You see what I mean? It’s everywhere!
Calculating elapsed time – how long something will take, what time it will begin, and what time it will end – is an extremely useful skill in real life and an expectation starting around 3rd grade.
Introducing Elapsed Time
When introducing elapsed time, I find it very helpful to do so with real-life contexts and as authentically as possible. Even outside of our time unit, I try to use phrases such as, “We will have math for 1 hour and then it’s time for recess. It’s 10:15 now, so what time will we head outside?” When I’m working with a small group, I might say something like, “If I need to see my next group at 1:20 and it’s 1:07 right now, how long do we have?”
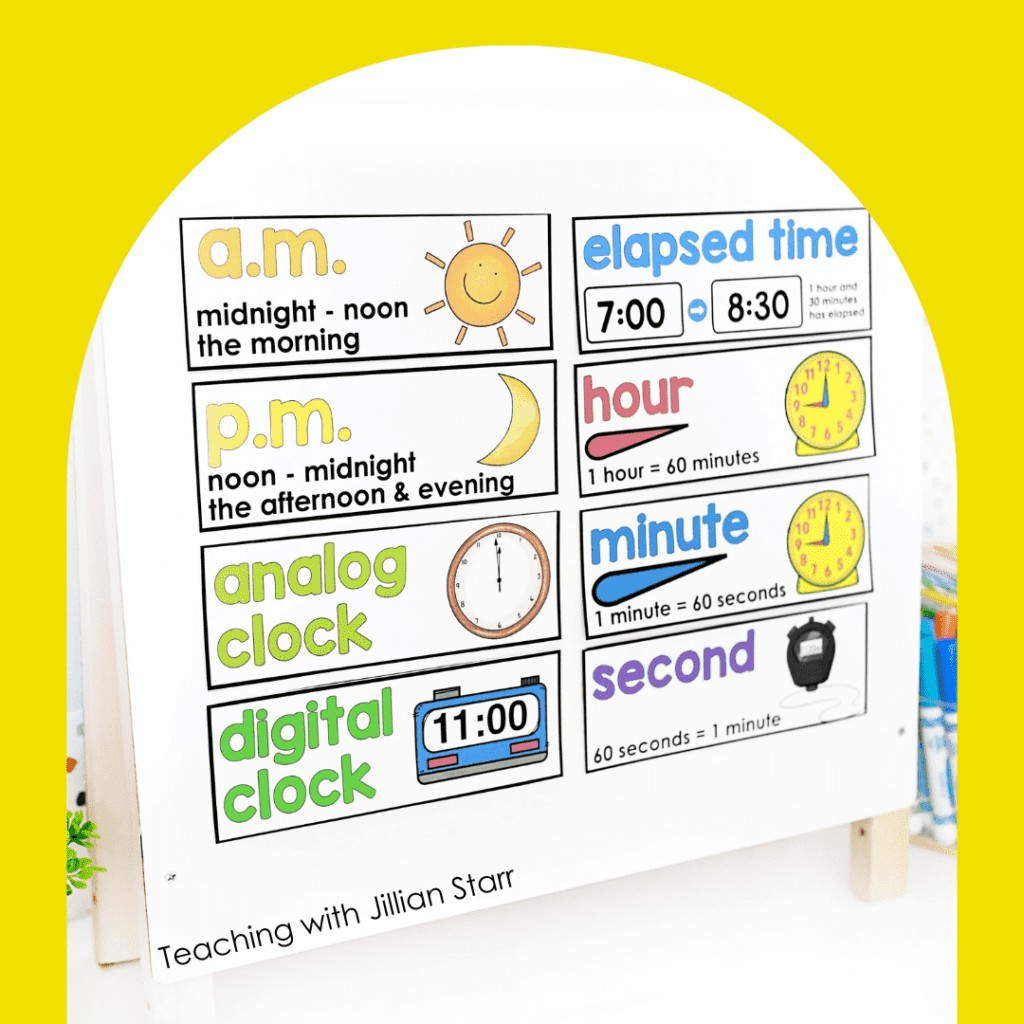
These authentic contexts give students meaning for learning the skill, increasing motivation and engagement. Besides discussing elapsed time in context, let’s dig into four strategies for teaching elapsed time: using manipulatives, an open number line, a t-chart, and, of course, playing games.
Elapsed Time Strategy #1: Manipulatives
You might be able to guess my favorite manipulative for teaching elapsed time: Judy Clocks! I love those clocks for so many reasons. They are durable, perfect for small hands, and well-designed to be easy to read. Not only that, but they have versions that have different color hour and minute hands as well as versions where the hour hand moves with the minute hand just like a real clock! They are so useful for teaching time in general and an incredible resource for elapsed time.
Calculating elapsed time is an abstract concept for students, even those who may already be independently telling time, and using clocks helps shift this skill from the abstract to the concrete.
Let’s consider this problem: Sonia rode her bike home from the park. She left at 1:13 and got home at 1:28. How long did it take her to get home?

When solving this problem using Judy Clocks, I use the power of partners. One partner sets their clock to 1:13 and one to 1:28. Next, students use the strategy that feels best to calculate the elapsed time. Some students will count each minute in between, while others will jump to 1:20 using fact fluency (13 + 7 = 20) and then use the strategy of adding on to get 1:28. Regardless of strategy, the ability to physically manipulate the minute hand really helps students “see” the passage of time.
Another type of problem we might work through is one that gives one precise time and the elapsed minutes. For example: Sonia left the park at 1:13. It took her 15 minutes to get home. What time did she get home?
Using a Judy Clock, students first show the given time. Then, they can move the minute hand to show that 15 minutes have passed. As with the previous problem, students can approach this in multiple ways. Some students will count each minute while moving the minute hand. Others will decompose the 15 into 7 minutes and 8 minutes to jump from 1:13 to 1:20 and then 1:20 to 1:28.
With both types of elapsed time problems, I eventually want students to use the more efficient strategy of benchmark numbers, but to start, any strategy will do!
Elapsed Time Strategy #2: Open Number Lines
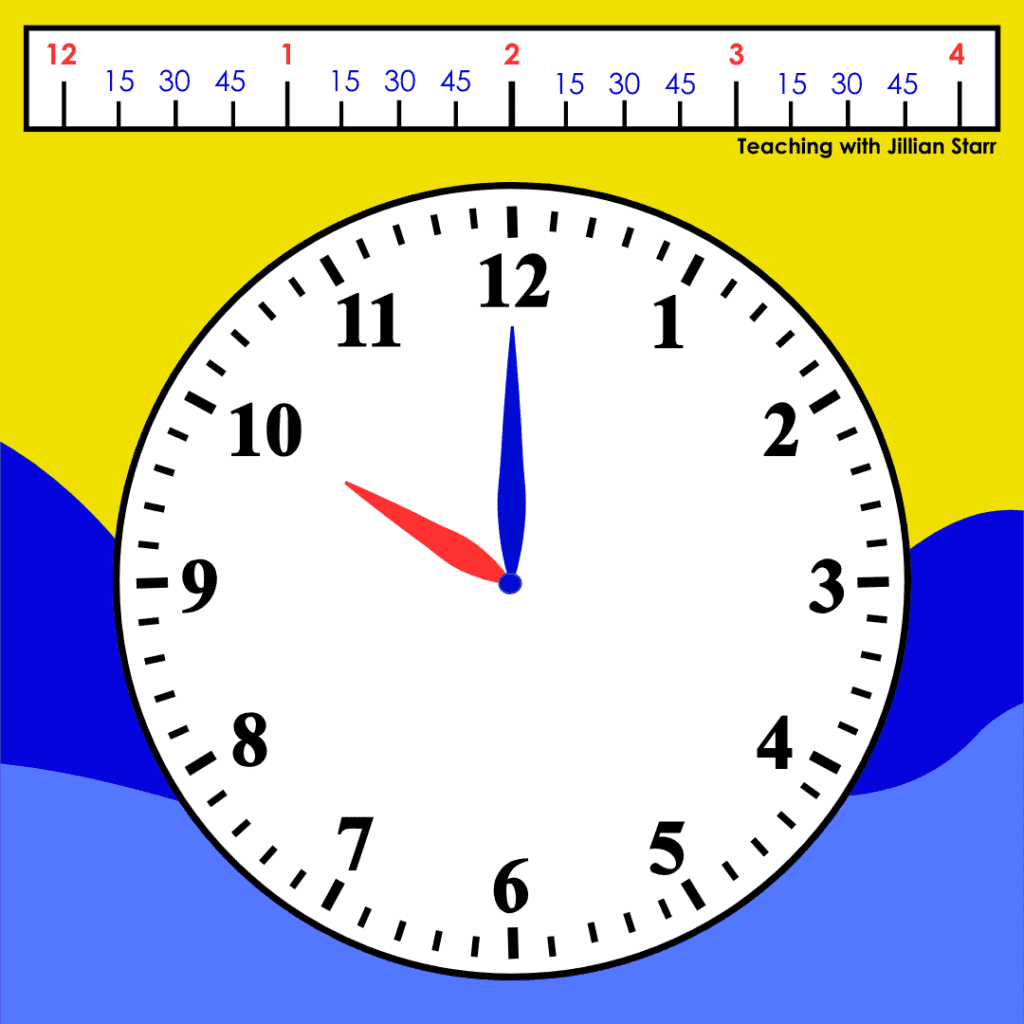
Once students are ready to move on to a more abstract representation of elapsed time, it’s time for open number lines. Students are usually familiar with these from their work with addition and subtraction. I start by showing an analog clock with all of the minutes labeled with tick marks alongside a number line labeled with hours and minutes. I make sure the number line has a point at the time shown on the clock. Next up is my favorite part: opening the conversation to students and asking them what they notice and wonder. This is where we really get to dig into their great thinking!
During this warm-up time, students will often notice the similarities between the images: both have tick marks, both have the numbers 1 – 12, etc. This lends itself wonderfully to a discussion on how we can use the number line representation to add or subtract times.
So how do students do this work? Below are two images of how students use a closed and open number line to solve the elapsed time problems we looked at earlier. I always make sure to remind students to jump to benchmark numbers, or times in this case, to make calculations easier. What are Benchmark times you might ask? Benchmark times are hour, half hour, ten, and five-minute times like 2:00, 3:30, 4:10, and 5:05. Let’s see what this looks like:
Sonia rode her bike home from the park. She left at 1:13 and got home at 1:28. How long did it take her to get home?
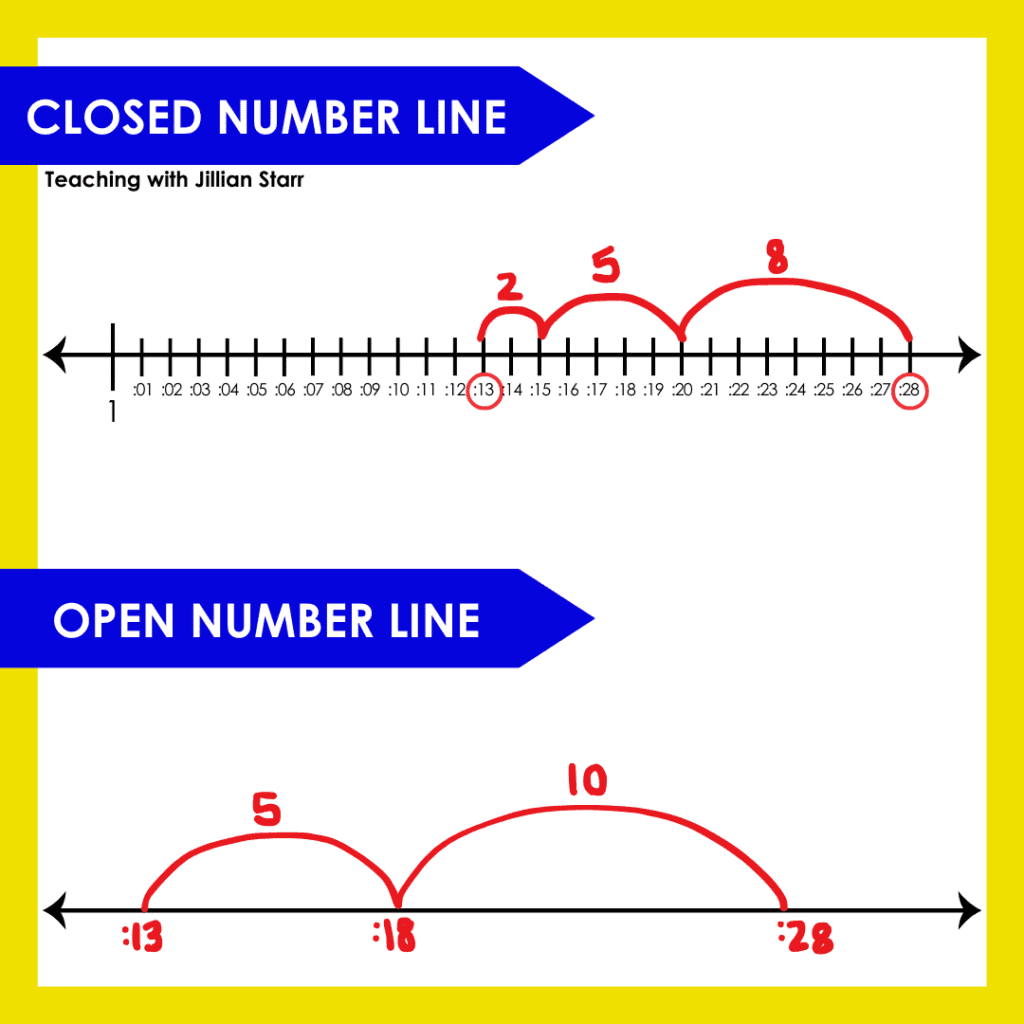
Sonia left the park at 1:13. It took her 15 minutes to get home. What time did she get home?
Elapsed Time Strategy #3: T-Charts
A t-chart is even more abstract than the previous two approaches to solving elapsed time problems. T-charts function a lot like an open number line in that students use benchmark times to make calculations easier. On the left side of the chart, students record the times, and on the right, they record the time that has elapsed between those times. Let’s look at these problems one more time and how we use t-charts to track our calculations.
Sonia rode her bike home from the park. She left at 1:13 and got home at 1:28. How long did it take her to get home?
| 1:13 | +7 min |
| 1:20 | +8 min |
| 1:28 |
In this t-chart, we start at 1:13 and know that we have to add on until we get to 1:28. We added 7 to get to the benchmark time of 1:20 and then 8 to get to 1:28. Finally, we add 7 and 8 to get the elapsed time of 15 minutes.
Sonia left the park at 1:13. It took her 15 minutes to get home. What time did she get home?
| 1:13 | +2 |
| 1:15 | +10 |
| 1:25 | +3 |
| 1:28 |
In this t-chart, we start at 1:13 and we know we need to add 15 minutes and the result is our ending time. First, we added 2 to get to the benchmark time of 1:15. Then we added 10 to get to 1:28 and another 3 to get to 1:28, the time she got home. One way for students to check their work is to ensure that they added the correct amount of time to their starting time. In this case, we know we added 15 minutes because 2 + 10 + 3 = 15.
As you can see, t-charts help students keep track of the numbers they are working with and also provide an organized way of showing their thinking.
Elapsed Time Strategy #4: Games
You know how much I love games for practicing all kinds of skills and they work great for practicing elapsed time too! Classics like Kaboom and Scoot are fun and also allow kids to practice calculating elapsed time.
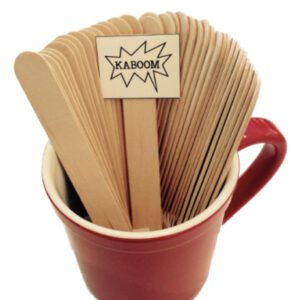
To play Kaboom, kids pick sticks (or cards) with problems to solve. As they solve problems, they keep their sticks but if they get a stick that says Kaboom, they have to put them all back. The addition of the Kaboom stick is what makes this game really fun!
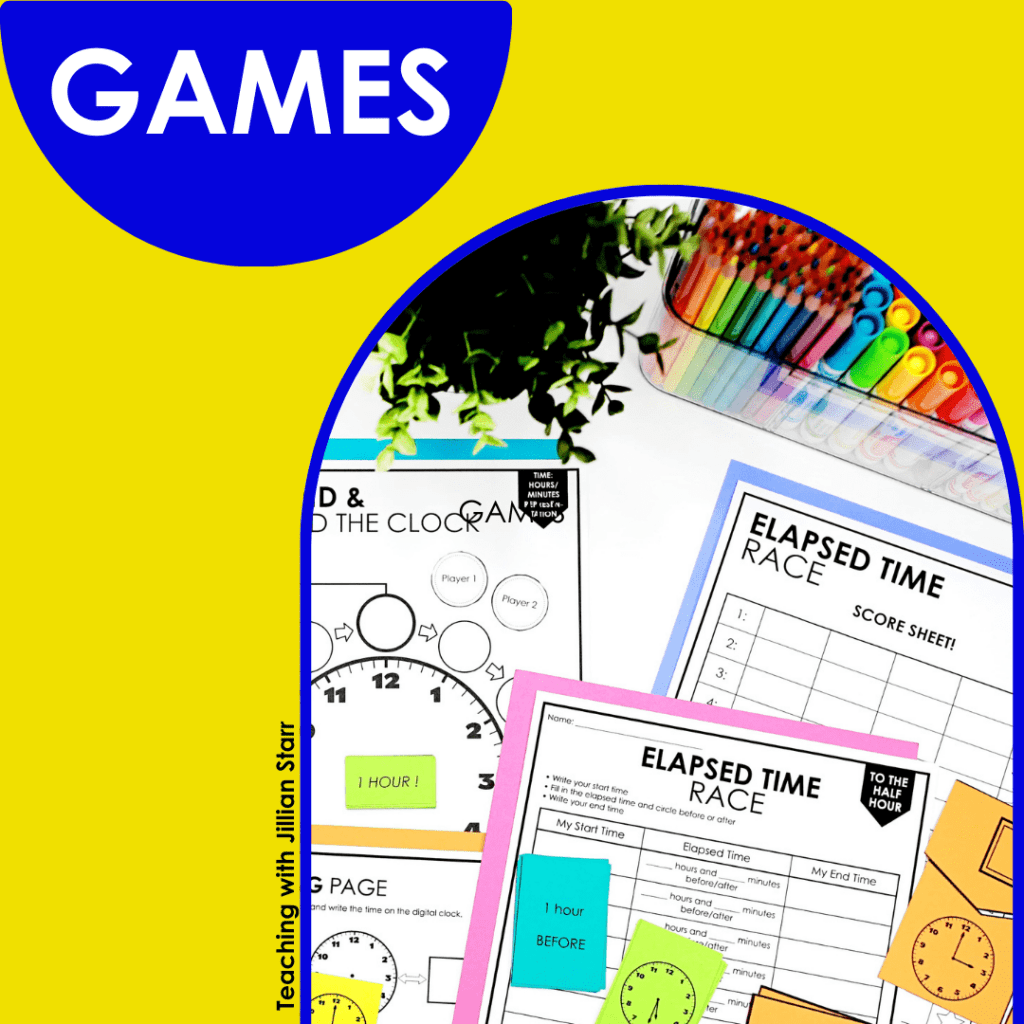
Scoot is an activity where you set out task cards around the classroom and students scoot from one to another solving problems. As we all know, movement around the room always adds novelty and fun to practicing skills.
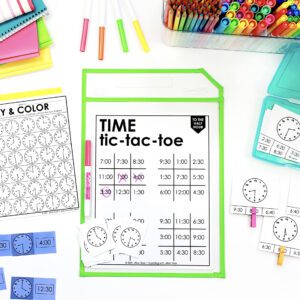
If you’re wondering where to get these games and activities, don’t worry, I’ve got you covered! My Time Centers Mega Pack has a Kaboom game with elapsed time problem options as well as Elapsed Time Race, another fun game. It also includes a ton of other time center activities for some additional practice with telling and elapsed time.
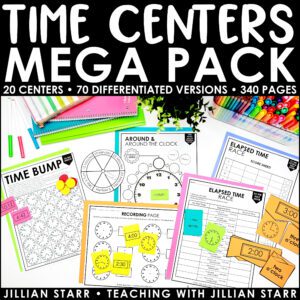
Time Centers Mega Pack
Do you have other strategies for teaching elapsed time or have you had success with any of these strategies? Share in the comments! I can’t wait to hear from you.




Leave a Comment