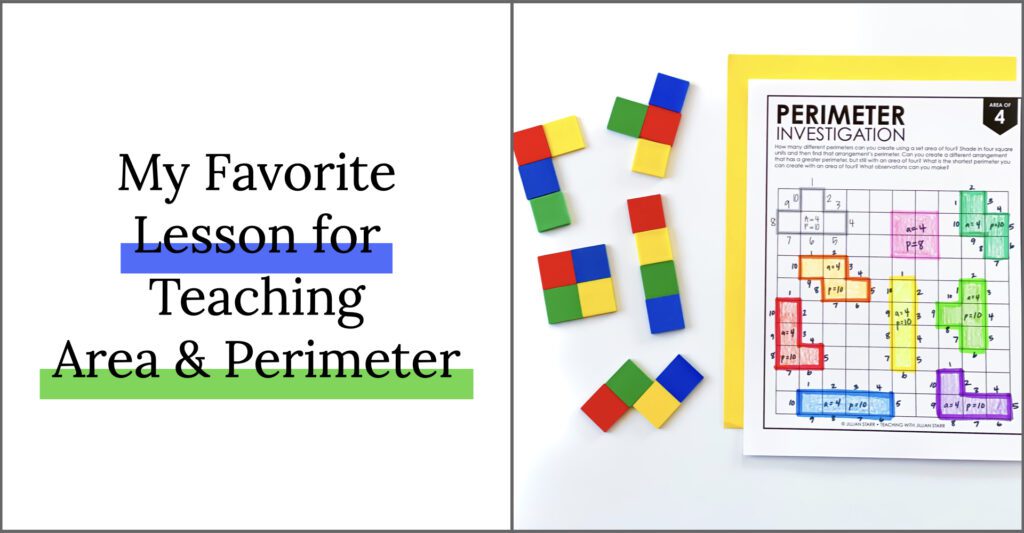
Area and Perimeter can be such a fun unit, filled with projects and real-world applications. I love how the concept of area naturally builds off of our work with arrays and multiplication! However, learning perimeter is often where I would start losing some of my students. That is until I came up with my favorite lesson for teaching area and perimeter to my scholars.
I’m going to share it with you today and hope that it helps your students latch onto these concepts from the beginning.
Materials for Area and Perimeter Lesson
- Square color tiles for hands-on practice
- Recording page or graph paper
- Colored pencils or highlighters
- Pencil
Lesson Introduction
To start, give each student four square tiles. (If you don’t already know, they are my favorite area and perimeter manipulative.) Ask students to make a rectangle with their four square tiles. (Some will make a 2×2 array, while others will make a 1×4 or 4×1).
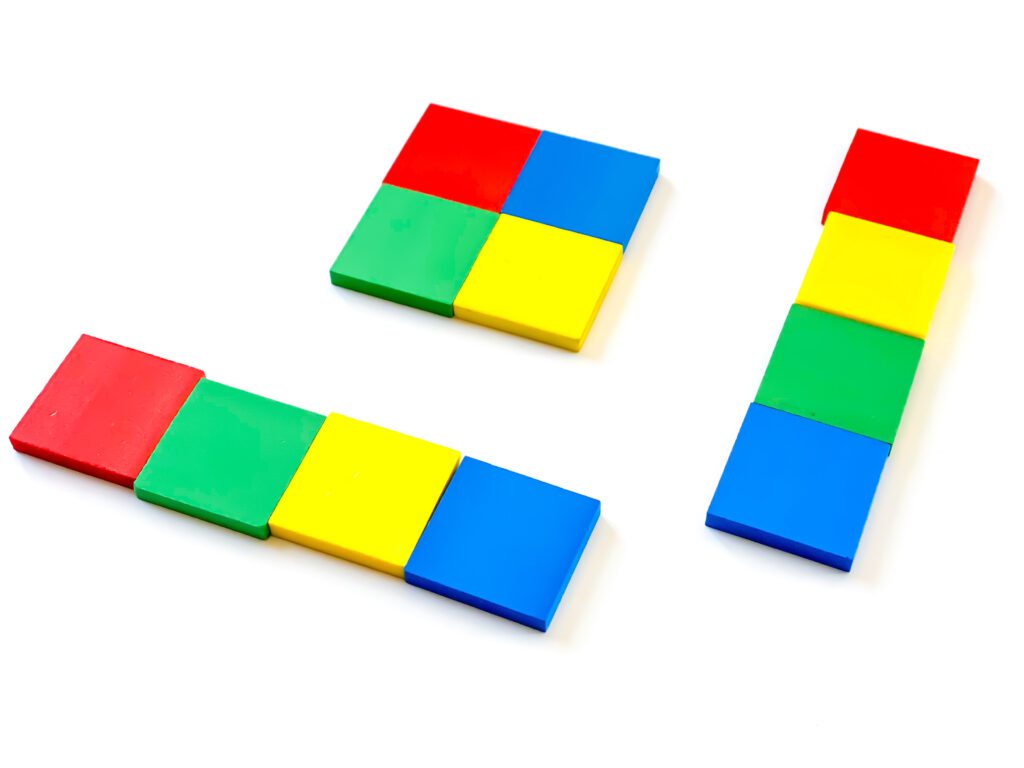
Now it’s time to begin defining area. “How many square tiles were needed to make your rectangle? Your rectangle has an area of four square units. Area is how we measure the space inside a figure. We use square units because we are measuring more than how long something is. Now we are measuring how much surface space it takes up, and we can do that with square units.”
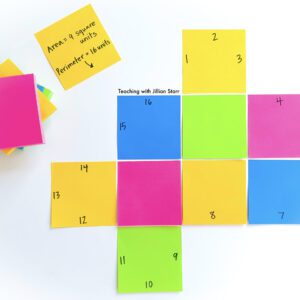
Then I ask students to trace the outside of their rectangle with their finger, and count how many sides of the square tiles they pass. I ask for volunteers to share their answers. I draw a model of their rectangle on the board and show how we count and keep track of each unit we pass.
Students are amazed to find that we arrived at 8 with some rectangles/squares, but 10 with others. What was happening?
This is where we define perimeter. “Perimeter is the distance around the outside of a figure. Some of your rectangles have a perimeter of 8, but others of you have a perimeter of 10. Why do you think that is?” I give students time to think and discuss together and write their ideas on the board.
Area and Perimeter Pack
Manipulating Perimeter with Fixed Area
After students have a visual reference of area and perimeter, and have had time to ask questions and clear up misunderstandings, we are ready to begin manipulating the perimeter.
I restate that with their four tiles, they have an area of four square units. It doesn’t matter how they arrange them on a flat surface, they will always have an area of four. However, we’ve found that you can have the same area, but different perimeters. Are there other configurations that you can create with these four tiles? What is the perimeter of those figures?
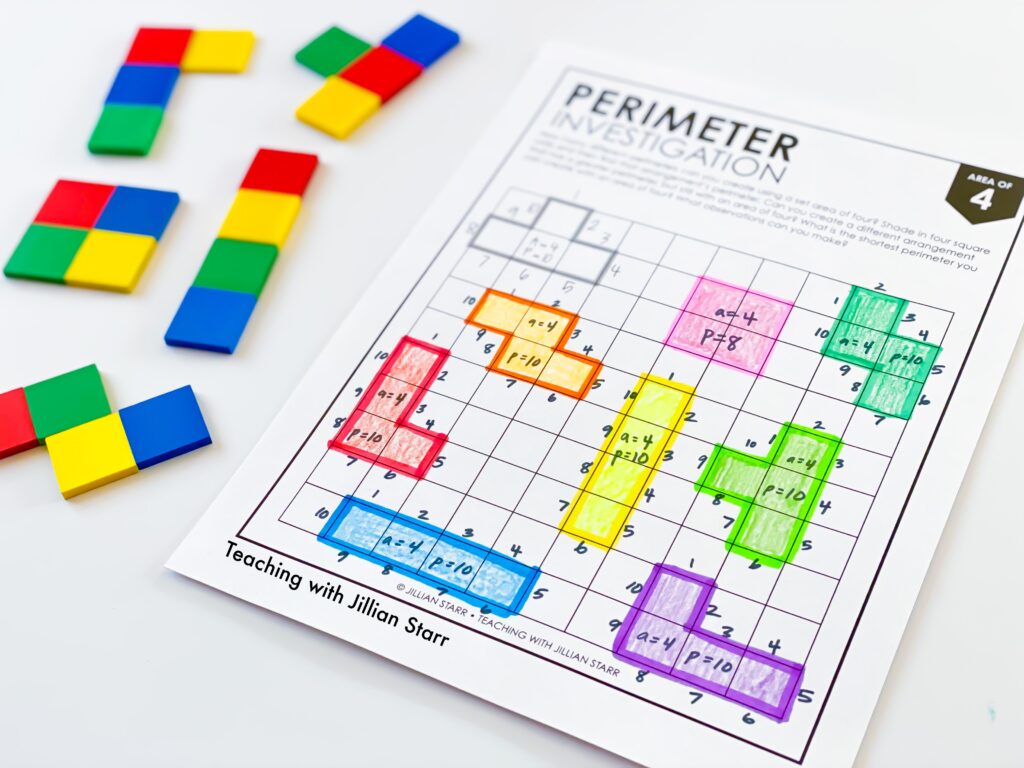
I give students ample time to begin manipulating their tiles to create different arrangements. The only rule is that each square must be touching another on at least one side.
I like to use a recording page to help students track their work. A bonus to this is that there is an example on the page where the arrangement is clearly outlined, and the perimeter is tracked. This way, students always have a visual reference right in front of them.
Regroup to Share Observations
After having them explore multiple arrangements, I like to come back together for a discussion. I use guiding questions to encourage new discoveries:
- Do you think you can make a greater perimeter with this same area?
- What is the shortest perimeter you can create with an area of four?
- What observations can you make?
Investigating Area and Perimeter Independently
If you feel like your students have really grasped the concept of manipulating perimeter with a fixed area, you can allow them to explore other fixed areas. I leave recording pages for different areas (5-9) and give students independent time during math centers to continue these explorations.
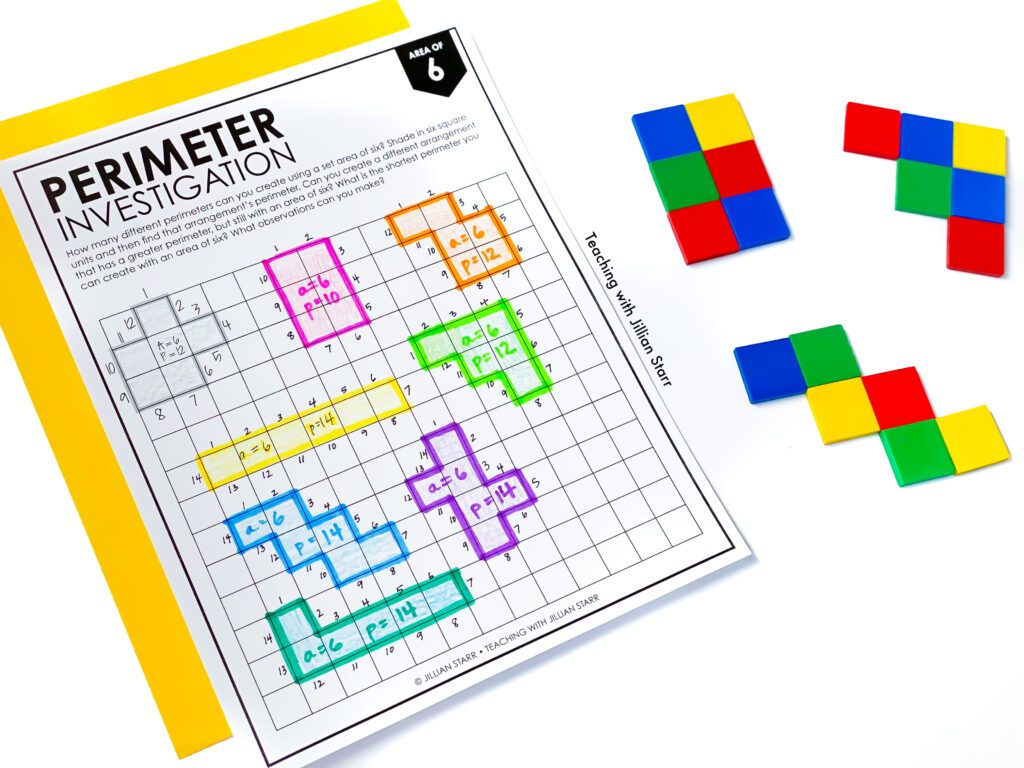
It’s so much fun to see them get up into larger areas and how dramatically they can alter the perimeter with certain shifts! Having them record their findings helps with accountability, but also makes sure that we hold onto all of their ideas so they can share their work with others.
Take Area and Perimeter Deeper
To strengthen this lesson on area and perimeter, create an anchor chart that records the different configurations of each area (e.g. one chart that includes all of the arrangements of four, one chart for five…etc.). During a math talk, give students time to observe these collections, and see what observations they come up with. Perhaps they’ll notice that the shortest perimeters come with square figures, the longest perimeters come with prime array arrangements, and more!
I hope this lesson to teach area and perimeter helps you and your students! It’s truly been a game-changer for me, and I would love to hear if it is for you too!
You can find the recording pages and four other fun area and perimeter activities HERE!


This terrific stuff. It makes me fall in love with math. And that is what I want to invoke in my students. Thank you,