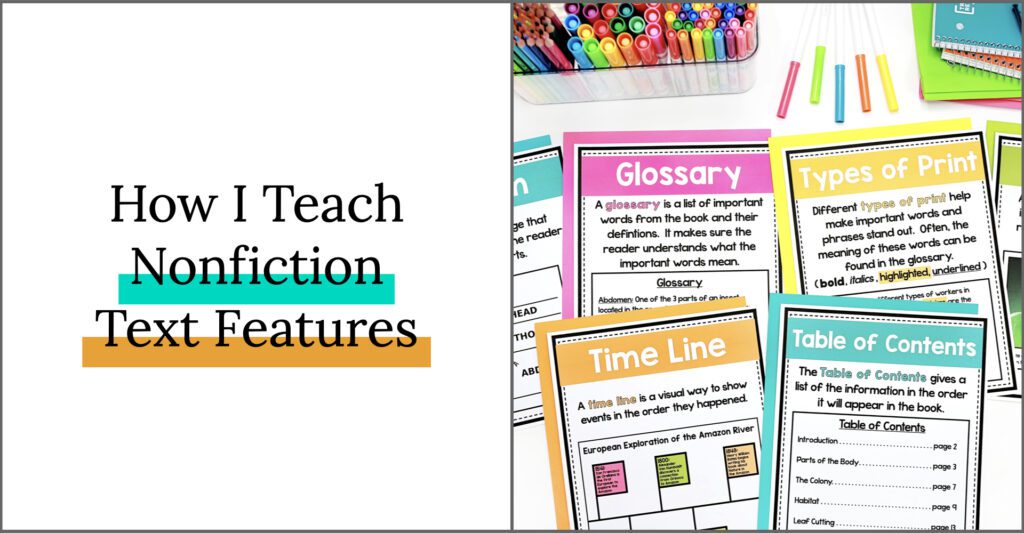
My students get so excited about reading and discussing nonfiction texts! Let’s take that student excitement to the next level for all learners, by helping all of our students really understand nonfiction text features.
Why Nonfiction Text Features?
Nonfiction text features play a huge role in how our students understand this genre. Understanding and engaging with these features is a key skill for our students. Our students will need to be able to effectively and efficiently use these skills well beyond elementary school. Explicitly teaching these vocabulary and reading skills is a key component to building their confidence and excitement. With these skills solidly in their back pockets, our students will be able to:
- Effectively research topics
- Efficiently find topics and vocabulary words in a book
- Learn even more from their nonfiction books
- Pay careful attention to maps, charts, photographs, and captions
- Talk about their nonfiction reading using accurate vocabulary words and details
Today, we’re digging into:
- How I introduce nonfiction text features to my students
- How to support students in practicing and reinforcing these skills
Small-Group Lesson
I introduce nonfiction text features in small reading groups. When we plan small groups, we can choose nonfiction books based on student interest and reading levels. This way, students are engaged with the topic and able to read the books.
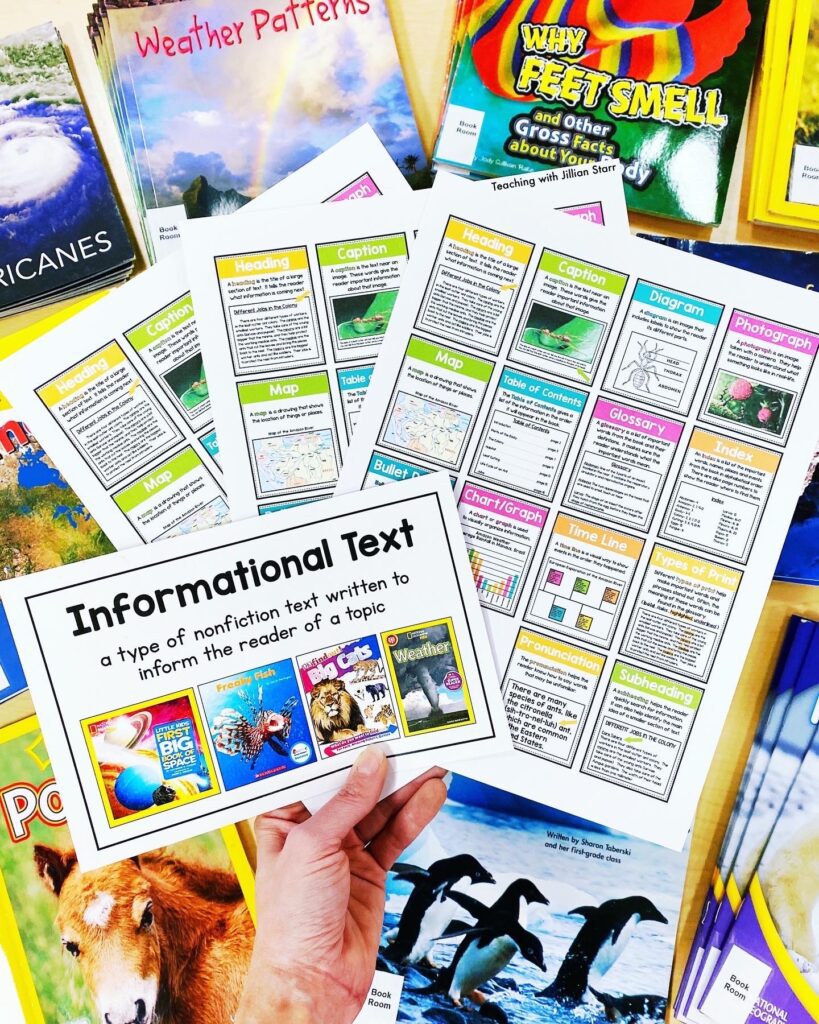
I prepare our anchor charts ahead of time and conveniently display them right behind my teacher table. I also make a student reference sheet by printing out the anchor charts all on one page (in the printer settings, click 16 pages per sheet). This way students can keep a personal nonfiction text feature reference page close by.
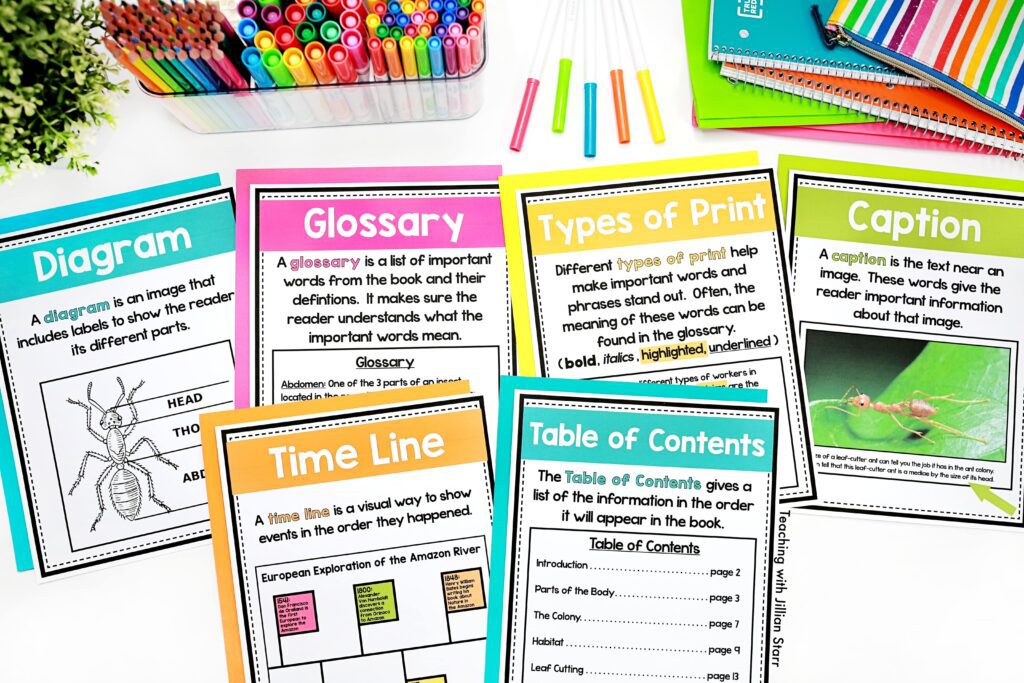
At the teacher table working in small groups, students are able to:
- See the examples and anchor charts
- Hear and say the new vocabulary words
- Accurately point out the nonfiction text features in their books
- Participate in the small group conversation
As a group, we read the text and point out the different features as we read. We discuss what they are, and how they support the reader. We point them out on our anchor charts, too.
Nonfiction Text Feature Hunt
The next time we meet in our small groups, I want my students to have an opportunity to practice finding, identifying, and using nonfiction text features independently, yet with the support of the small group format. A nonfiction text feature hunt is an engaging way to do just that.
The Set-Up
To introduce the hunt, I pop a student reference sheet of the nonfiction text features into a sheet protector for each student (yay for easy dry-erase). After a quick review, I give students the rest of the supplies for the hunt:
- A new nonfiction text (selected based on student interest and reading level)
- A stack of post-its
- A dry-erase marker
I model the expectations for the hunt with my own book, finding and marking one or two nonfiction text features, and then I ask students to give it a try on their own.
The Text Feature Hunt
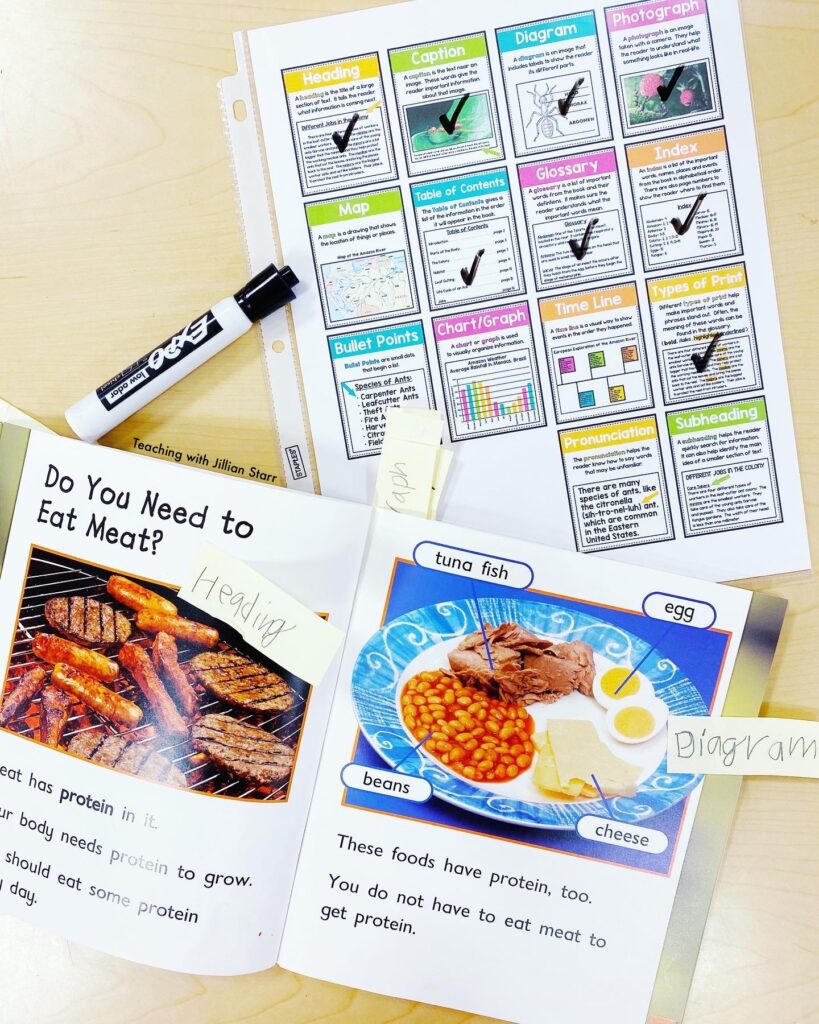
Students begin reading their books and looking for nonfiction text features. As they find a feature, students:
- Write the name of the feature on their post-it note
- Place the post-it note on the corresponding page in their book
- Write a checkmark over that nonfiction text feature on their reference sheet
- Continue until they finish the book
After the Hunt
When students finish their books, we discuss:
- The features that they found
- Where they found them
- How those features would help readers
Nonfiction Text Features
For early finishers, I have a few options:
- Go back through the book looking for repeats of text features and adding additional checkmarks (some books have multiple photographs and captions, for example)
- Complete a second hunt using another book
After these two meetings of each small group, I usually have a good understanding of my student’s confidence with nonfiction text features. Each student has had the opportunity to learn together with the small group and practice working with nonfiction text features independently yet with support. If some students and groups need a little more practice with these features, we may repeat either of the activities at our next group meeting. Otherwise, students are ready to reinforce these skills independently during literacy centers.
Literacy Centers
During Literacy Centers, I offer a few activities for students to practice these skills independently or with a partner.
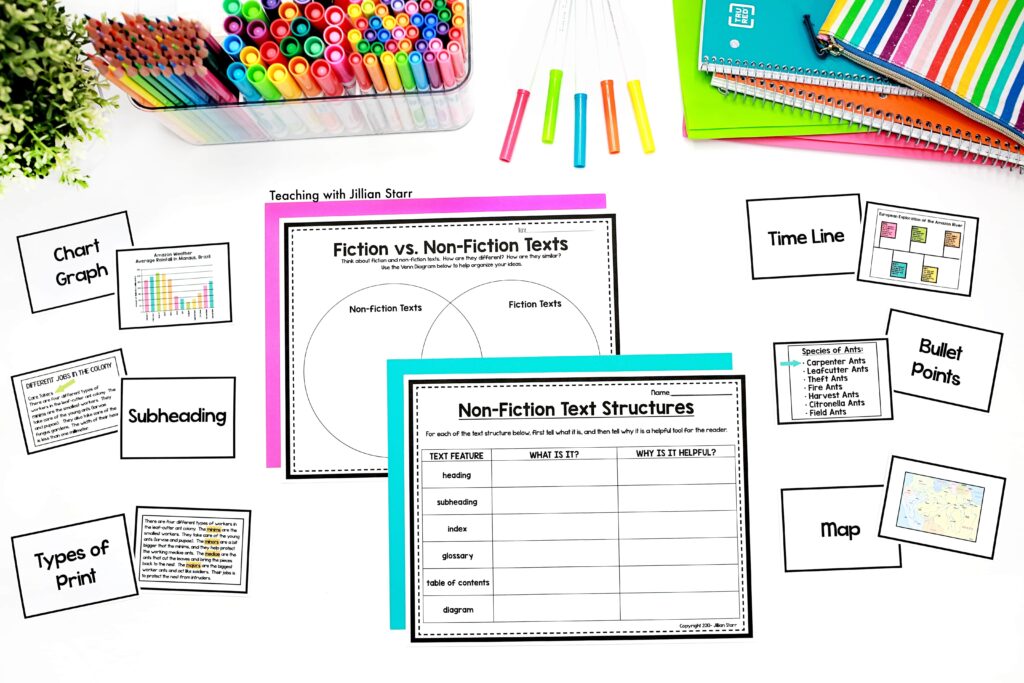
Text Feature Matching
For this center, I provide students with a deck of nonfiction text feature cards. The cards have the name of the feature on one card, which corresponds to another card in the deck that describes the feature. Students work independently to match the feature to its definition or can play Memory or Go Fish with a partner.

Independent Text Feature Hunt
Students can repeat our text feature hunt with another book of their choosing (either from their book bins or from a bin of nonfiction books placed in the center.) Along with their chosen book, students use a copy of the student reference page of nonfiction text features, post-its, and a pencil. Students write the title of their book on their reference page, go through the book, label the text features in the book with a post-it, and then check it off or write the page number on the reference sheet.

Writing About Nonfiction Text Features
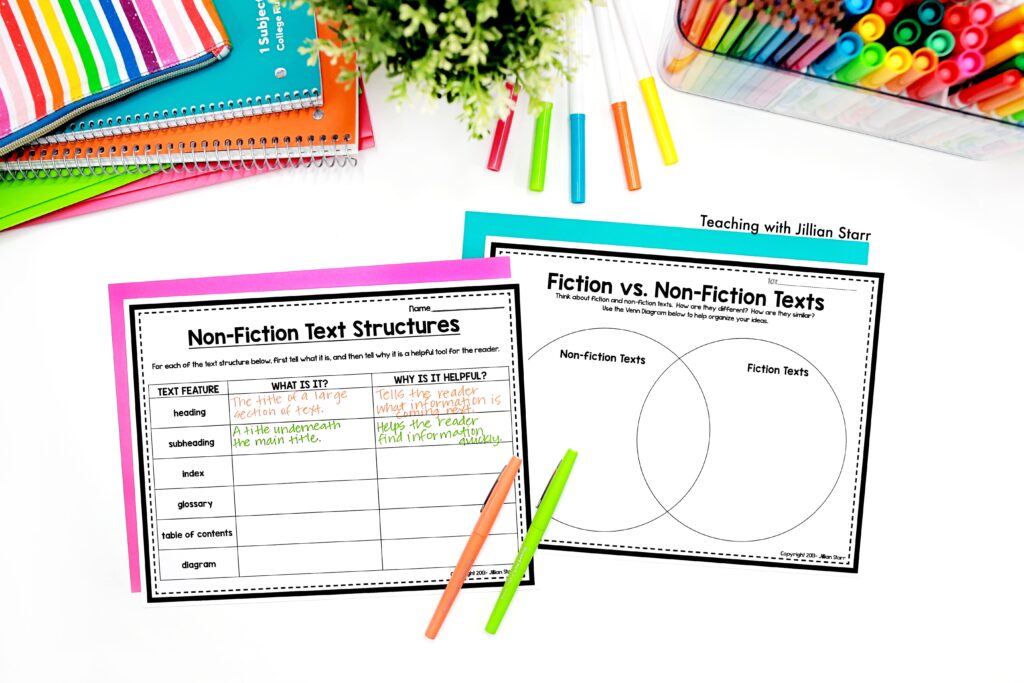
As a review or culmination of our study of nonfiction text features, I give students the opportunity to use their own words to define the features and their purpose. I provide students with a recording page listing the nonfiction text features we’ve learned about, and students write the definitions and explain why they’re useful.
When I do this activity in the younger grades, or with my students that are earlier in their skills or confidence with writing, I provide:
- sentence starters
- word banks
- pictures from our student reference sheet for students to cut and glue to match the feature with its corresponding image

Nonfiction Text Features All Year Round
We know from experience and what the research tells us, that the more we model and discuss key vocabulary and background information, the more our students will understand it and confidently engage with the material. So you better believe that nonfiction text features are not just highlighted for two weeks or one unit a year. I make it a point to highlight these features in just about any nonfiction read-aloud that we do.
When I come across a nonfiction text feature during a read aloud, I make sure to:
- Name the feature
- Point to the feature- or show it on the document camera
- Point out the feature on our anchor charts
- Share how this helps me when I’m reading
- Encourage student participation in this conversation (What is this nonfiction text feature called? How does this caption help me? Where could I look in this book if I wanted to know what page to find more information about what elephants eat?)
By intentionally pointing out and discussing these features in read alouds throughout the year, my students:
- are often familiar with many of them by the time we start talking about them in small groups
- gain repeated exposure to these features
- engage with features in books that may be at a level higher than they can read independently
- are encouraged, through modeling and class discussion, to take the time to carefully observe and learn from text features


Nonfiction Text Features
I hope this gives you a few ideas for supporting your students with nonfiction text features. Do you have a favorite way to introduce or practice this concept with your students? I’d love to hear about it!



Just bought this on TPT and I’m so sad because I don’t get the “recording page” with the graphics. On the PDF format they each take a page and when I try to export it as multiple per page, I can’t export the PDF.. Was really looking forward to this so that’s a bummer.
Hi Katherine!
If you’re referring to the page where the posters are smaller and fit to a single page, let me explain how to do it. You don’t have to change the format in the PDF (you actually cannot, because the files are protected). When you go to print, under “sizing and handling” simply select “MULTIPLE.” Select the page range you would like, and then select “16 per page.” That is how I made mine. Let me know if you need anything else.
What a simple, but genius idea to have students compare and contrast fiction with nonfiction! Not only is this good writing practice, but it also helps them to become more aware of text features in general. LOVE all these teaching tips. 🙂