Last week we tackled a highly debated topic in the elementary math world: to post or not to post a multiplication table. In third grade, students should develop a conceptual understanding of multiplication, and the use of a multiplication table can hinder that process. After all, the purpose of learning multiplication is NOT to memorize facts.
Yes, we want students to develop fluency with multiplication facts, but that fluency comes only AFTER conceptual understanding has been developed and students have internalized efficient strategies that naturally lead to fluency. Instead of multiplication tables, I recommend teachers utilize manipulatives, pictures, and number sense strategies to help students develop that conceptual understanding. Definitely check out last week’s post about the Multiplication Chart for more detailed explanations of how to develop students’ conceptual understanding of multiplication.
A Closer Look at the Multiplication Table
Now, as I discussed in my previous post, the multiplication table DOES have a place, especially in fourth and fifth grade classrooms where students are working with factors greater than 12. In fourth grade, students explore the multiplication of multi-digit whole numbers using the area model and partial products.
This work continues in fifth grade where students eventually learn the standard algorithm for multiplication. If students have not developed fluency of multiplication facts by fourth grade, the process of figuring out those products can be laborious while simultaneously working through the multiplication procedures for multi-digit whole numbers.
I know I said last week that I don’t advocate for posting multiplication tables during the majority of the year in third grade. But today I’m going to put a little spin on that. I actually don’t advocate for posting ANY premade multiplication tables. EVER. Consider this for a second… What if we NEVER post multiplication tables and instead, have students make their own?
Why a Blank Multiplication Table?
Now, hear me out. I know you might be thinking, “Why would I have students copy a multiplication table when I can hang one up or give them one already made?” Well, they actually won’t be copying anything. Today I’m going to explain how you can take your students through the process of making their own multiplication tables while using pictures, visuals, and number sense strategies.
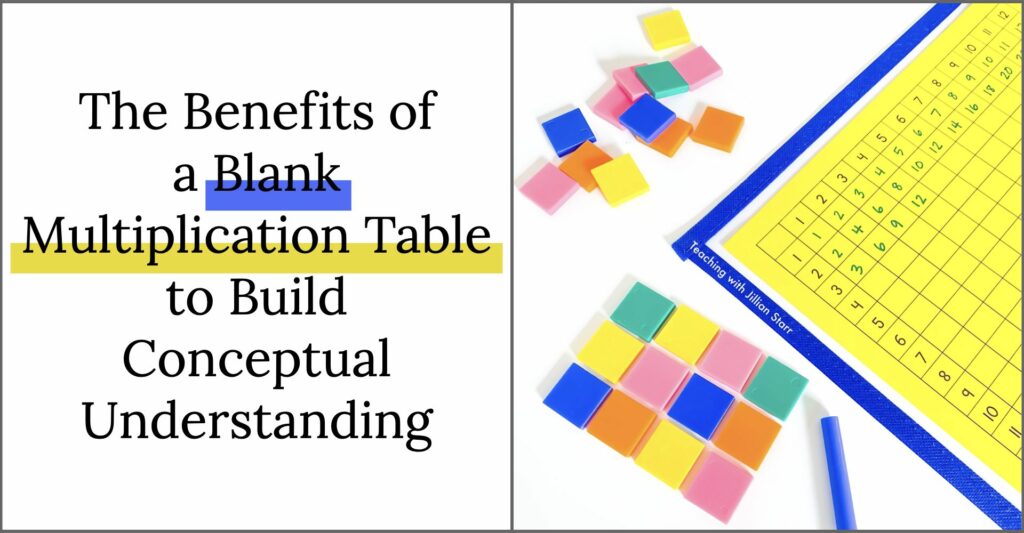
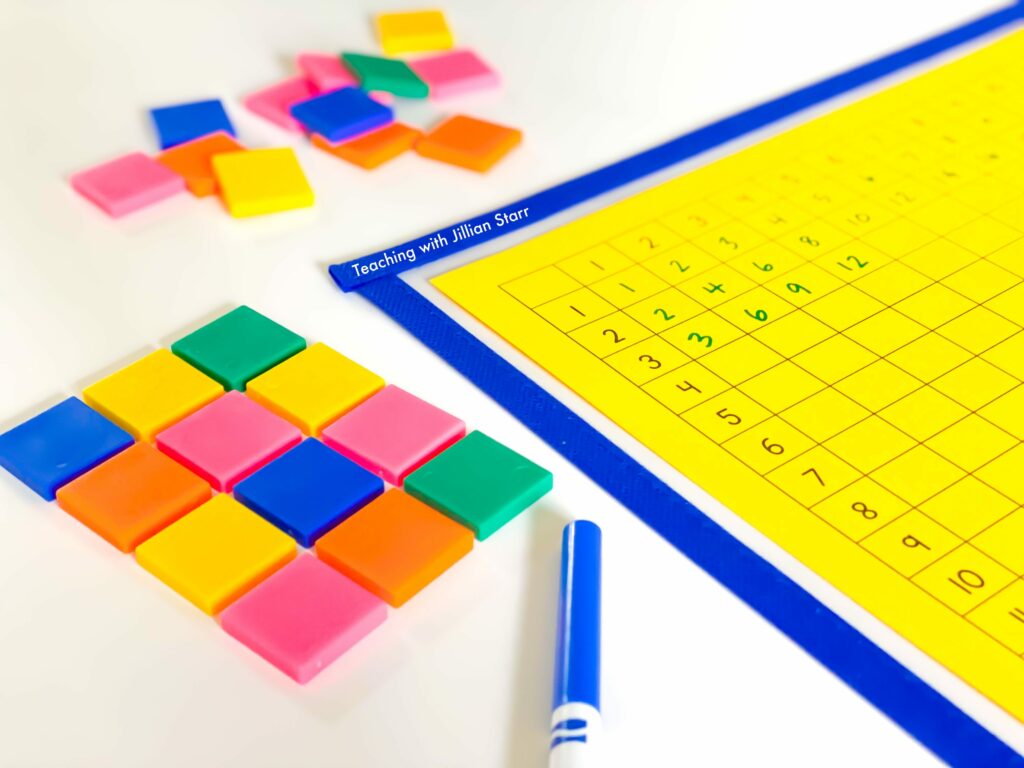
One of the ways students develop a conceptual understanding of multiplication is by making arrays using manipulatives and pictures. And what essentially is a multiplication table but a GIANT ARRAY! Do you see where I’m going with this now? Arrays create a visualization that allows students to see the idea of multiplication as “groups of”.
It’s important that students learn that the first factor in a multiplication problem tells the number of groups while the second factor tells how many are in each group. This nuance might not seem like a big deal, after all, the commutative property says that the order of the factors in a multiplication problem does not change the product. And while this is true, the order of the factors does tell how the groups are created.
Multiplication Mega Pack
For example, imagine I have 4 bags (or groups) of M&Ms with 10 in each bag compared to 10 bags (or groups) of M&Ms with 4 in each bag. If you love M&Ms and can choose one of those bags, which one would you pick? I’m guessing you would say one of the bags with 10 M&Ms! While both sets of bags have 40 M&Ms total, the way the M&Ms are arranged into bags (or groups) makes a difference when viewed in context.
Arrays, and likewise the multiplication table, have a clear, consistent way of showing “groups of” by placing the number of groups vertically with the number in each group horizontally. As you spend time in third grade developing students’ conceptual understanding of multiplication, make sure to utilize arrays. This will help lay the foundation for students to understand how the multiplication table works. Once that conceptual understanding is solidified or close to being solidified, students can begin to make their own multiplication table.
Getting Started with a Blank Multiplication Table
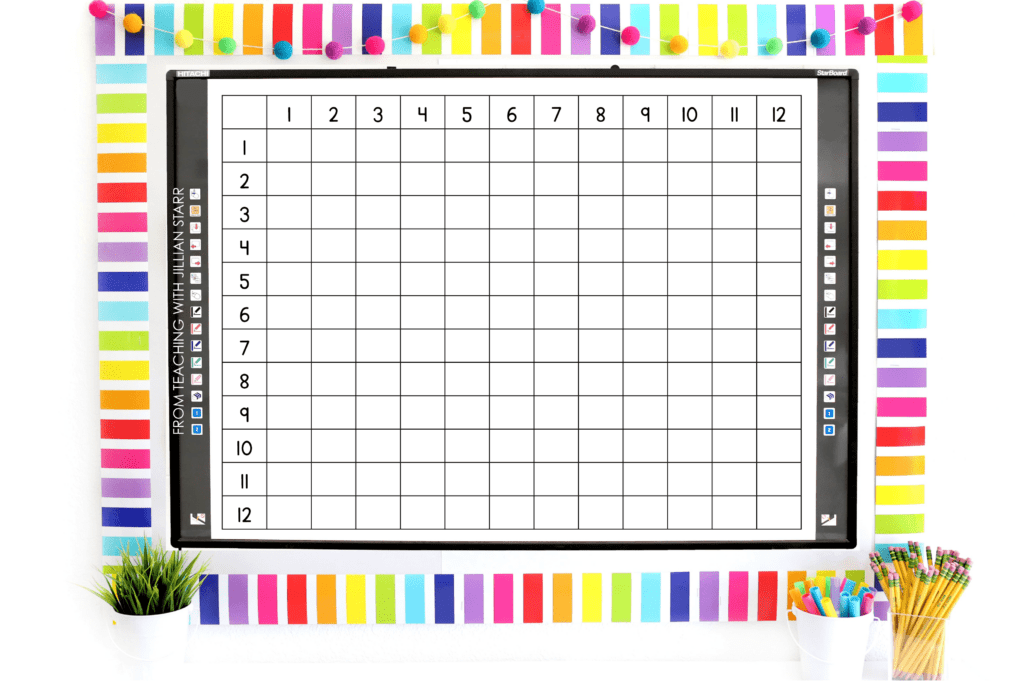
Start by displaying or passing out a blank multiplication table. By “blank” I mean a table with only the factors filled in on the X and Y axes. Don’t even include a title at the top – we want to see if students can figure out what they’re looking at. Simply ask your students, “What do you notice?” and “What do you wonder?”
These open-ended questions allow for an easy entry point into the conversation. Everyone has SOMETHING they can notice or wonder. Acknowledge all students’ ideas, even the ones that aren’t directly related to the lesson, as this shows that all students’ ideas are valued. This helps encourage students to participate and not be afraid to share their thinking out of fear of being “wrong”.
During the discussion, annotate a projected or enlarged copy of the blank multiplication table so you can display students’ thinking. There are so many possibilities as to what students will share, but they will likely notice that there are columns and rows, that there are numbers listed from 1-12 along the side and at the top, and that it looks like an array. They might even tell you that there are 144 squares inside the array. They might wonder what the purpose of the table is or why there are so many empty squares. I bet they may even say some things that surprise you!
Letting Students Create the Multiplication Table
After this discussion, connect students’ ideas to the purpose of the lesson – that they are going to create an organized way to record multiplication calculations as they make arrays so that we can look back at them for reference. Work with students to outline an array on the multiplication table for a given multiplication problem. You can also use dots or shading to fill in the array.
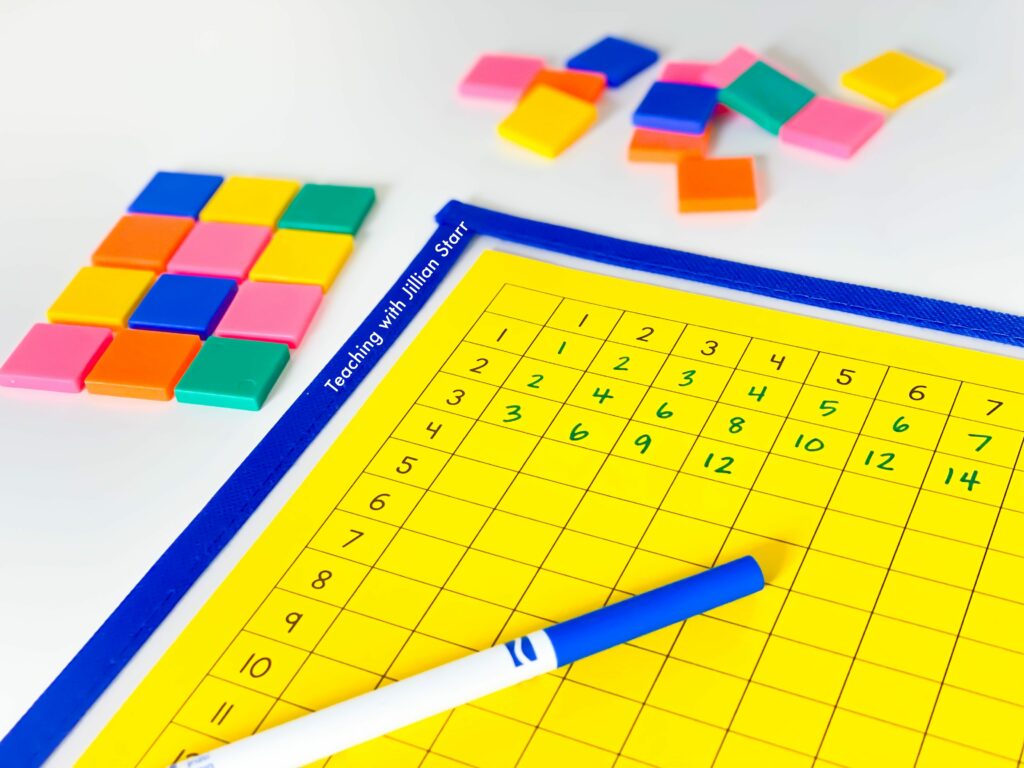
I also recommend having students lay out base ten blocks, Unifix cubes, or other manipulatives directly on the table in addition to outlining/drawing. Ask students to explain what multiplication problem is shown and how they know. Record the product in the bottom right corner of the array. This is where you would see the product of the two factors from each axis, minus the outline of the array, on a premade multiplication table.
In order to make it so that students do not have to draw the arrays directly on the multiplication table and risk cluttering it with lots of lines, have students place the table in a dry-erase sleeve or page protector. Then, they can use a dry-erase marker to draw the arrays and pull the page out to record the product on the table with a pencil.
I do not recommend having students complete the table all in one sitting. In fact, I think it’s better to have them fill it in while solving a multiplication problem. For example, let’s say students are solving a word problem where they have to do 6 X 7.
Students can go through the process described above – if they didn’t initially know the answer, now they can use an array to help solve the problem. If they did know the answer, now they have a way to double-check their work. Students may even use their number sense to realize that the square to the right of where they just recorded their product is going to be 6 more and that the square to the left of the product is going to be 6 less. All of these steps allow the process of completing the multiplication table to be authentic, gradual, and meaningful.
I hope this post gave you a fresh, new perspective on multiplication tables and convinced you to start with a blank one. Even though it takes more time and effort, I promise the payoff will be worth it!



Thank you so much!