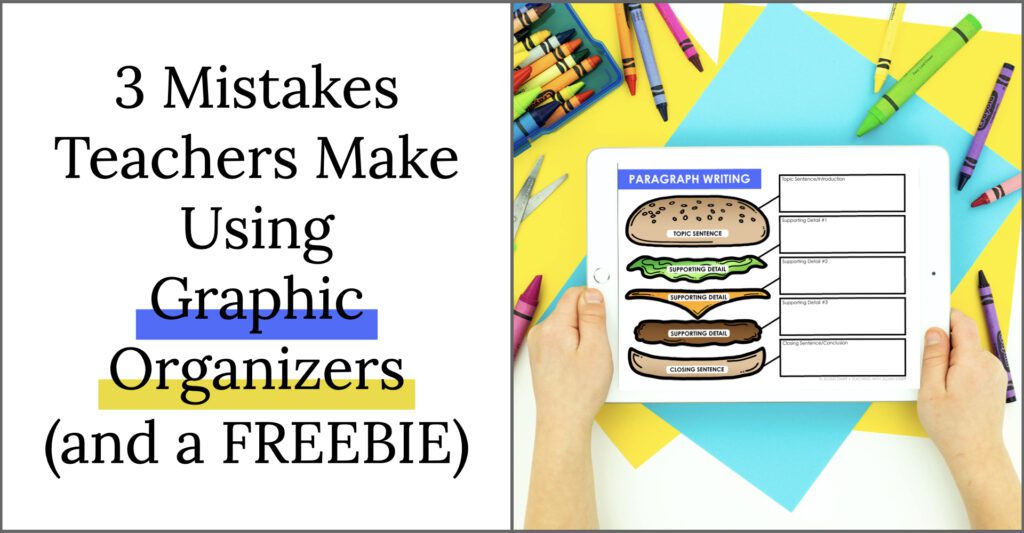
I love graphic organizers. I use them for reading, writing, math and anywhere else I can fit them in. Graphic organizers are a great tool to help students make connections between concepts, organize their thoughts, and internalize structures.
While graphic organizers been an invaluable support in my classroom, I definitely made some mistakes in using them along the way. Today I wanted to share some of those hiccups in hopes that they will help you better utilize graphic organizers with your students.
Not Modeling The Graphic Organizer Enough
Graphic organizers can be a powerful way introduce new concepts! Whether you’re creating anchor charts or displaying them digitally, modeling these new tools for students is important.
One mistake I made was modeling it for my class once, and thinking I was done. I thought by sharing the organizers with my students, demonstrating how to use it, and then posting it on our focus wall that I was done. I thought that was enough. Whoops!
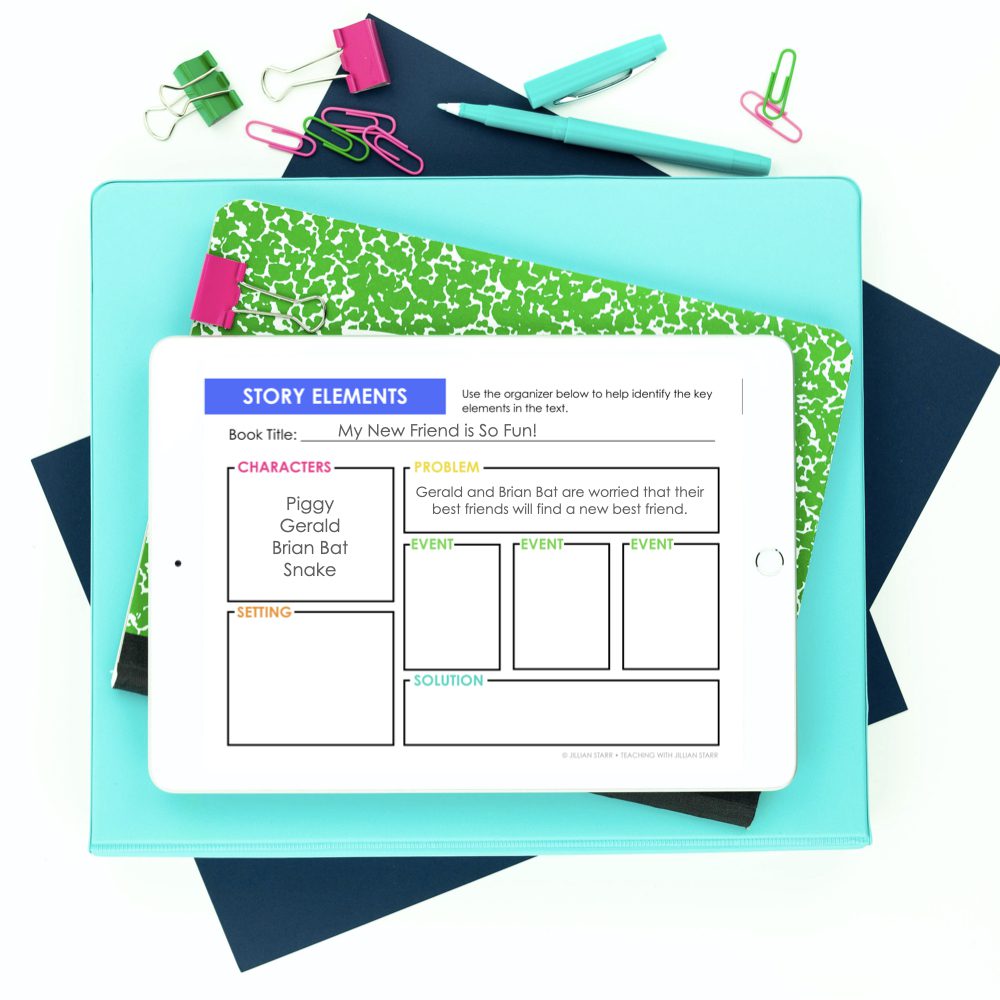
Modeling is not a one-and-done activity. It’s something that needs to be repeated in order for your students to truly master its use. That doesn’t mean we need to do the same lesson over and over. It just means that we need to find ways to circle back and model again. That can be done in lots of different ways. For example, if focused on a reading graphic organizer, I could revisit it:
- During a guided reading lesson with a new text/topic/agenda
- After a read aloud
- By going deeper into one section during a mini-lesson
- During an interactive writing lesson
It’s not that you have to belabor the point, but repeated modeling gives students multiple chances to build understanding. The deeper the understanding, the better the chances are that they will be able to utilize the graphic organizer independently when the time comes.
Including Too Much in the Graphic Organizer
As a student who struggled in school with overstimulation and dyslexia, I’m embarrassed to say that I *STILL* made this mistake as a teacher. I know it came from a good place of wanting to fit everything in one place, and including cute imagery to engage my students. I just wish someone had explained that simple=better when it comes to graphic organizers.
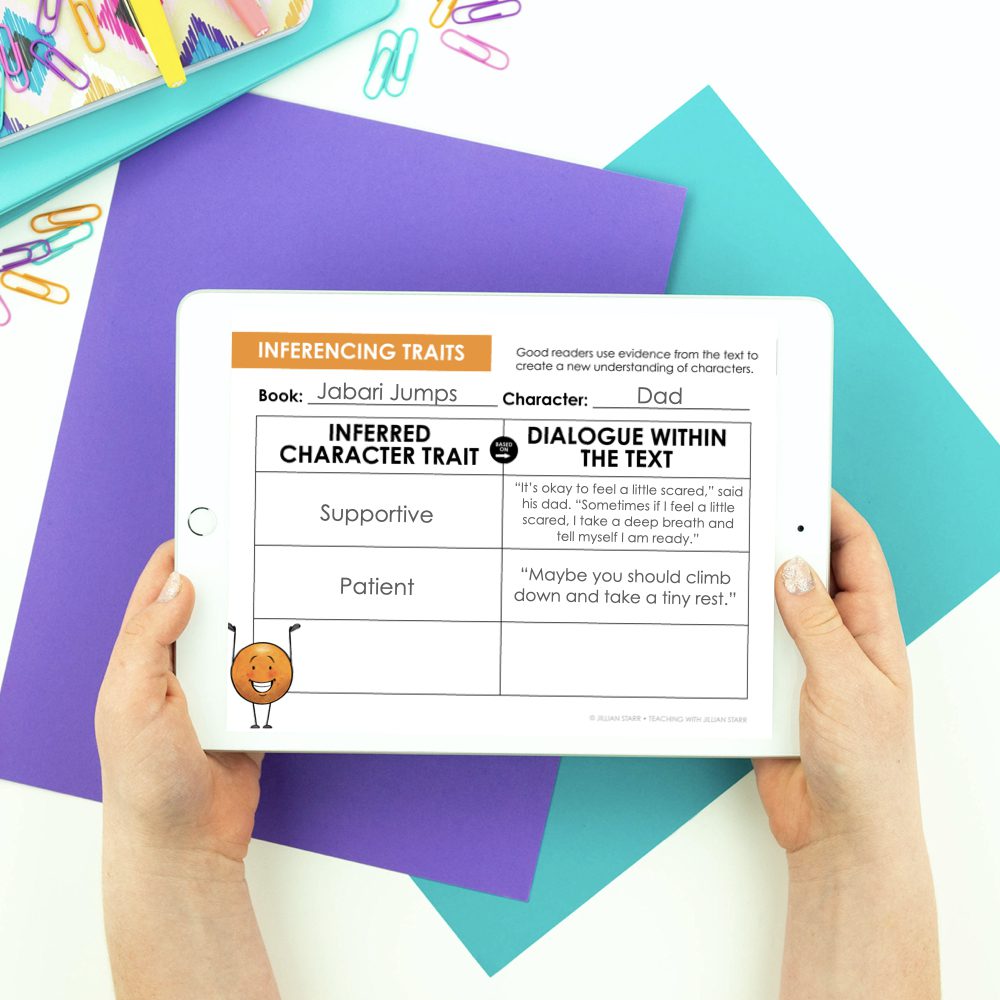
The purpose of a graphic organizer is to help students organize ideas, make connections between concepts, and internalize structures. That can be really hard to do when there is too much going on within the page itself.
When I finally started eliminating unnecessary images that distracted students, creating clean and defined spaces, and ensuring that all fonts were student friendly, I saw a huge increase in my student’s ability to use the graphic organizers independently.
If you want to try a FREE sample of my graphic organizers to see what I mean about creating an organizer with fewer distractions, grab them below!
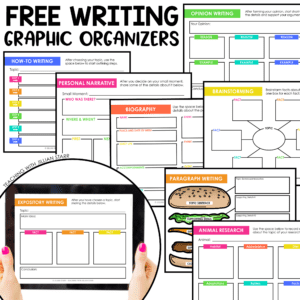
FREE Writing Graphic Organizers
Want clear, engaging graphic organizers to help your students internalize writing structures? Grab this freebie NOW! (Digital and Printable included)
You can also grab my Graphic Organizers for ANY Text Bundle HERE. (Don’t worry, all 50+ organizers are available in printable and digital versions.)
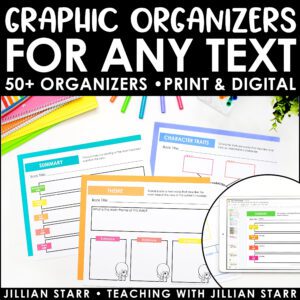

Graphic Organizers to Use with ANY Text
Not Remembering the End Game
This is something I feel like a lot of us miss. Not because we’re bad teachers, but because we often become so focused on the daily lessons and immediate work with students, that we don’t have time to come up and breathe, and check in on the long goal.
Graphic organizers are meant to help students organize their thoughts and make connections. However, it doesn’t stop there. Graphic organizers are the scaffolding that we put in place as we introduce new concepts. We model how to use them, we practice together, we offer independent practice… and then what?
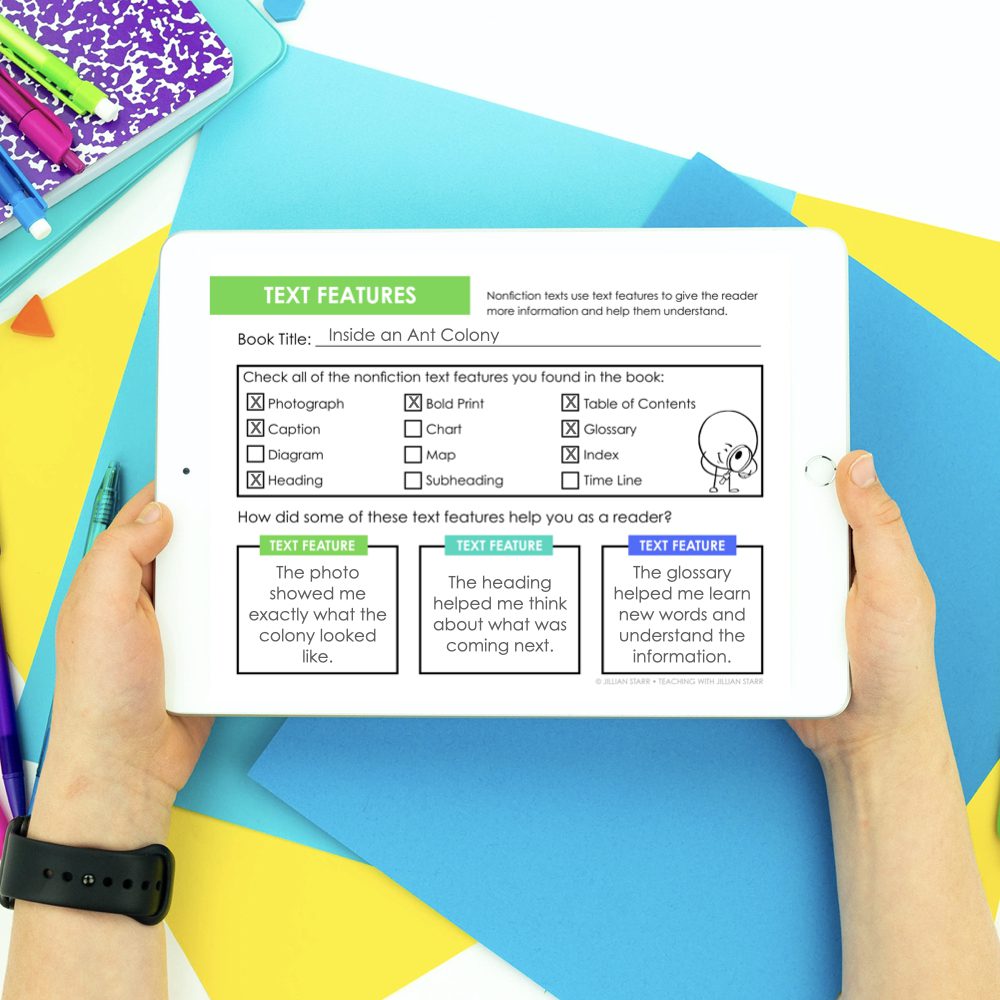

Well, I would get so excited when they independently filled out that graphic organizer, that I would forget that the goal is to actually remove the scaffolding. We want our students to not NEED the graphic organizers. We want them to have internalized the structures and the organization, and no longer require the physical visual to help them do that.
That means, we need to allow students experiences BEYOND the graphic organizers. If students are independently using graphic organizers successfully, we have to begin the process of removing the scaffolding. Allow them to create their own graphic organizers. Allow them to try assignments without one and see how they do.
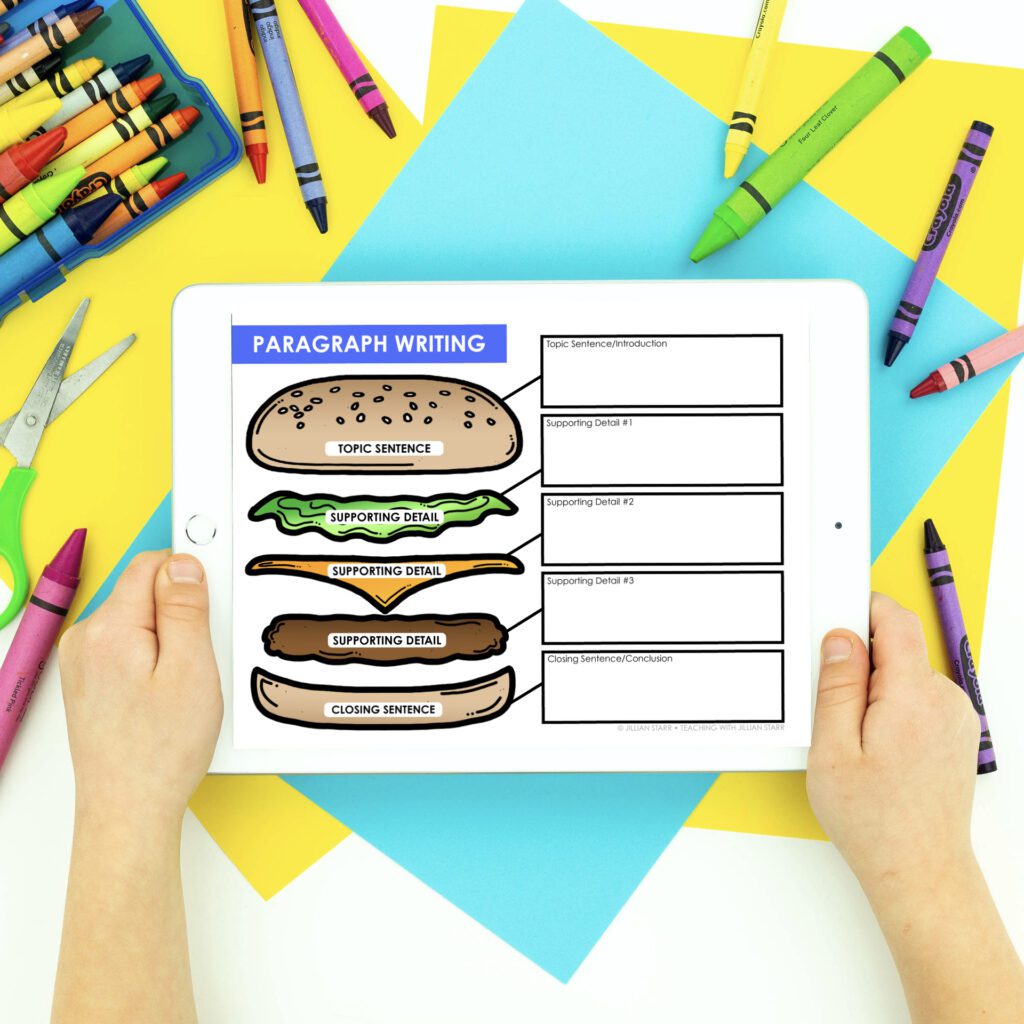

We want our students to internalize the tools we offer them so that they can make true meaning of them and recreate the organizational strategies on their own when they encounter new information. But we can’t help them do that if we stop working once the graphic organizer is completed correctly.
I hope sharing some of my previous mistakes helps you avoid some of them (or at least reflect on them and help you feel less alone as you try and make changes).
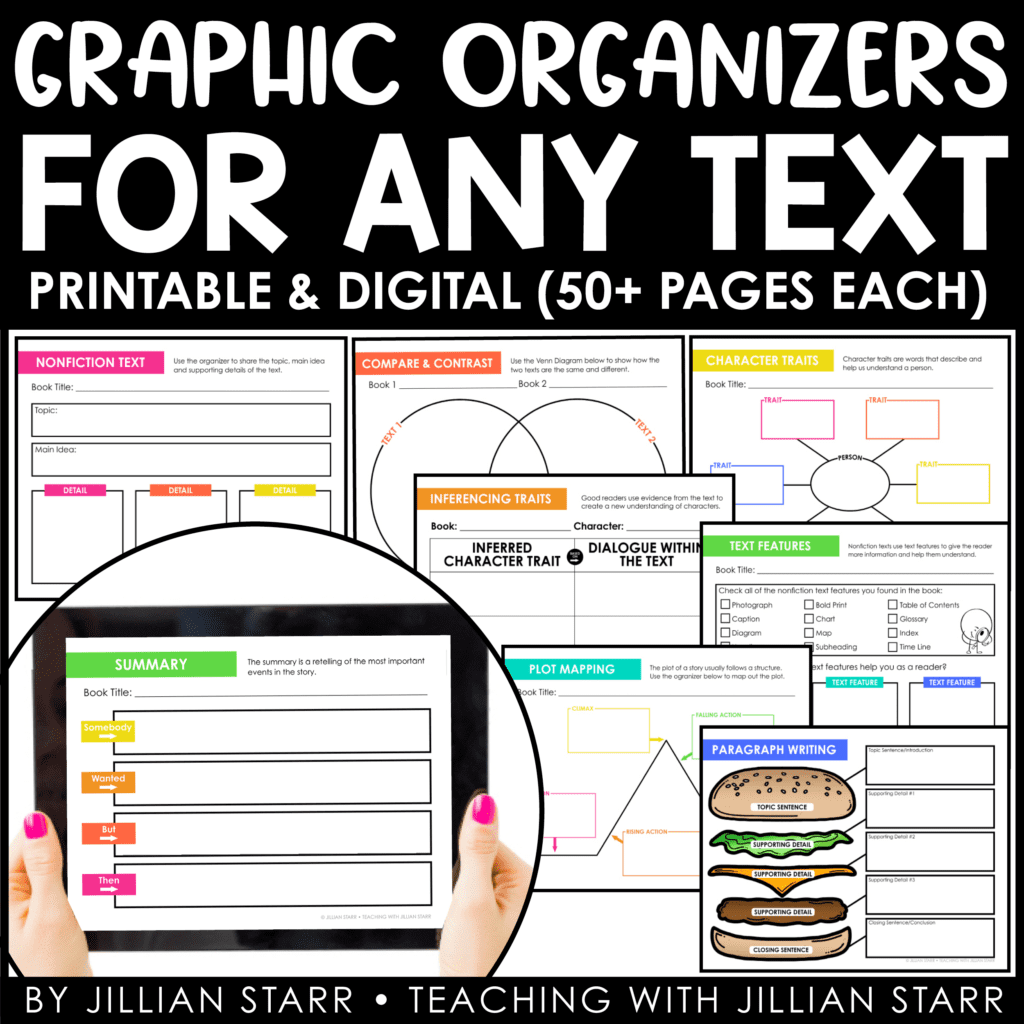
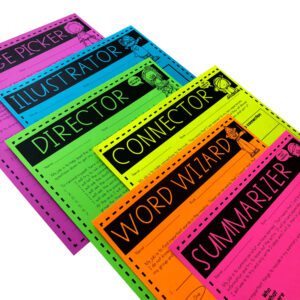
PS- If you’re looking for graphic organizers, I put all of my favorites into a single pack! These are 50+ Reading Graphic Organizers you can use with ANY text. They’re clean, distraction-free supports that have been a huge help in my classroom (for both my students, and my own planning!). Grab them HERE or by clicking the image below.



Thank you so much. They look great and I can’t wait to use them. Thanks for the tips, too. I’ll keep them in mind.
I love your products so much! What grade would you use the story elements organizer for? Is it too much for grade 2? I have your vocabulary cards that match and they are fabulous.
Hi Krista! Thank you so much for your kind words. I actually created all of these graphic organizers while teaching second grade. You may have students who will require more scaffolding than others, but they were designed with that age group in mind. I hope this helps!