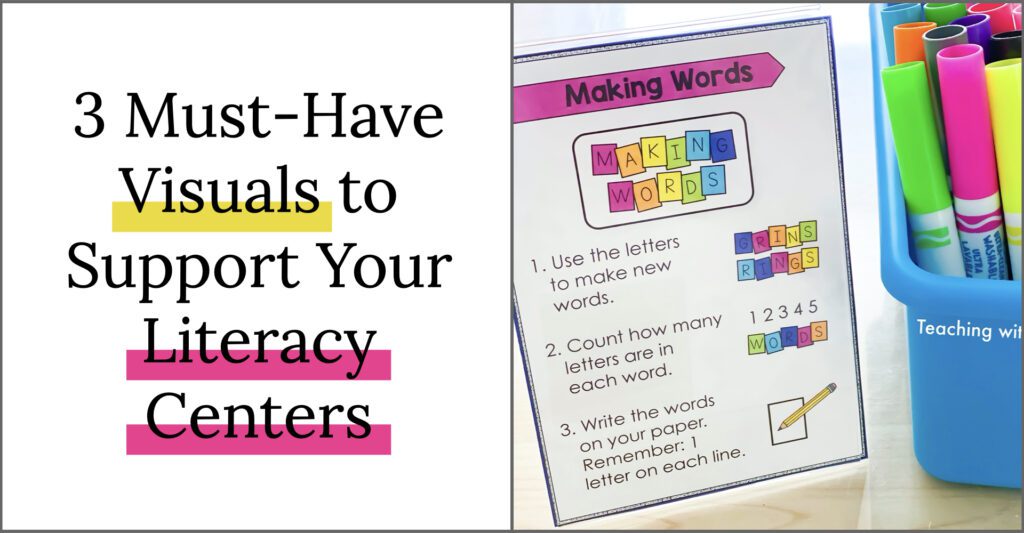
Ready to see how visual supports can revitalize your literacy block? Imagine this: you are in your classroom working with a guided reading group, and all around you your students are actively engaged in independent literacy centers. The low level of chatter consists of your small group’s work, mixed in with some partner reading, and students building words together with your targeted phonetic concept of the week.
Sound too good to be true? I thought the same thing for so long. Until I discovered how one little tool could bring this little dream to life. Enter: visual supports.
Establishing efficient and productive literacy centers isn’t easy. When I first started using a centers-based model, I placed a lot of emphasis on spoken directions. I would sit all of my students whole group on the rug and explain the different activities. Yet when everyone started working, I spent the whole time redirecting students from across the room.
As my frustration grew, I realized something had to change. I began to accompany my verbal directions with visual supports to remind and reinforce where everyone needed to be and what they needed to be doing. By empowering my students to manage themselves, I decreased unwanted work habits and behaviors and increased independence.
Ready to give this a try in your classroom? Scroll on to check out my three must-have visual supports for literacy center success!
Literacy Center Work Board
One visual support that has SAVED my literacy center routine? Work boards. Not only do they keep my students on track, but work boards have also proven to be the ultimate sanity saver.
There are a handful of teacher hacks that not only act as a visual support for students but also the teacher. Work boards are just that. Have students that struggle to remember where they are supposed to be? A work board will solve that. Does your classroom feel like a revolving door during literacy as students get pulled in and out for services? Work boards have you covered. Can’t remember which small group is coming next to the teacher table? You guessed it: WORK BOARDS!
You might be asking, What is a work board? Wait until you see how simple this can be! A work board is simply a chart that shows students which centers they will visit each day, so they always know where to be and what’s coming next.
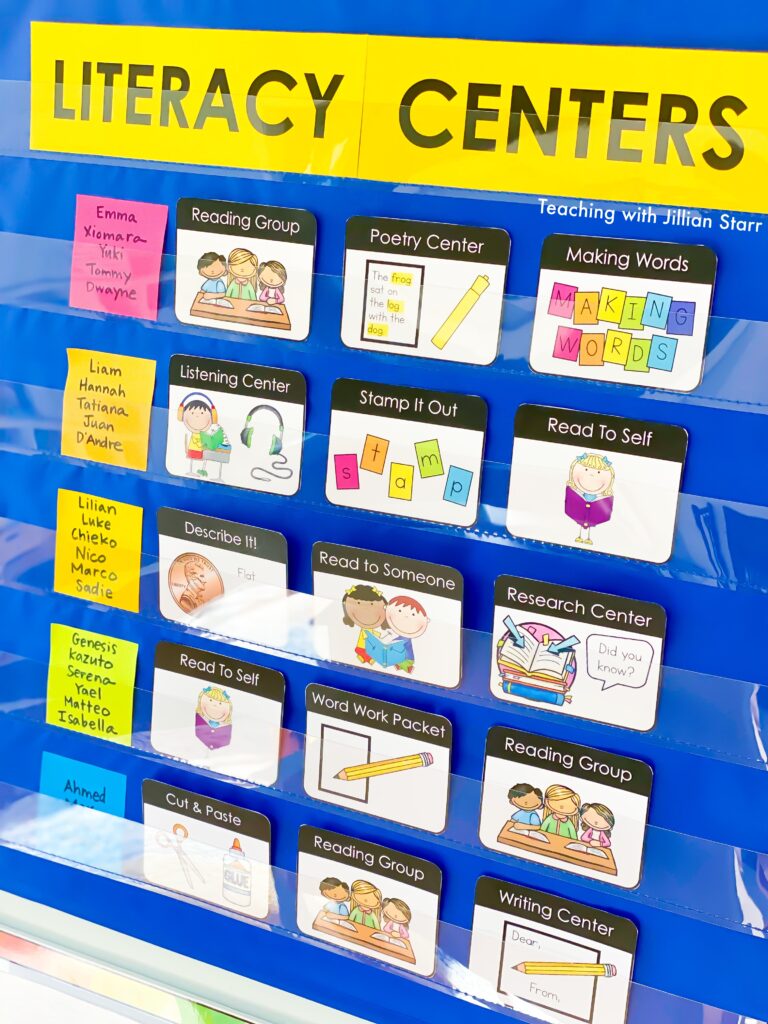
I choose to split my work board into columns. On the far left, I put student names or group colors/symbols. Small group instruction partnered with informal and quick assessments helps me place students in either mixed-ability groups or need-based groups.
Then, each chunk of time within the literacy block gets its own column. For example, if we rotate centers three times that day, there will be three columns.
I place cards with the name of the center and a picture. The picture is a crucial visual support for both quick glancing at the work board and students who are still developing reading skills.
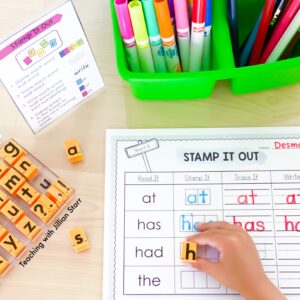
FREE Literacy Centers
Get this Short A Sampler Pack from my Literacy Center Start-Up Kit for FREE! It includes stamping activities, word work, phonics poems and more!
Literacy Center Tents with How-To’s
Verbal instructions are only one way to reach students. For auditory learners and processors- great! But, for everyone else, I’ve learned that you need to have a visual support for their understanding of instructions.
Center tents with how-to’s are irreplaceable visual supports that will help your students know what to do long after they leave the whole group meeting. I find that when we first start literacy centers, many students are not accustomed to rechecking instructions, which is where center tents save the day.
A center tent is a simple, easy way to set up visual instructions. It is a 3-dimensional triangular structure that stands up straight on a flat surface. On the sloping sides, I glue or write the center’s name, for example, “Word Work” as well as step-by-step instructions.
But there is a trick to make center tents a successful visual support for your literacy centers. They must be accessible.
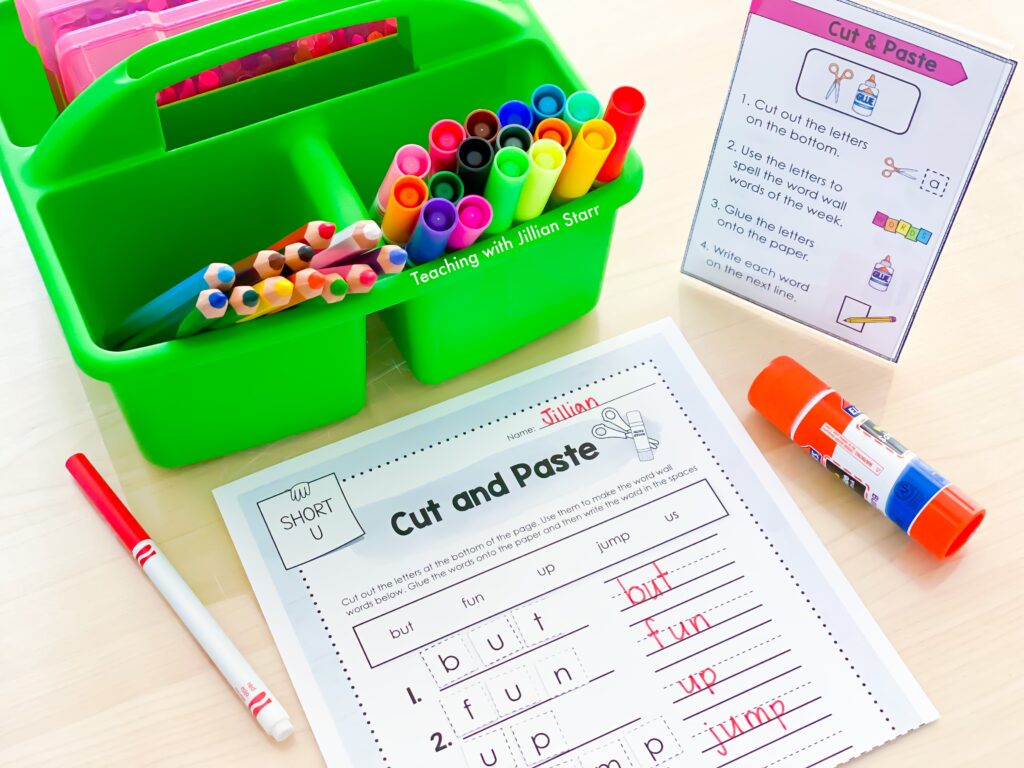

What do I mean by that? Your center tents need to visually support all learners. They should include pictures and words. Each step is clearly marked. You might even include what a finished product might look like. If your center is a two-player game, make sure you show what player a and player b are doing.
Remember! You will need to explicitly teach your students how to use center tents. Otherwise, your cool new visual supports won’t help much! In the first few weeks (sometimes even months) of literacy centers, I bring the center tents to my whole group meeting.
As we review instructions, I also model looking at the center tent. “Huh, I don’t know what to do. Where can I find out?” Eventually, the motto becomes: When in doubt, read the instructions!
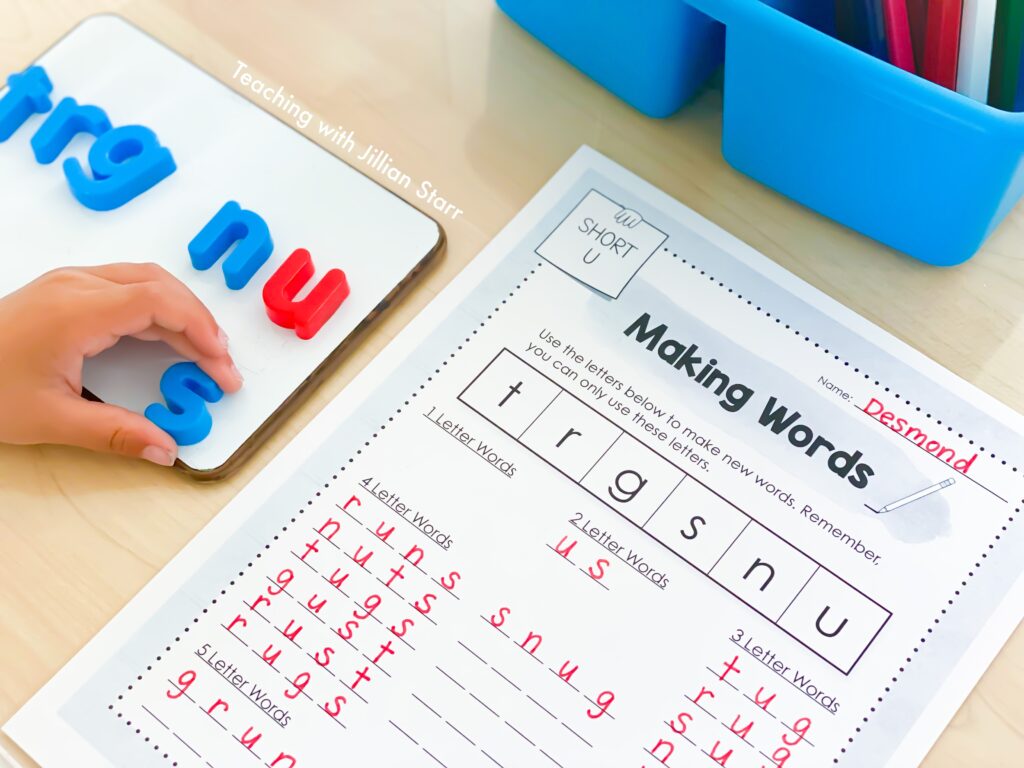
This visual support helps my literacy centers feel engaging and predictable for students. While the content of my literacy centers changes as we move through a year’s worth of curriculum, the activities we use to reinforce new content stay the same.
I am also able to differentiate my centers but still offer all students the same visual support, because they are all engaging in the same activities. The level of challenge is what changes.
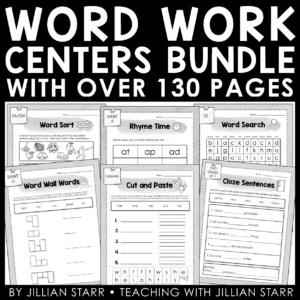

Word Work- Phonics & Sight Word Bundle
Classroom Expectations Anchor Chart
The third literacy center visual support I can’t live without: classroom expectations anchor chart!
Clear and easy-to-read classroom agreements are crucial– in and out of literacy time. When students are off task, you can point to the classroom expectations or give a simple word or redirection to remind them.
I like to take it a step further. Because I use centers for so many of my academic blocks, I co-create center expectations with my students.
We write center agreements two or three weeks after initially introducing centers, when my students have become more familiar with literacy and math center routines. They know what kinds of behaviors will help or hinder their independent learning.

So, we sit down together and write a Centers Expectations Chart. It varies a bit year by year (students always have new ideas!). But there are a few staples that always make their way onto the chart:
- When you think you’re done, keep going!
- When you don’t know what to do, read the instructions or ask a partner.
- Be a helpful center partner, and help friends who need support.
- Be fearless: try your best, make mistakes, and learn from them!
These clear and visible expectations will make classroom management so much smoother! When students know expectations, they can work to meet them!
Tip: Put a small reminder of expectations on each table or even on your center tent with your How-Tos!
Whether you’re revamping your literacy block or starting a new, center-based routine, I hope these tips help you feel successful this year. If you have another visual to support literacy centers, let us know! The more tools, the better!


Hi Jillian!
Always love your ideas! Do you have Literacy Tent How To’s already created to match the Literacy bundle phonics work? Or even a template to start the process of creating some for other centers?
Best, Weatherly🙂
Hi Weatherly!
I do! They’re all included in my Literacy Center Start-Up Kit. If you own any of the individual resources included in the start-up kit, you can ask TPT for a refund for them. I hope this helps! 🙂