Teaching odd and even numbers is often seen as a “can they” or “can’t they” skill. Can they identify odd numbers? Can they identify even numbers? And while recognizing odd and even numbers is important, our focus should really be on understanding the patterns of odd and even numbers, and the role odd and even numbers play in real life.
When you think about odd and even numbers, what is the first thing that comes to mind? Here are some that pop up for me, as an adult:
- Even numbers can be arranged in pairs, and odd numbers always have one left over
- Even numbers are on one side of the street, and odd numbers are on the other side
- There is a pattern when counting: odd, even, odd, even, odd, even…etc.
- Having an odd number of students in a class is a pain for partner work!
- When you line up objects, an odd number of objects will have one object in the center
- Even numbers end in 0, 2, 4, 6, and 8
- Odd numbers end in 1, 3, 5, 7, and 9
Some of these are mathematical facts related to odd and even numbers, but some are real-world connections. Odd and even numbers find their way into so many areas of math, as well as real life. It’s important that we give students time to explore them and understand what they look like in context.
Before We Start with Odd and Even Numbers
Set the scene
I want you to know in advance that the ideas I’m going to share are not ideas where you’ll be planning and prepping worksheets or center activities. The BEST approach I’ve found to teaching odd and even numbers is through exploration and discussion.
This means that we can’t plan exactly what we do each day since we are letting our students guide us. However, we can have an outline and planned activities to provide a skeleton of our unit of discovery, which I’ll try to give a picture of in this article.
Don’t Say “Odd” and “Even”
One thing I want to say before I get into my favorite ways to explore odd and even numbers with students: I never introduce the words “odd” and “even” before our explorations begin. Instead, I allow students to explore the patterns and notice the concepts of “odd” and “even” numbers organically. Only after the students have defined “odd” and “even” as they understand it, do I give them the mathematical names to label their ideas.
An Organic Introduction
There are lots of natural opportunities for the exploration of odd and even numbers to begin. Here are some ways it has started in my own classroom:
- Turning and talking to a peer (we had an odd number of students, so a student talked to me)
- Dividing the class into pairs for a game (one day it worked evenly, and the next day a student was absent, and so a group had to become a trio)
- Trying to share a collection between two students, but there was one left over
- Studying doubles, and noticing that every other number is a sum of a double (2, 4, 6, 8…etc)
The concept of odd and even numbers comes up in all parts of our day, so we just have to be on the lookout. If you’re really struggling, you can always artificially create an opportunity to begin your exploration.
Getting Started
Let’s say you used the example where students tried sharing an amount equally, but there was one left over. There are several next steps you could take to begin your exploration, but they will likely all start with a probing question (I’ll go deeper into probing questions in a bit).
You might ask, “Does this always happen? When you share something between two people, is there always one left over?” Regardless of their answer (because you’ll likely get a range), you can follow up with “I wonder if there is a way we could check?”
This is your perfect segway into your exploration activities!
Sharing Odd and Even Numbers
Because we started with the scenario of two students trying to share objects, I would make my first exploration activity directly linked to that scenario.
Materials
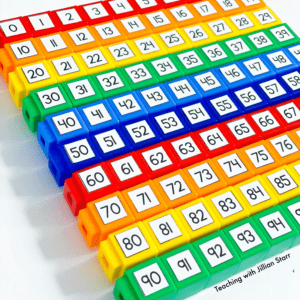
For this exploration, I give students a strip of paper with numbers written on it. Depending on your grade level, your number strips will look different. It might be 1-6, 1-10, 1-20, or a hundred chart. You can also easily differentiate by offering different strips to different students.
I offer students a variety of manipulatives to choose from for this activity (controlled choice can be a huge motivator!):
- Beans
- Unifix Cubes
- “Gem” Stones
- Animal Counters
- Mini Erasers
- 2-sided counters
- Basically anything small that can’t roll
How it Works
Allow students to choose the numbers on their strip that they want to investigate. Some of your students will want to be systematic and start with one. Other students will select their numbers at random. This is okay!
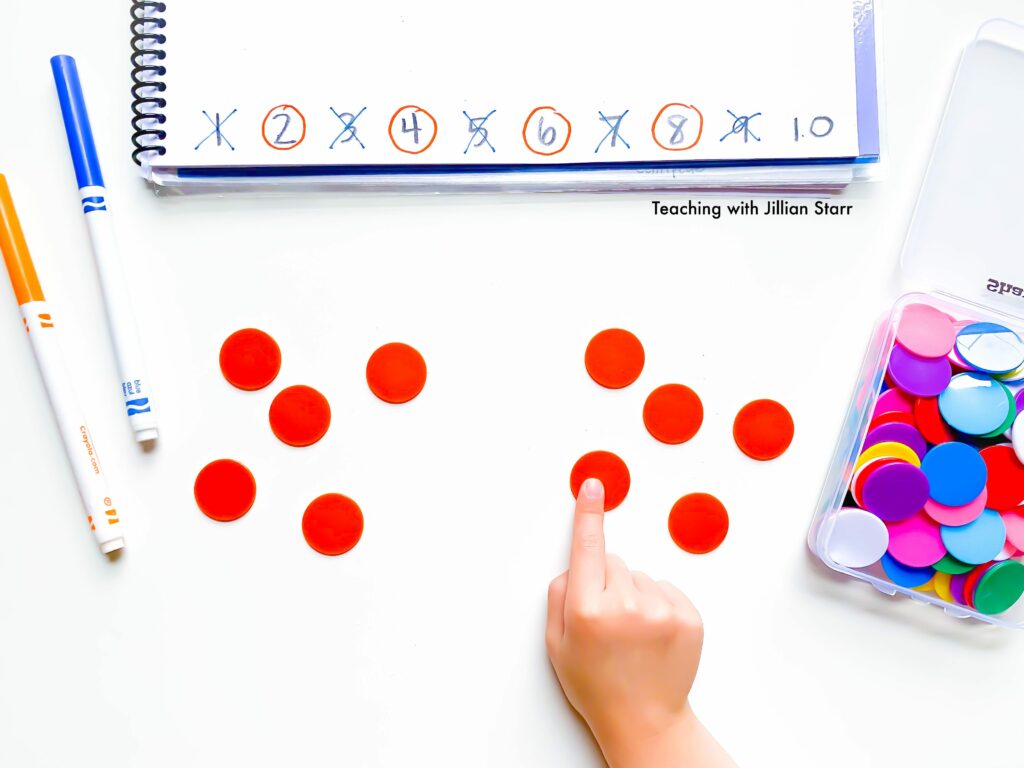
If a student decides to start with eight, their job is to count out eight of their manipulatives. Then, they work to split that number into two equal groups. If they can split the number into two equal groups, they circle the number on their number strip. If they can’t, they place an “x” through it.
In this first step, don’t tell students HOW to split their pile evenly (i.e. don’t model this step for them). Allow students to experiment with developing their own strategies first. We can come together after about 5-10 minutes to check in and allow students to share their strategies with each other. Then students can go back to their work and possibly use a more efficient strategy they learned.
Allow students time to investigate multiple numbers. This can be a collaborative exercise, or independent. If your students are younger and/or do not have the attention span to do this for an extended period of time, consider breaking it into two different blocks of time, or over the course of two days.
The Discussion
Discussions are where we start to synthesize the ideas that have formed during the exploration. Ask students to bring their number strips to the group. Have your own large number strip on the board or floor so students can see it.
Once everyone is settled, it’s time to ask for volunteers. Allow students to pick one number they investigated, and tell the group if they were able to share it or not. You can then ask the group if anyone else tried that number and had the same result. This is an important step because it is likely that you will have some students who inaccurately counted or shared their counters. When you note an error, it’s a great chance to revisit that number with the whole group and do it together.
Pro Tip: Mark the circles in a different color than your X’s. This can better help students visually discriminate between the two.
After you’ve marked all of the numbers 1-10, see if any of your students naturally notice any patterns. If they don’t make these observations on their own, ask “What do you notice about these numbers?”
When students are able to notice the ABAB pattern of odd, even, odd, even, we can further probe them with questions like “Do you think this always works?”
Let students talk about whether they think this pattern is always true, and then ask, “how can we check that?” This can help lead you into your next exploration!
More Visual Ways to Explore Odd and Even Numbers
Splitting an amount into two groups is just one way to explore odd and even numbers. There are so many beautiful visuals that students can use to explore numbers. We can deepen student understanding when we let them create multiple visuals of the same idea and connect those different representations.
Odd and Even Numbers with Ten Frames
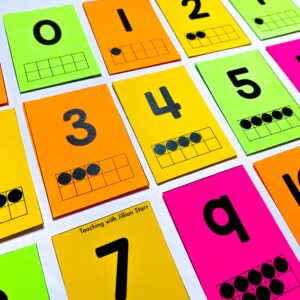
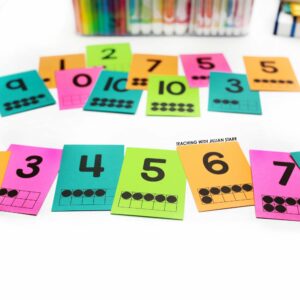
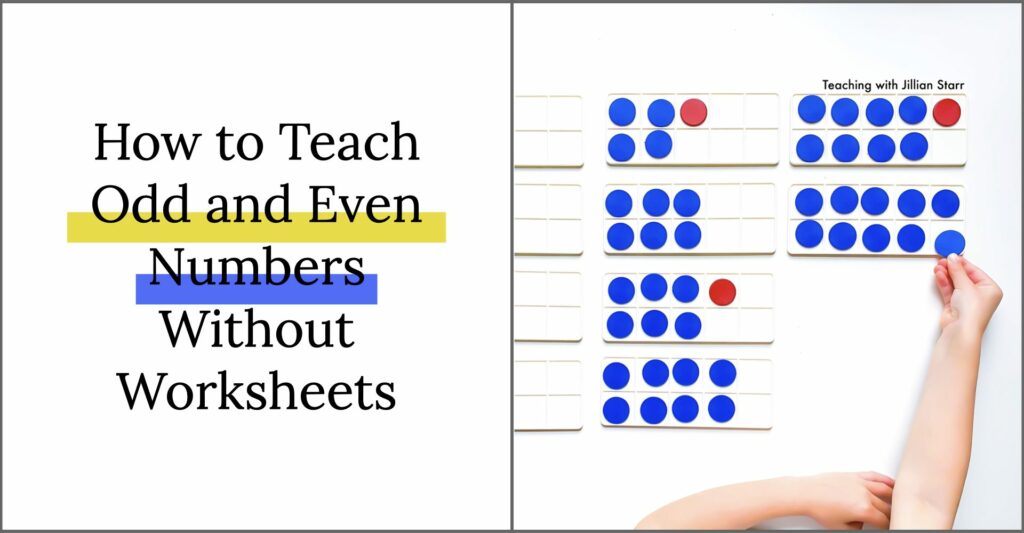
Letting students use ten frames to investigate odd and even numbers is a great way to highlight the “one left over” idea of odd numbers. It does mean that we are going to fill the frame differently than when we are trying to use 5 as a benchmark to ten. In this activity, we are filling the array by 2’s rather than 5 and 5.
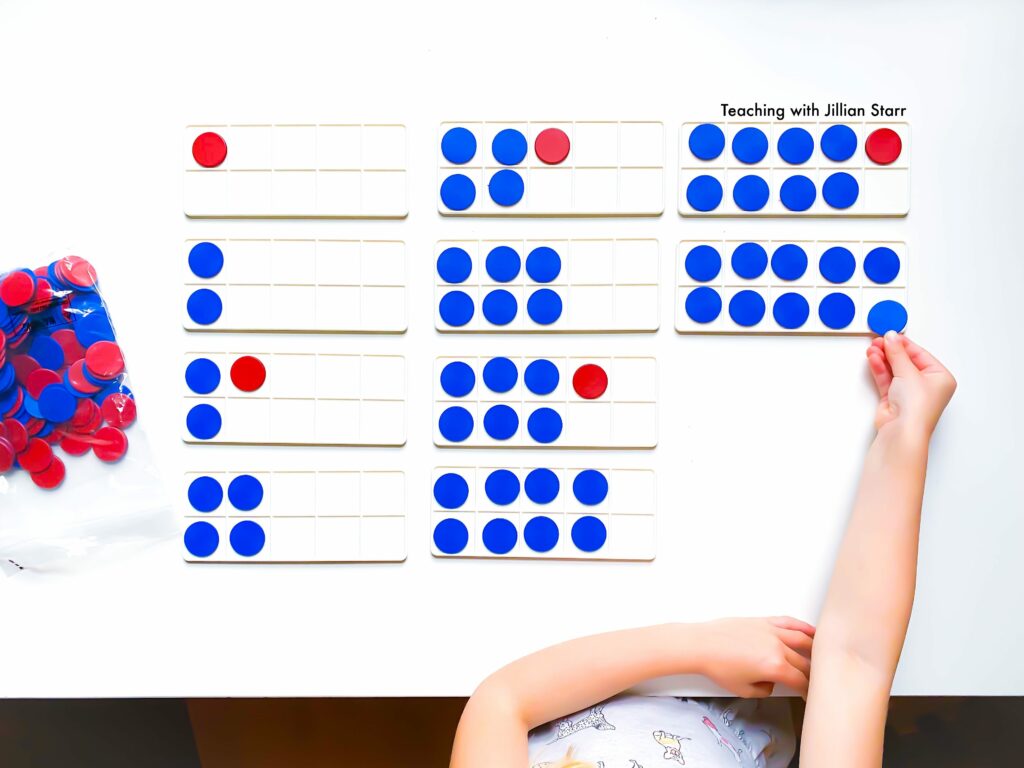
It’s awesome to see their “ah ha” moments brought about by using such a familiar math manipulative/organizer. Creating an anchor chart together after the exploration is a great way to record their learning and refer back to it later.
Odd and Even Numbers with Towers
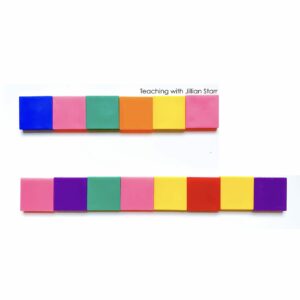
I love building patterned towers with my students to explore odd and even numbers. For this activity, you need two different color connecting cubes. If I have blue and orange cubes, I need to pick one to start with. I will use this color as the base of my tower every time.

My first tower will be a single blue cube. But, my second tower will be a blue cube with an orange cube on top of it. Then, my third tower will be blue, orange, blue. Do you see where this is going?
I love that this reinforces that ABAB pattern of odd and even numbers. They can see the colors switching back and forth, and that the tops of their towers change color from one to the next.
Odd and Even Numbers with Dice
Looking at dice can be a great way for students to see how odd and even numbers are represented in everyday objects. Many may take notice that odd numbers on dice have a dot in the middle, whereas even numbers do not.
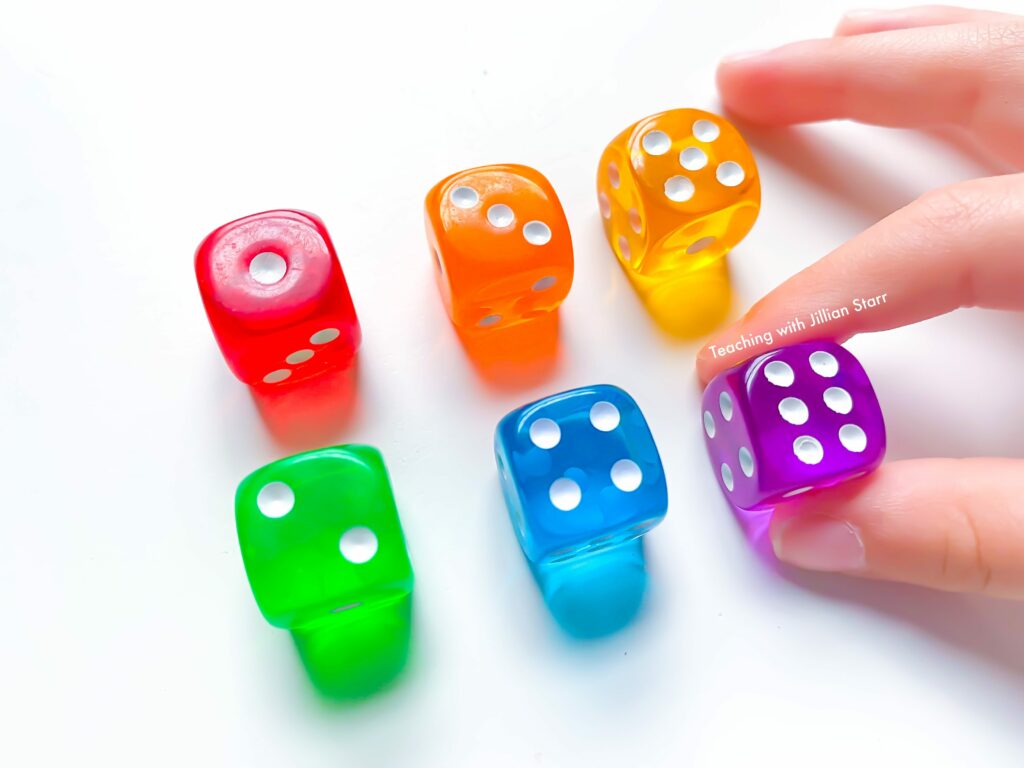
Creating dot patterns past six (but using this idea of a middle dot for odd numbers) is also a really interesting exercise for students. I highly recommend it!
Bracelets vs. Watches
I will never forget when my math specialist told me about her work in a kindergarten class. The students were making wristwatches out of little cut-out circles. Without having the language of “odd” and “even” they were still able to understand and explain that they could only make watches with certain numbers (odds). Why?
Well, odd numbers would have the same amount of circles on each side and then ONE in the middle that could be the face of the clock. Even numbers could only be a bracelet because they didn’t have a “center” to make it a watch. Brilliant right?
For days (perhaps weeks) the students called them clock numbers and bracelet numbers. Those terms held so much meaning for them. “Odd” and “Even” was only introduced when a student with an older sibling mentioned it. The transfer of understanding onto those new terms was BIG, all because they had been given the time to explore these numbers deeply.
Extensions for Odd and Even Numbers
Depending on your grade level, students will start to notice additional patterns within odd and even numbers:
- Numbers ending in 0, 2, 4, 6, and 8 are always even
- Numbers ending in 1, 3, 5, 7, and 9 are always odd
- Even + Even = Even (same is true for subtraction)
- Odd + Odd = Even (same is true for subtraction)
- Odd + Even = Odd (same is true for subtraction)
- Odd x Odd = Odd
- Odd x Even = Even
- Even x Even = Even
- Considering multiples of certain numbers will always be even
- Considering all prime numbers (except 2) will be odd
If students come across these patterns, it is important to probe their thinking like we did before. “Do you think that is always true? How can we check?”
Odd and Even Numbers in Context
Going back to the beginning of this article, it’s important that we always give math context. We learn math to help us with everyday life, so breathing context into our lessons is important. Finding ways to circle back to the ideas of pairs, equal groups, one left over, and odd/even sides of the street are a great way to continue to have your students make connections with odd and even numbers in and outside of your classroom.
I hope this post helped give you some ideas for teaching odd and even numbers in your classroom this year. In truth, I wrote it because a teacher specifically asked for strategies to help her teach odd and even numbers to her students. If you have a math topic you’d love to see covered, please let me know in the comments! I’d love to continue creating helpful posts to support you and your students.

