Seesaw is an amazing platform with so much potential… but when you feel like your brain already has a million tabs open, ONE more thing can feel overwhelming. Today I want to share some quick Seesaw tips that will really help you maximize your time. Are you ready? Let’s dive in!
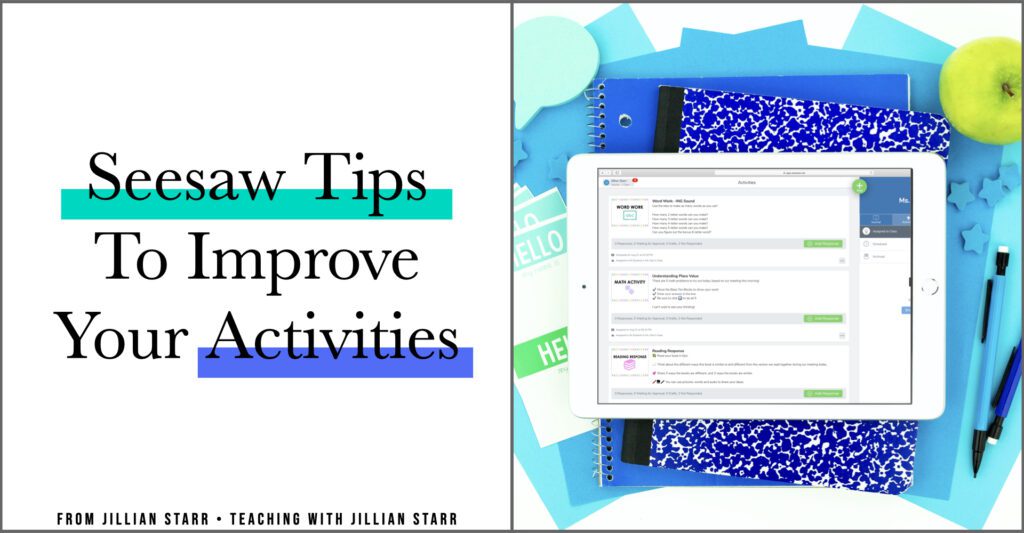
Seesaw Tip #1: Keep Your Activity Feed Clean & Organized
Last spring, I spent a lot of time thinking about my students who are easily over-stimulated. I wondered what little tweaks I could make to our online learning platforms to help declutter our online environment.
As someone who personally struggles with ADHD, dyslexia and sensory integration issues, visual stimulus is ALWAYS at the front of my mind when creating anything teaching related.
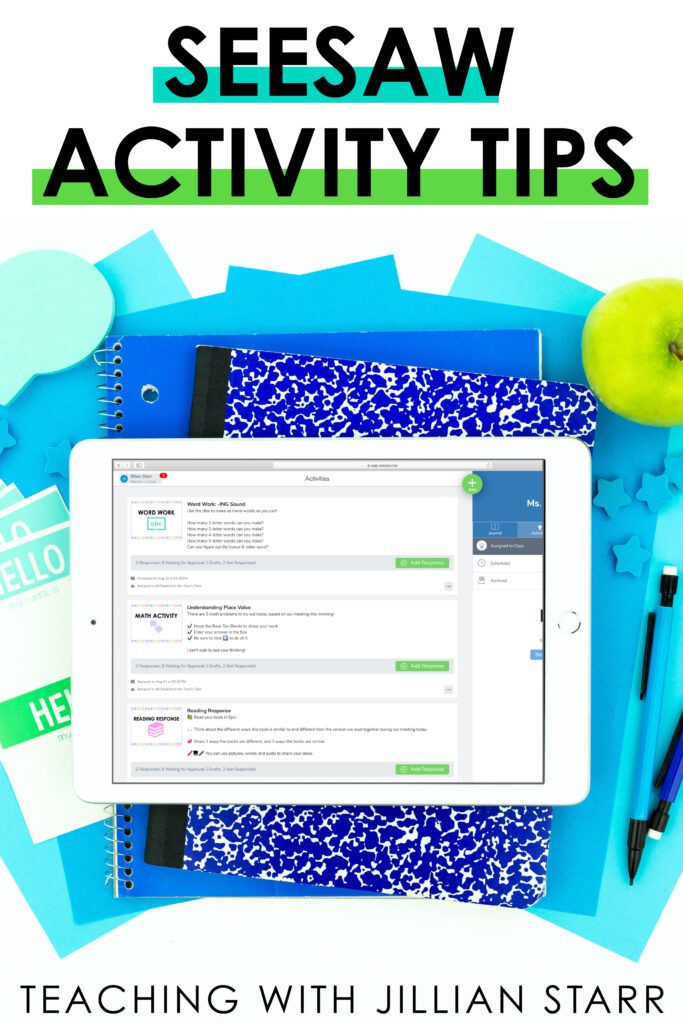
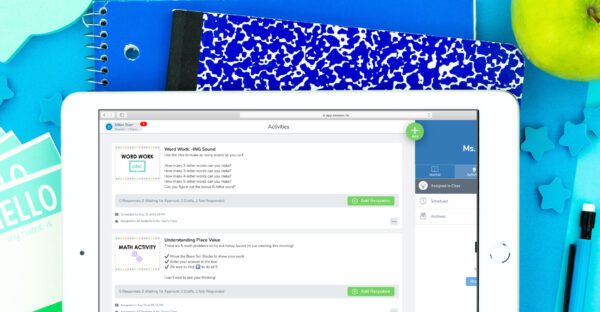
One thing that worked really well for me was creating images for our Seesaw Assignments. I know this doesn’t sound like a lot, but hear me out! In the beginning, when my students scrolled through their assignments in Seesaw, each assignment image was either a different size, blurry, or had the words and pictures cut off. They were all mismatched.
Now, for a neurotypical student, this might not be an issue. However, for me, it REALLY helps when things are visually streamlined. When my visuals are clean and clutter-free, my brain can place attention where it’s needed.

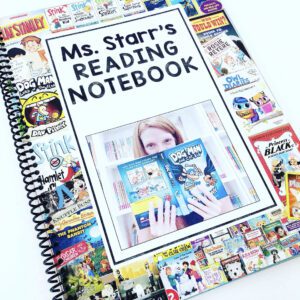
So, last spring I created activity templates for Seesaw in hopes of supporting my neurodivergent students (which would ultimately support all students). These are simple cover images that accompany each activity. It kept my student’s assignment page clean and limited distractions.
I uploaded these under “Add Multimedia Instructions or Example”. I could have uploaded it as the first “Template for Student Responses,” but then it wastes one of the 10 options I have for my activities. I want to make sure I give myself as much space as I need for different types of assignments, so using the “Add Multimedia Instructions as Example” was my best bet!
CLICK HERE to grab a set of these cover images for FREE!
Seesaw Tip #2: Use Emojis to Create Visual Directions
We know that visuals play an instrumental role in our physical classrooms, so they should in our virtual classrooms as well. Cue the use of emojis!
Seesaw actually has their own visual icons which can be REALLY helpful, especially the icons that match their buttons and options!
Emojis are a great way to develop visual directions in your Seesaw Activities. Check out the example below to see an example:

Not only does this help my early readers who may be navigating much of this independently, but it also supports my emerging bilinguals and students who may struggle with attention and miss directions. What we also know is what’s good for SOME students, is actually good for ALL students… so emojis are a must-have!
Seesaw Tip #3: Include Audio Directions
Just like using emojis to support visual directions, the audio feature in Seesaw is an amazing way to support all of your learners.

When creating a new activity, simply click on “Add Voice Instructions” to record yourself. I love the personal touch this can give assignments, and how it can help maintain the connection between you and your students.
Seesaw Tip #4: Activity Share Links
I know that not everyone is fortunate enough to have an amazing team that loves to collaborate. However, if you find yourself in this desirable situation, link sharing can be your best friend!
Many folks are not comfortable publishing their activities for the entire teaching world to see. That’s okay! You don’t have to in order for your team (or teachers in your school/district) to share activities. You can actually divide and conquer in creating assignments, and then share the links with one another in order to save each of you prep time.
Once you have finished creating your activity you can share it in one of two ways:
Use a Shareable Link
- Click on the activity you wish to share from your activity library
- Click on the three dots that appear in the bottom right hand corner
- From the menu options, Click on “Share Activity”

- From your choices, select “Get Teacher Link”

- Easily share these links to your activities (Google Docs are a great way)
- Your teammates will only need to click on the link, and then click “Save Activity” to be able to assign it to their own class.
Share to School and District Libraries
If your account was created through your school email, and your school/district has claimed your site, you can share to your school and district libraries.
- Click on the activity you wish to share from your activity library
- Click on the three dots that appear in the bottom right hand corner
- From the menu options, Click on “Share Activity” (as seen above)
- From your choices, select “Share to School and District Libraries”

- Your colleagues will now have access to your activity in their own activity libraries.
Seesaw Tip #5: Use Folders To Organize Student Work
The folder tool in Seesaw is a great way to keep your assignments and student work organized. Creating folders like “Reading Response,” “Word Work,” and “Math Journal Prompts,” will help sort your work into categories.
You can go about sorting work into folders in a few different ways (and some are much more efficient than others).
Assign Folders when Assigning Activities
The quick way to sort student work is to create settings that will sort AUTOMATICALLY! The way to do this is actually super simple.
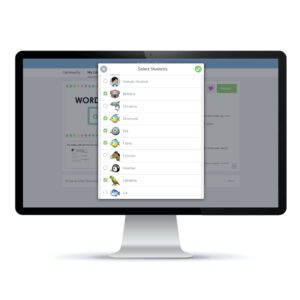
After you’ve created your activity, click the green “assign” button. When selecting the class or students, to the right reads “Edit Students, Folders, Skills.”

Click on folders and from there you can either select a current folder, or create a new one.
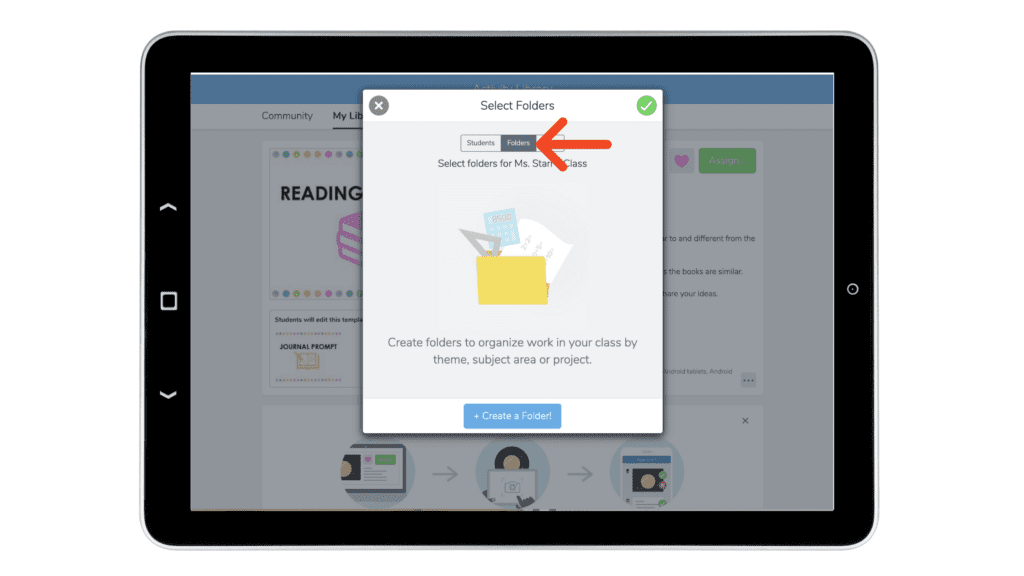
Now whenever a student responds to your assignment, their work will automatically save into that folder when it’s done!
Reorganize Manually
If you want to go back and create folders for previous assignments, it’s a bit trickier, but it can be done. In this case you would need to individually select assignments and manually place them in the folders.
I really hope that these tips have helped get you started with your Seesaw Activities. Stay tuned for more posts in this series every week this month! Next up? Differentiating Activities in Seesaw!
Your Virtual Teammate, Jillian



I know that you use a virtual classroom; do you link your schedule, small groups, and assignments all to the virtual classroom? I want to streamline it and make it as simple and least overwhelming as possible. Any suggestions?
Jilian
I hope that all goes well for you and that God will bless your family. i will continue to keep your family in my prayers!.
Thank you, Jillian! I’m going to work on creating the folders for assignments! That will be so helpful!
Thank you! Thank you! Thank you! We did not get started on Seesaw until AFTER school started so it has been trial by error. You actually answered several questions I had, such as folders. This has been a Godsend for me!
I have put a clock or calendar on the wall of my virtual classroom that links to a schedule. The M-F post-its on the bottom I would have linked to new slides with the daily assignments. I would have those assignments linked to individual assignments in Google Classroom (or whatever platform you use). I hope that helps!
Thank you so much for being such a support, Mary! It means the world!
In regards to your cover images, did you just add it as the first slide in your multimedia? So then they would click to the next slide to listen to your video or link? Any info helpful. Thank you!!
Thank you so much for sharing these SeeSaw tips! We didn’t get going with SeeSaw until after our Distance Learning year started. I have only assigned 7 assignments so far. I love that we can create folders! I’m going to try that very soon! Also, thanks for sharing the download of multimedia cover images. I teach first, so anything I can use to help my firsties is a plus. God Bless!
Hi Dixie! I only put it in multimedia if I don’t need to give visual multimedia directions. You can actually give audio directions with the slide in place. Otherwise I would put it in with the templates as the first slide, and then students can click through the other 1-9 slides to access their assignments. I hope this helps.