Teaching coins and money can be difficult, even for the most experienced teachers. I mean, you are representing an abstract concept by trying to tie a (seemingly) arbitrary value to an object… what isn’t confusing about that?
Since I first started teaching, I’ve been trying to find different ways to teach coins to my students, and today I’m excited to share my top three tips!
Opportunities to Observe Coins
Before I teach anything, I make sure to give my students an opportunity to observe coins. I find that taking the time to simply observe and record what they notice helps dramatically with coin recognition.
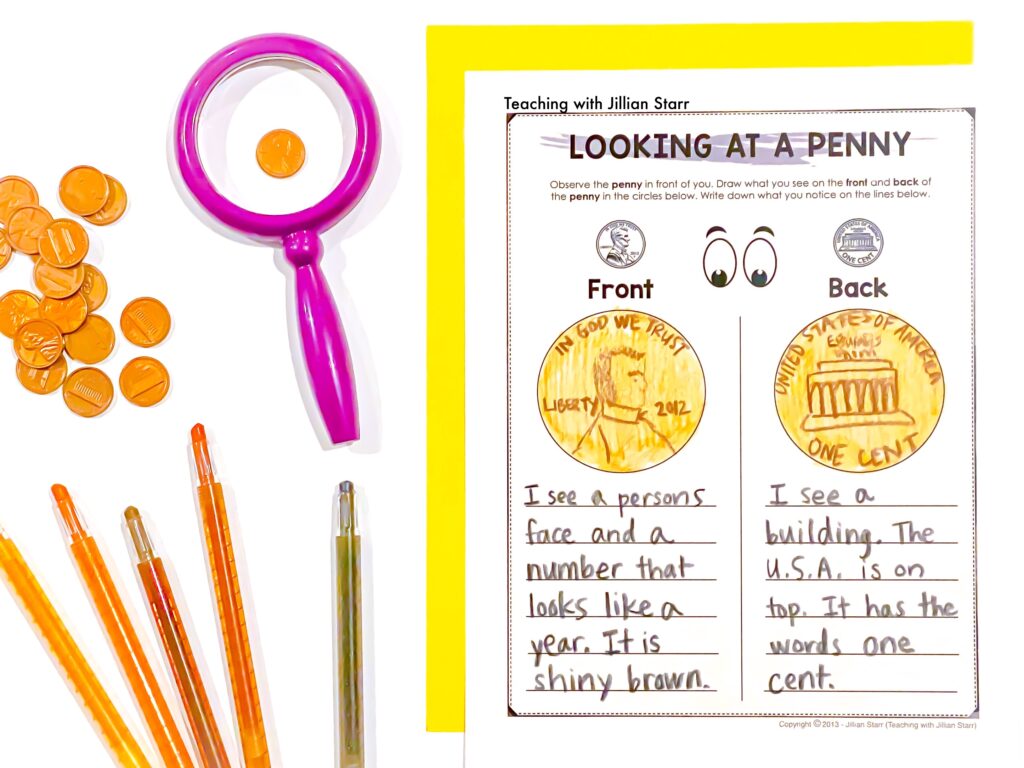
I introduce each coin one at a time. I give students ample time to draw the front and back of their coins, asking them to pay attention to the letters, numbers, and pictures they see. Then, I have them write a few sentences to share what they noticed. We do this four separate times, and I often integrate it with science by putting it at our science observation station.
Manipulatives to Teach Coin Value
Snap or Omnifix Cubes
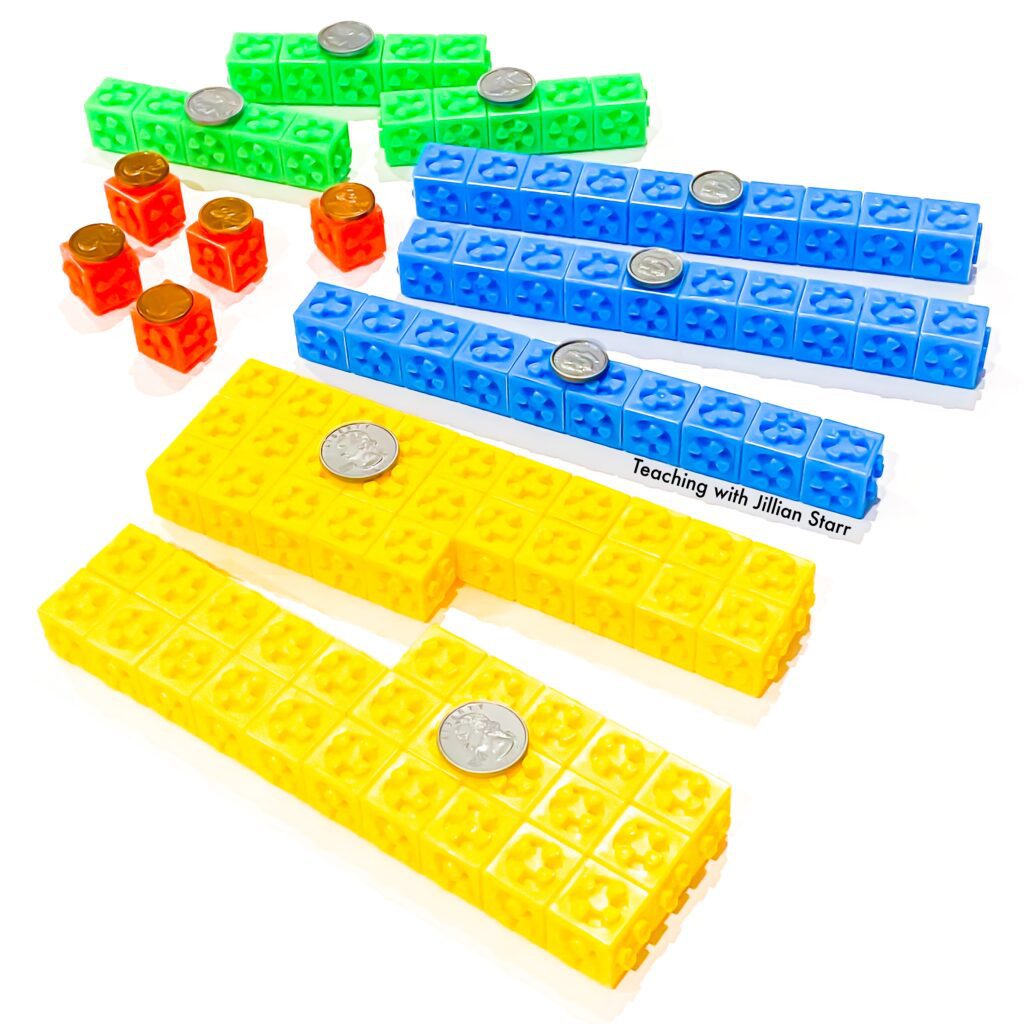
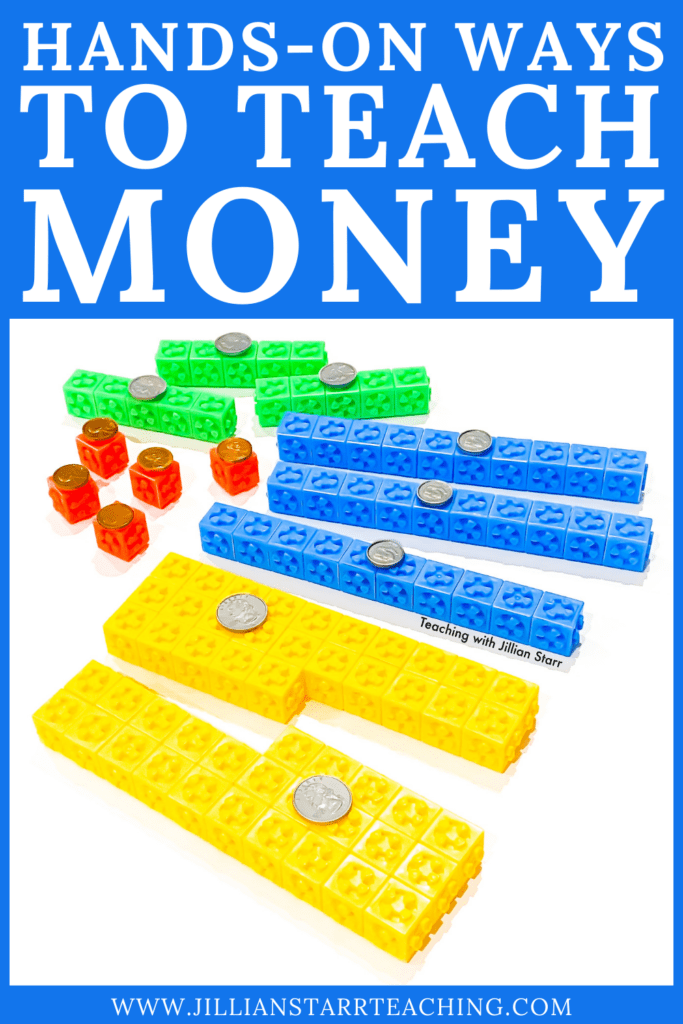
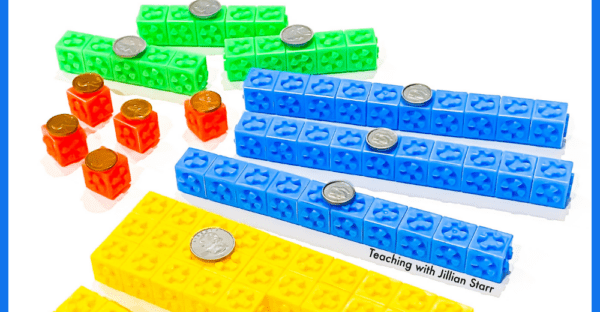
These are by far my favorite way to teach coins visually (this is a treasured tip my math specialist gave me over a decade ago). I visually represent each coin’s value by creating them with cubes. For example, a quarter will be 2 sticks of ten and a smaller stick of five snapped together. I then tape or glue a quarter to the front of it so students can make the connection between the value and the coin itself.
I love this because students can naturally see how coins relate to place value. They can visually see how a quarter and a nickel together make thirty because the nickel completes the stick of ten. They can also see how two quarters go together to make fifty if you flip one upside-down and allow the fives to form a ten! It’s amazing to watch the lightbulbs go off as they manipulate their cubes.
I introduce coin values this way to my whole class, but then make sure to reinforce it by using them in my small group lessons and always having them available for students to use when working at centers.
Coin Sorting Mats
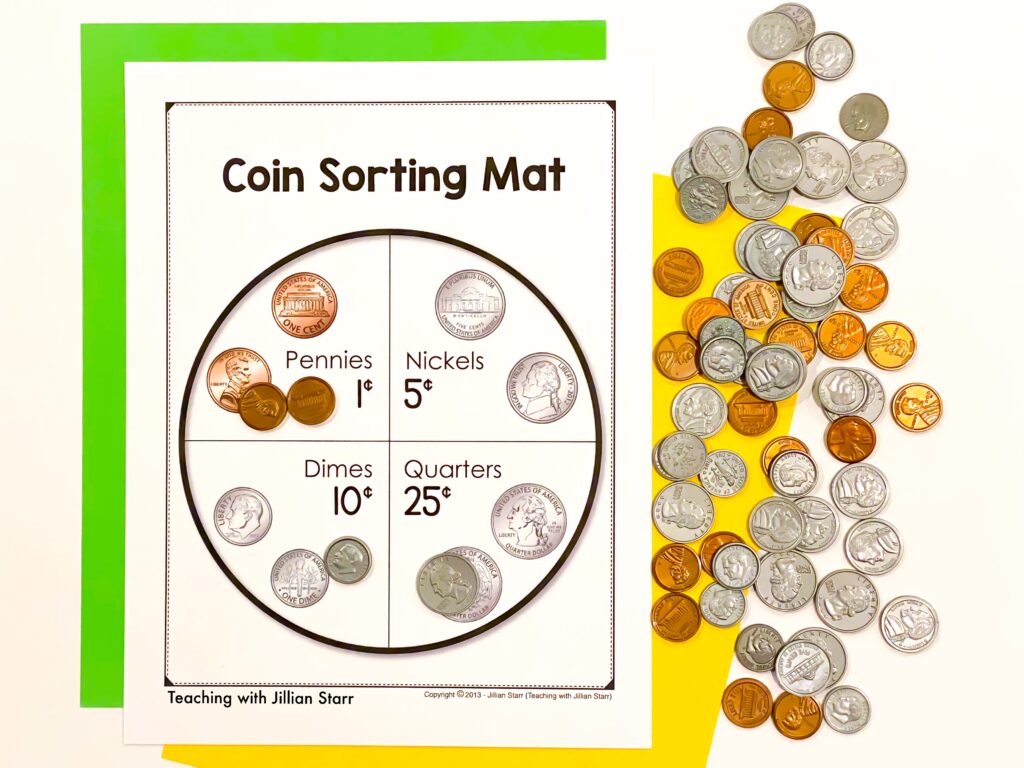
Sorting coins can be a great way for students to familiarize themselves with coins. Since so many U.S. coins look similar, the simple act of sorting coins on a coin sorting mat can really help students notice the small differences.
When using coin sorting mats to introduce coins, it’s also really helpful to have a visual of each coin, the name, and the coin value. While we’re not asking students to do anything with this information at this stage, it can subtly create a foundational understanding we can build upon later.
Coin Banks
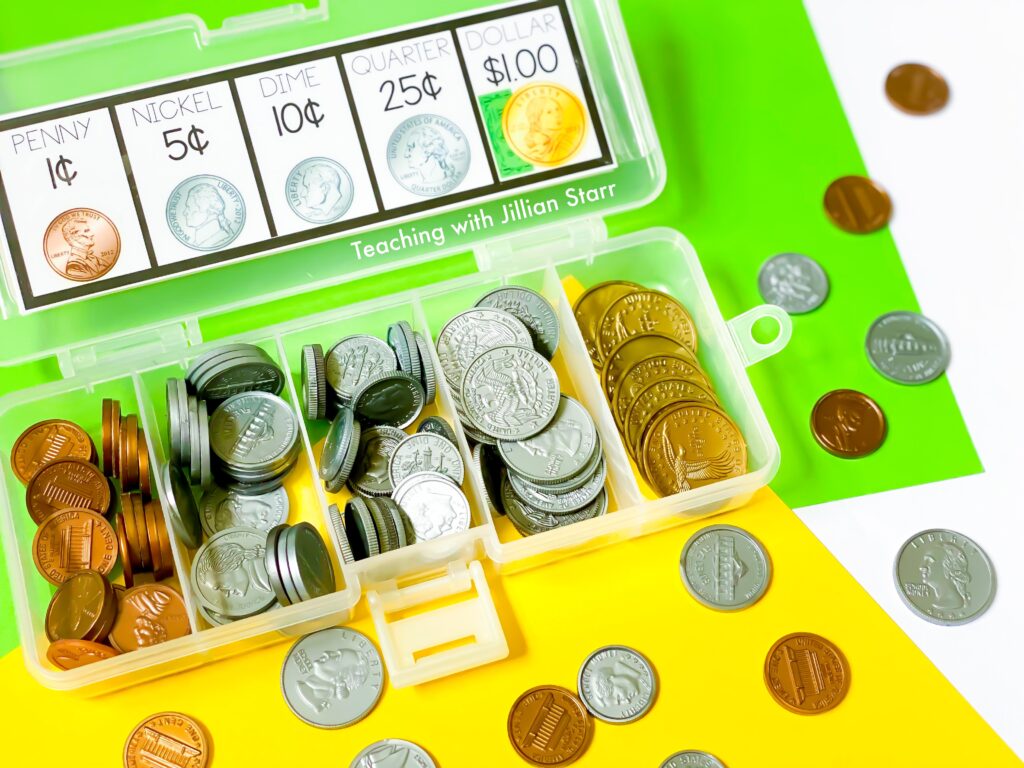
Coin banks are one of my favorite organization strategies, but they’re also a fantastic way to help teach money. When organization systems build in natural scaffolding, it’s a win/win for any teacher!
I made these banks with my FREE labels and small compartment boxes from The Container Store.
FREE Coin Bank Labels
Use Visuals to Teach Coins
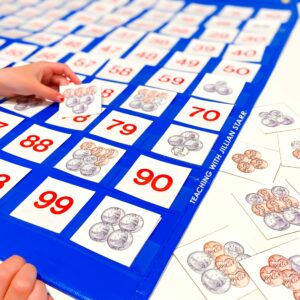
Word Wall Cards or Posters
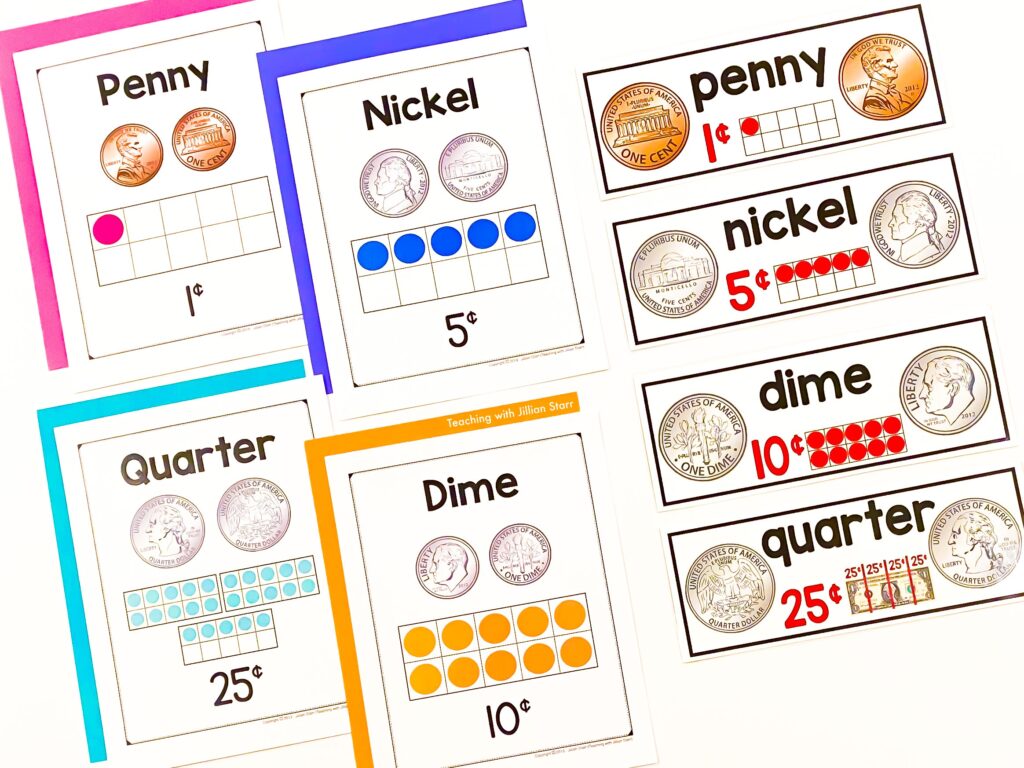
You know that I’m all about providing reference tools for students. When teaching coins, I like to make sure that all of my visuals include:
- an accurate image of the front and back of coins
- the name of the coin
- its value
- the value represented on a ten frame
I actually use posters AND math word wall cards when teaching coins. Why? I like to have the large posters of the coins above their value on our class number line. I also like to make sure that our money terms are always included in our math word wall to provide consistency.
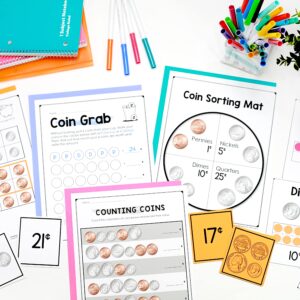
Coin Counting Centers!
Enlarged Coins
I have been using enlarged coins to teach money since my first year in the classroom and I will NEVER go back. I purchased mine at Lakeshore, but I know you can find them on Amazon and Didax as well.
I put magnetic tape on the back of each coin so I can easily display them on our whiteboard, and manipulate them during our math discussions. These large coins are SUCH a helpful visual when teaching whole class, and 10/10 recommend!
Repetitive Coin Activities
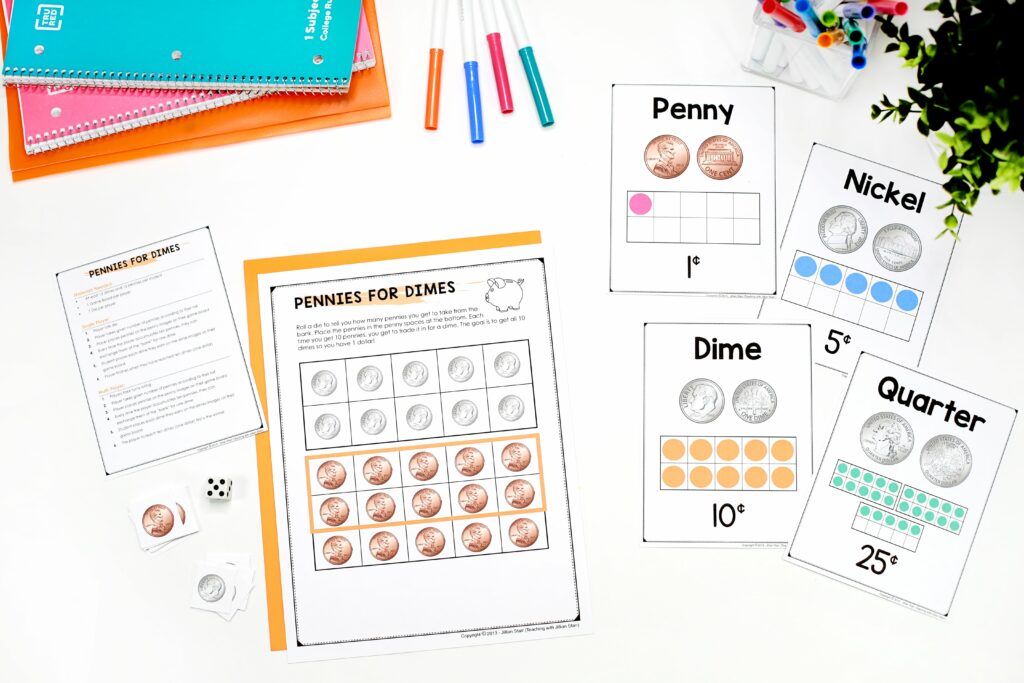
My favorite activities when I first start teaching coins are those that help build an understanding of equal value (e.g. a dime’s value is equal to the value of ten pennies). The game “Pennies for Dimes“ (seen above), and its partner “Pennies for Nickels,” are fantastic ways to build this understanding.
What makes these even better? These games can be played independently, in partners, or in a small group.
How to play:
- Player rolls die
- Player takes given number of pennies according to their roll
- Player places pennies on the penny images on their game board
- Every time the player accumulates en pennies, they can exchange them at the “bank” for one dime
- Player places each dime they earn on the dime images on the top of the game board
- Player finishes when they have reached ten dimes (one dollar)
- If playing with others, players take turns rolling, and the winner is the first to reach ten dimes.
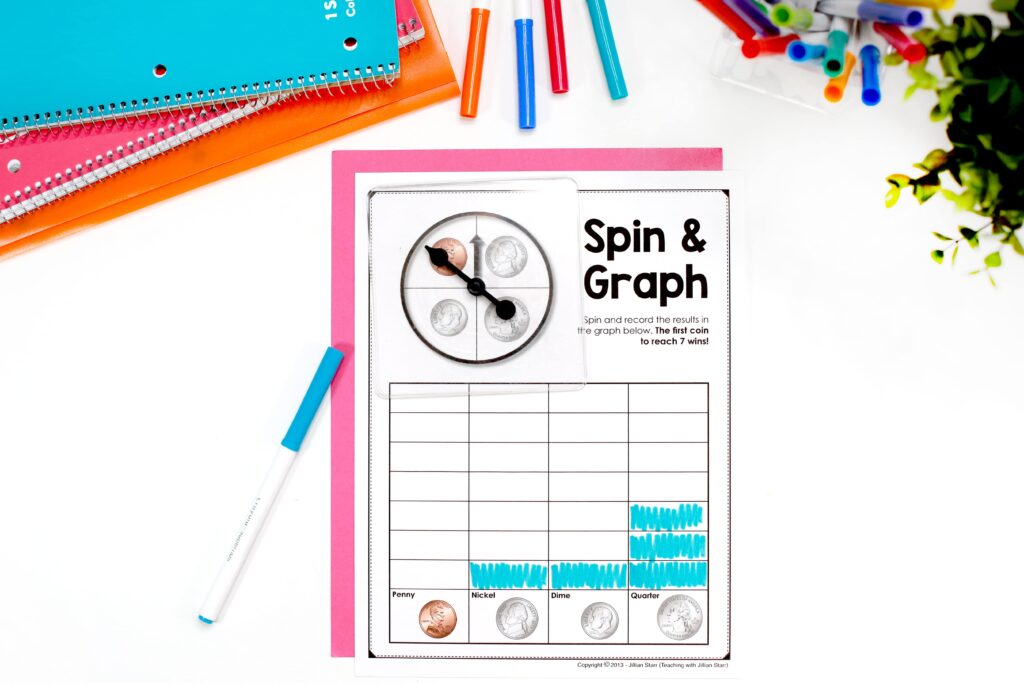
Another easy peasy way to teach coins favorite is coin graphing. Just spin, have the students identify the coin by naming it, and then color in the corresponding place on the graph! It’s repetitive enough that it quickly helps with coin recognition, but engaging enough that students enjoy it!
I hope these ideas have been helpful and you have a few takeaways to support teaching coins and money in your classroom!
