As a student, I was THAT kid. The kid who struggled with dyslexia and ADHD. I was always given different assignments. And I knew it.
So, when I entered the classroom as a teacher, I dedicated myself to approaching inclusion in an affirming way. My aim is to support students without singling them out and ensuring they feel empowered (and powerful) in the classroom. And I’m on a mission to help you do the same!
My strategies for inclusive literacy centers center around two questions: “Is my resource or lesson scaffolded in a way that supports ALL of the kids in my room?” and “How can I modify, challenge, and extend my content for those who need it/are ready?”.
And here’s the trick. It’s a win-win! Proactively supporting everyone in my classroom actually made MY teaching life easier as well.
Today, I’ve laid out three strategies that will make your literacy centers inclusive in a way that works for ALL of your students. And in the process, I want to help you ease the burden that many of us face as we attempt to meet a broad range of needs.
Visual Directions
Over the years, I’ve seen and heard many different ways to set up inclusive literacy centers. There are multiple ways to provide individualized and inclusive support for students within an ELA block. One significant gamechanger: Visual directions.
When I first launched literacy centers in my classroom, I placed a lot of emphasis on oral directions. I noticed that a handful of students could engage in the day’s rotations without difficulty. That select few could keep my spoken instructions in mind as they made their way through all of the activities. However, for the grand majority, I spent a large amount of time redirecting and retelling directions. This was frustrating for my students who, at the end of the day, really wanted to be independent learners. But they needed another scaffold to get them there.
The moment I started adding in more visual directions and teaching students how to use them was the moment I saw my classroom community become empowered. They were using their classroom and their teammates as resources, rather than relying on me.
Visual directions refer to a very broad range of supports and resources. So, I’ll try to break down a few of them for you today.
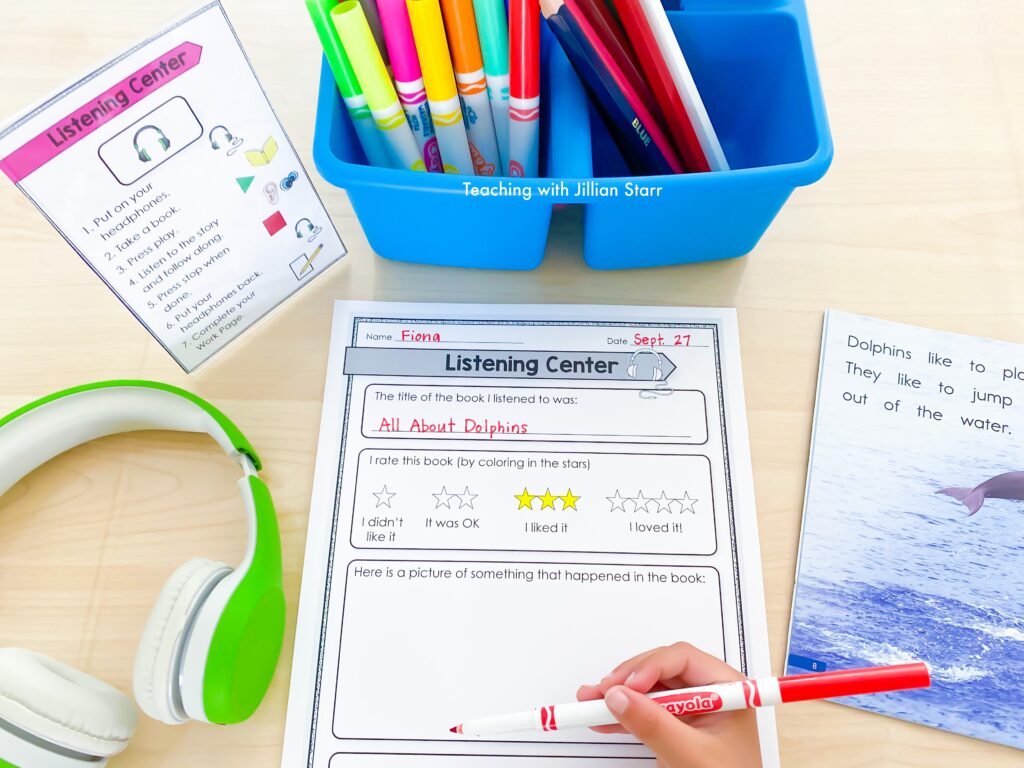
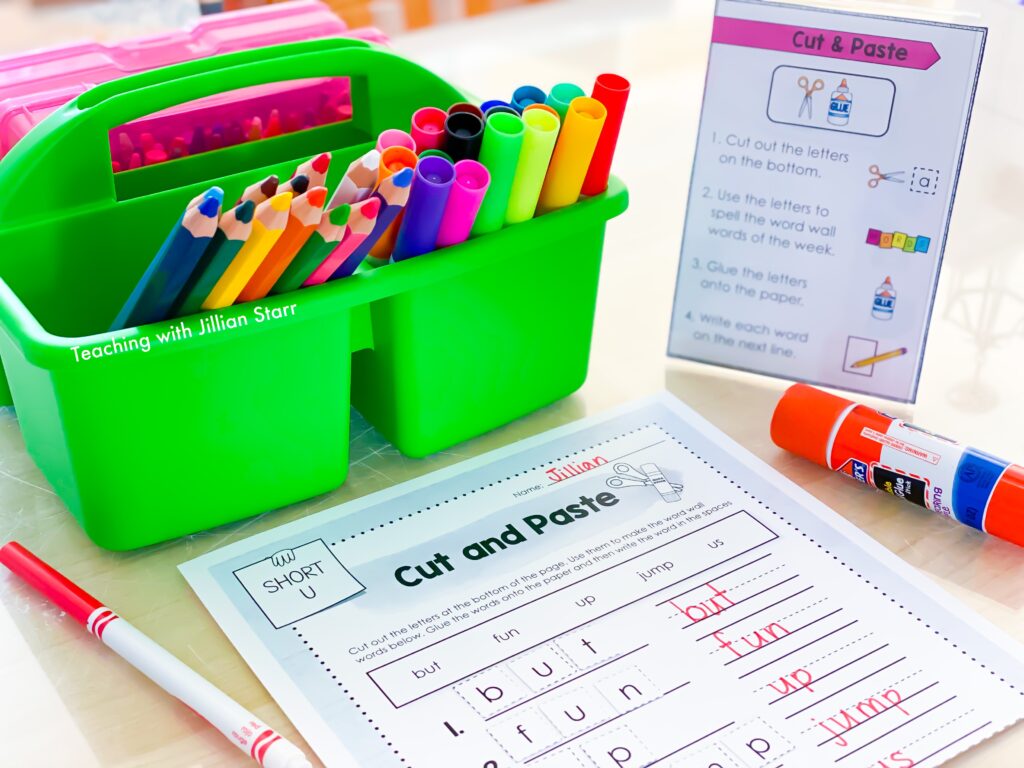
- Activity-based instructions for the whole class that combine words and pictures.
- Individualized visual directions for specific activities
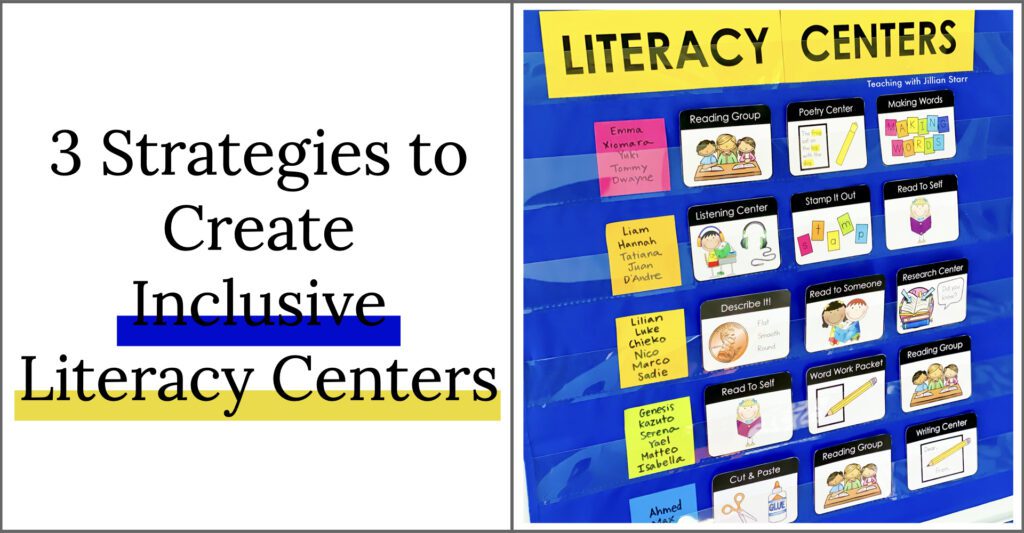
- Individual visual supports that help students navigate the structure of literacy centers
Images for Everyone!
A huge lesson I’ve learned from over a decade of teaching in inclusive classrooms: simple, no-nonsense images paired with written instructions support everyone. They are a gold standard strategy for universal design for learning. Those who need them will use them, those who don’t need them won’t be held back by their inclusion. That’s why I use visual directions at every literacy center, even though we practice and review the activities beforehand.
Simplicity is best! I make sure to keep the pictures simple. I work with a large emerging bilingual population as well as a number of kids with language-based IEPs. I’ve noticed that the more basic the picture, the more helpful it is for the student. Is the written direction to cut along the line? Show a pair of scissors cutting a dotted line. Is the next step to write a sentence? Use an image of a pencil writing words with punctuation.
I give basic, visual instructions to everyone because they benefit everyone. There are many ways to present visual supports within your literacy block, and the great thing is, you can always start simple! Small changes can have a huge impact on your students’ independence! (Interested in reading about my go-to visual supports? I love them so much I wrote a whole blog post on the topic and you can check it out here!)
Word Work- Phonics & Sight Word Bundle
Examples!
Examples of finished work are also excellent ways to provide inclusive literacy center support that benefits everyone. When I model an activity, we go through the activity from start to finish. This means there is always an example of what it looks like when finished. Once we have modeled and practiced (and practiced again) a center activity is officially added to our repertoire. So, I laminate the example. Sometimes I even tape it to the bin where the activity is kept along with the instructions.
You may be wondering, why would examples of finished work be helpful AFTER modeling? All students need to be able to envision their finished product. Sometimes students, and particularly students who need support with executive functioning skills, need a visual. I always include a photo or exemplar piece of work showing what it will look like when finished. This is especially helpful when students are working on a less familiar task, activity, or game.
Individualized Directions
Some students need extra academic scaffolds. Individualized directions can help students complete the SAME task, but with additional resources. In literacy centers, that might be:
- A personalized spelling pattern “cheat sheet”
- A direct-insturction, small group resource that can be applied to independent activities
- Larger directions broken down into smaller, more manageable pieces
- A word bank
Transition & Self-Management Supports
A favorite in my classroom is a First, Next board. A First, Next board is essentially a small visual work board for specific students to support self-management, time-management, and transitions so that students are able to successfully engage in the same activities as their peers. While whole-class work boards help many students know what to do next, for others they can be overwhelming or confusing. First, Next boards help many of my students make smooth transitions as they can anticipate what is coming.
How does a First, Next Board work? I make mine with two sides with a line dividing them. On the left-hand side, it says “First.” Underneath I give instructions for what to do, where to go, and what materials will be needed. I keep these as pictorial and simple as possible. On the right-hand side, it says “Next.” The student’s second activity for the day goes on the “next” side. Again, I put very simple instructions focused on the materials, place, and activity. These are easy to make on a piece of paper, laminate, and reuse all year long!
Embedded Differentiation
One of THE MOST SUCCESSFUL strategies for creating inclusive literacy centers: design every activity with a low floor and a high ceiling. When developing new resources, I seek out opportunities and activities that lend themselves to easy modifications (low floor) and extensions (high ceilings).
There are two ways in which I approach making activities that can be modified or extended with ease (and at the discretion of the student). I create ELA activities that are naturally differentiated, and I develop literacy centers that include a lot of choices.
Naturally Differentiated Activities
If you’ve been reading my posts about Guided Math, you are probably familiar with open-ended math journal prompts. They are an activity that gives students a lot of autonomy regarding the level of challenge while simultaneously helping to develop more robust mathematical flexibility and fluency.
I aim for the same kind of open-ended nature with many of my literary centers. All students work on similar ELA concepts and word work skills at varying degrees of difficulty.
Phonics poems and poetry journals
These give students a similar level of differentiation and autonomy as math journal prompts. With phonics poems, we start the week by learning the new poem as a whole class. Then, as we split into centers, everyone can use the SAME text in a variety of different ways.
Let’s think about how readers at different stages might interact with the same poem:
- Emerging readers might focus on finding sight words within the weekly poem, starting in a small teacher-led group for explicit teaching and then go onto independent work.
- Midlevel readers might focus on reading the SAME poem to themselves and/or partners. Then, they might practice writing sentences about the poem.
- More advanced readers can use the same poem with prompts that require more advanced phonetic knowledge or extended writing. They might even be asked to write their own poems using the patterns found in the original.
Are my students working at the level that is just right for them? Yes! Can everyone focus on the same poem? Yes! Can each student bring something to the table when in a larger, mixed-ability setting? Yes!
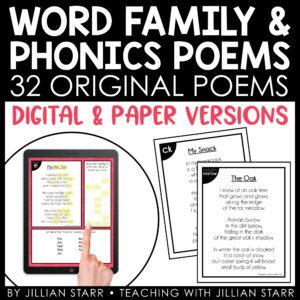
Word Family & Phonics Poems
Another of my favorite inclusive literacy centers! At the Making Words center, students work on the same spelling pattern at a flexible degree of mastery. Students who need a modified practice tend to build words that have fewer letters, while students who need a challenge have the opportunity to find longer words that also include other spelling patterns we have covered. The beauty of making words is that students will naturally enter the activity at their just-right level.
Stamp It Out is another opportunity for students to work on a skill or concept to the degree to which they feel most challenged. My Stamp It Out worksheets are double-sided. One side is dedicated to a modified version of the activity. On the opposite side, students can either start with or finish with an extension.
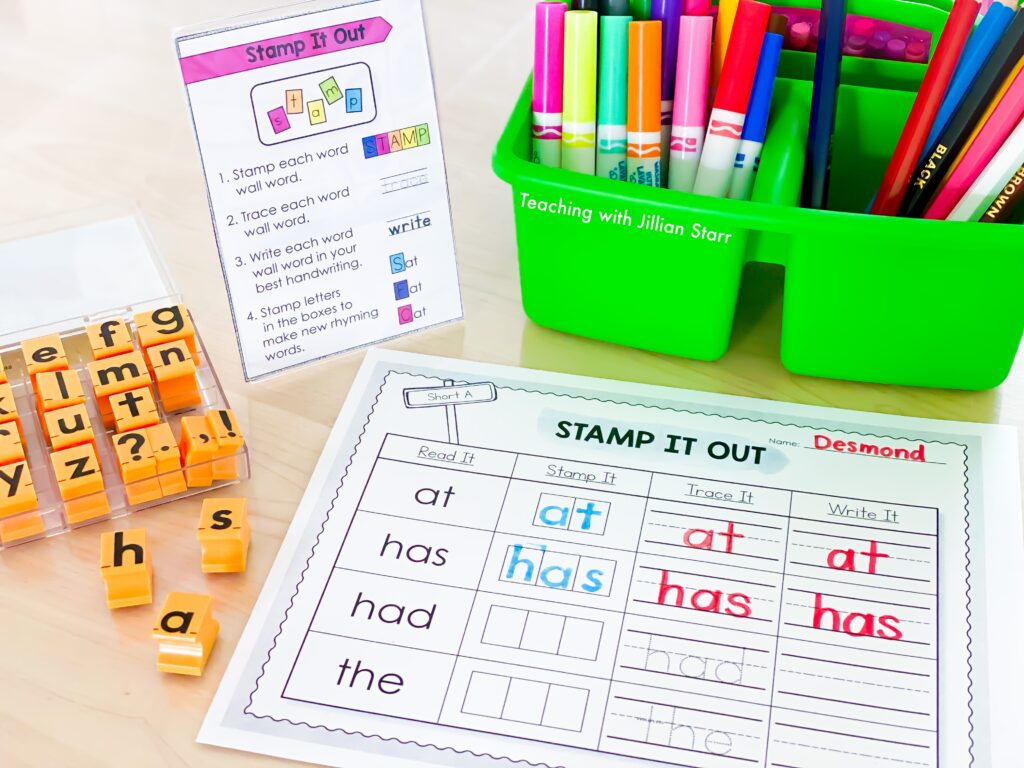
Sometimes what you’re looking for is in plain sight!
For many years, I struggled to find engaging and inclusive literacy centers, especially when it came to spelling. I felt like students were constantly going through the motions, completing the tasks I asked them, and often waiting for more.
That’s when I realized I needed to provide more choice. Choice provides naturally embedded modifications and extensions.
How do I accomplish this? Word Work menus became my golden ticket. Students know what needs to get done, but they have options for when and how they do it.
My favorite way of organizing a Word Work menu is restaurant-style. I create a 3-tiered menu that includes appetizers, entrees, and desserts. Students need to pick one of each. I found that these kinds of word work menus ensured that students chose a mixture of activities that would meet their needs.
My appetizers, entrees, and desserts differ from week to week, so I can shift them to match what my students need. Here are a couple of examples:
- Menus organized by skill necessity: For example, appetizers are review. Entrees work a specific skill or concept that might be newer and require more time. Desserts are review or activities that are easy and fun, but can be save if there is extra time.
- Menus organized by level of brain-power needed: For example, appetizers might be a warm-up, entrees requiring more time and patience, and desserts a fun way to review the day’s content with little at stake.
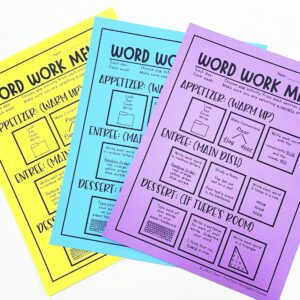
Word Work Menus
Get Word Work Menus that actually WORK! Providing strategic choice will empower your students, while ensuring they’re practicing essential skills!
Predictable Routines & Ownership of the Classroom
Over the years I have worked with young learners who have needed almost every existing inclusion classroom support. Predictability and confidence in one’s own space is key.
You’ve probably heard some of these questions right in the middle of a center:
- Where does this go?
- I’ve run out of _____________, what do I do?
- I’m finished, now what?
These questions were interrupting my small groups and student independence for years. Now, imagine a world in which all of these questions have been practiced BEFORE sitting down to do work.
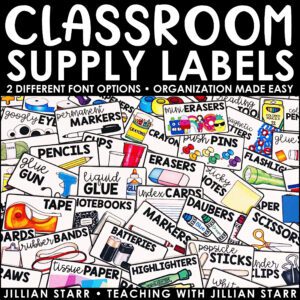
Part of our growth as a classroom community comes from students’ ownership of their classroom and their classroom routine. We take our time building our space and create routines that make sense to everyone. We even organize resources to best benefit the whole community. For example, we decide how to arrange wall resources. Over those first few weeks, we review where to find and how to put away materials, and we develop solutions around how to fix day-to-day problems before they happen.
In addition to knowing what to do and where to go, we spend days (or weeks) setting up routines and teaching activity structures. I teach the games and activities that we will use to learn throughout the year, using review materials.
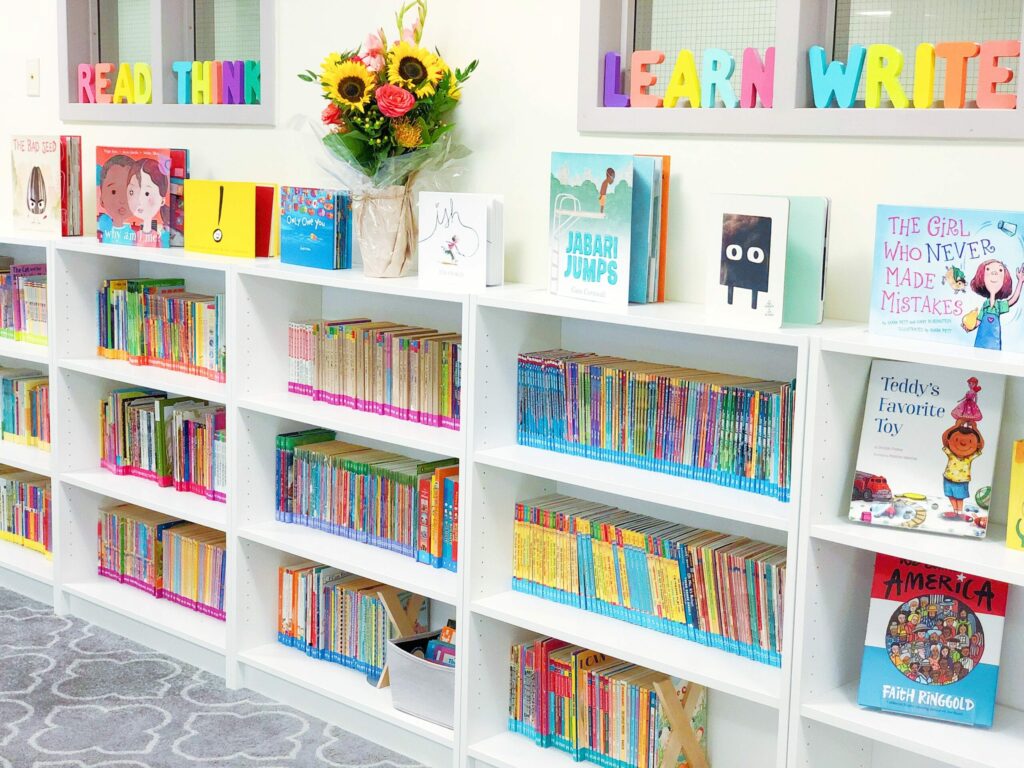

Why? Instructions can be a barrier to entry. Many students, particularly with neuro-differences, get stuck on “how to do” something. They spend their time feeling frustrated or doing an activity incorrectly instead of practicing the content at hand. Whenever I send my students off, I want to make sure that they can focus on the skill or concept I want them to practice.
So, we remove that barrier. Students know what to do, where to find materials, and where to recheck instructions. The result? I can focus on my small group while knowing the classroom can keep going independently. And, I can see my students confidently practicing and taking care of their own needs without depending on constant, direct teacher support.
Challenging and supporting ALL students at their unique point of growth is crucial. I hope these strategies help you on your journey toward a more inclusive literacy block. I can’t wait to hear how you have implemented them in your classroom this year. If you have any questions or suggestions, please let me know! I love hearing from this community.


Leave a Comment