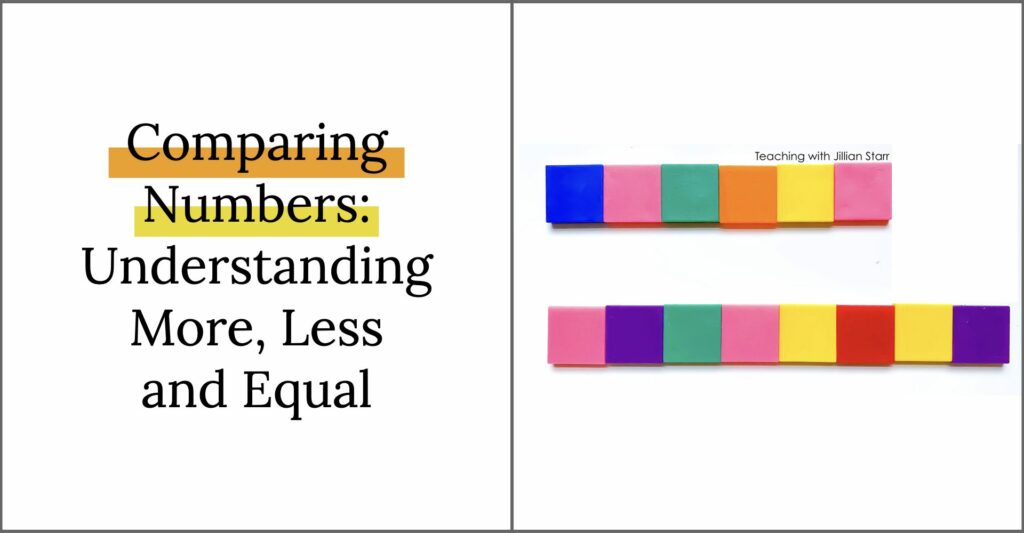
I didn’t always appreciate how students built an understanding of comparing numbers. When I started teaching, I got to the unit where students began looking at pictures of two amounts and assumed that because they could count, they could naturally jump to comparing numbers. I thought the hard part would be teaching them the language and symbols to represent ideas like more, bigger, smaller, greater than, less than, same, equal…etc.
Now I know better! Comparing numbers is a skill that happens in incremental stages.
The 3 Stages of Comparing Numbers:
A lot has to happen before we can expect students to start comparing numbers out of context and using symbols to show those comparisons. Today, we’re going to make sure we take a look at three main stages on the path to successfully comparing numbers.
Comparing Numbers with Groups of Objects
The first stage of comparing numbers is to start with comparing groups of objects. We want students to be able to see what is the same and different between them. Kathy Richardson (math guru), makes an important distinction between comparing organized groups and unorganized groups (e.g. two groups of square tiles lined up vs. two piles). First, let’s take a peek at comparing organized groups:
Comparing Numbers in Organized Groups
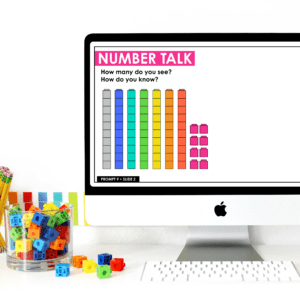
It’s far easier for students to compare groups when they are lined up than when they’re disorganized and spread out. When students see a stack of 4 Unifix cubes and a stack of 7 Unifix cubes, we want them to be able to do three things:
- Use the stack of four to help them figure out how many are in the stack of 7
- Be able to communicate which stack has more or less
- Be able to tell how many more or less
Let’s break that down:
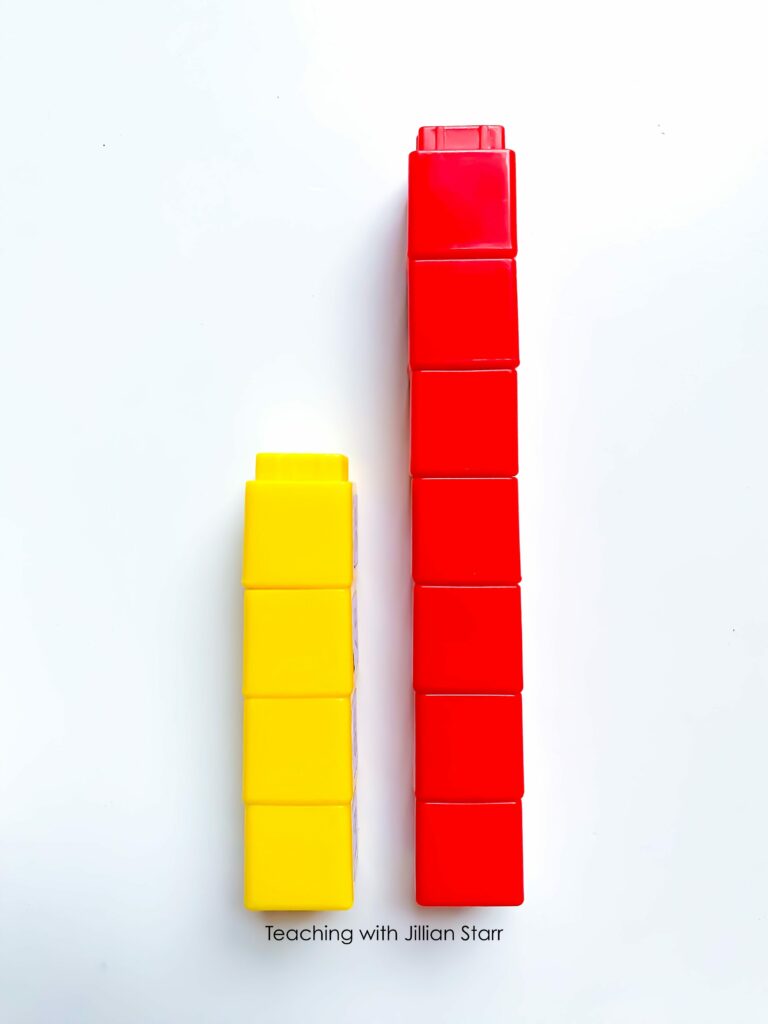
We want them to see that each stack has four, and then be able to use the part that’s the same to help them count on and figure out the other number. So if a student has those stacks of 4 and 7, a student would count the stack of 4, recognize the 4 within the stack of 7, and then start counting on… 5, 6, 7.
Being able to use one number to determine another is a really important skill! This means we want to use manipulatives that can be easily lined up for comparison: Unifix cubes, square tiles, or other common manipulatives you would use for non-standard units of measurement.
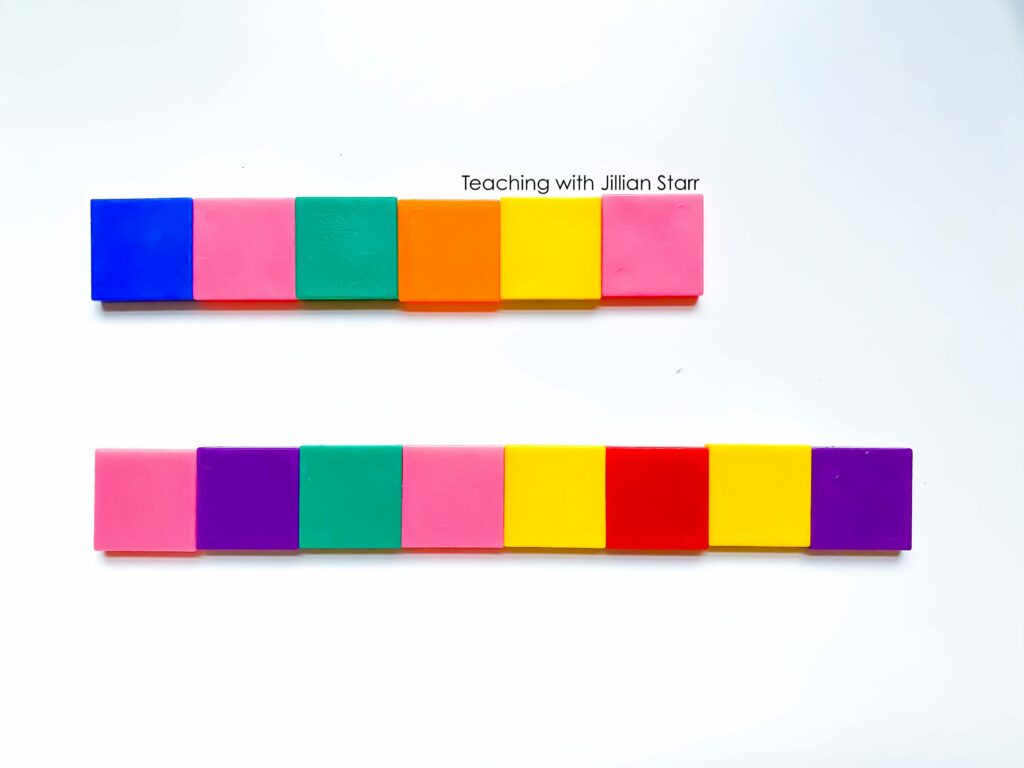
As students start to become familiar with these visual comparisons, we can begin introducing the language to support the comparisons they’re understanding. This may not always be using terms like “more than” and “less than” but it will be communicating those ideas.
Slowly, we move into being able to discuss how much more or less when comparing groups. We want students to be able to take their comparisons to the next level by describing the difference between the two in terms of quantity. First, we work with small comparisons of numbers like 5 and 6, or 5 and 7, and after with larger differences.
Comparing Numbers in Unorganized Groups
Once students are successfully comparing numbers in organized groups, we can have them compare unorganized groups. Imagine two piles of blocks: one has 7 blocks and one has 8. When a student determines the quantity of each pile and communicates which is the bigger number or smaller number, they have reached a new benchmark.
This is because they no longer have that visual cue of more/less. There is no side-by-side comparison of their blocks lined up to visually SEE which has more. They have to rely on what they know about quantity and use it to consider more and less.
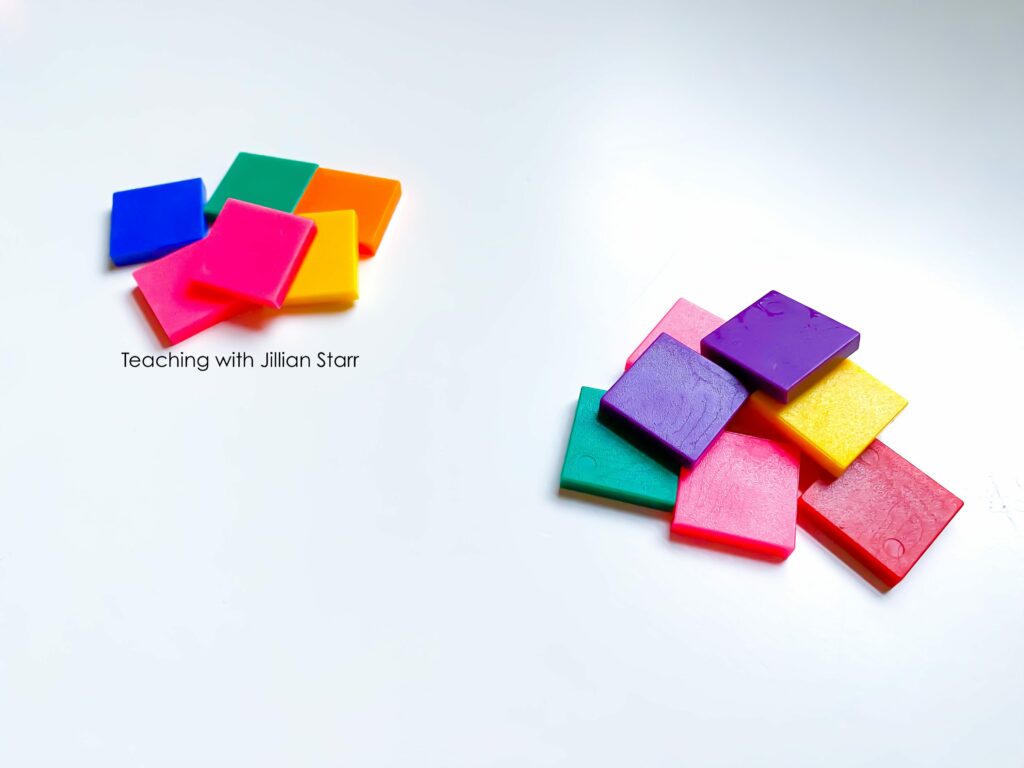
Similar to the progression with organized groups, when students are ready, we can take it up a notch and students can find out how MANY more or less.
Comparing Numbers with Numerals
Comparing numbers and quantities using numerals is a whole new ball game! Even in unorganized groups, objects are tangible and concrete. When we move to numerals, we are moving to abstract representations of quantity. This means students must have a strong sense of quantity and be able to attach those quantities to symbols (e.g. numerals).
We begin comparing numbers with single-digit numbers, even if students have shown they are able to compare two-digit numbers with objects. Why? Because written numerals of two-digit numbers require an understanding of place value.
What do I mean by that? Students can likely compare 12 and 21 using objects and identify that 21 is larger and 12 is smaller. However, when only looking at the written numbers 12 and 21, young students may find it difficult to distinguish the two in isolation.
Initially Scaffold with Objects
I like to begin by assigning written numbers to groups of objects we’ve counted. This helps begin the connection between the concrete and abstract. Essentially, we’re revisiting the activities from before and now adding written numbers. I find this provides the perfect scaffold for students and reinforces the connection between quantity and symbols.
Using Number Paths & Number Lines
Once students have solidified this connection, and it is clear they have a strong understanding of quantity, I like to move on to visual representations for comparing numbers: number paths and number lines.
Number paths and number lines are a great way for students to see the relationship between numbers. I don’t recommend using a hundred charts for comparing numbers, and instead, stick with the number lines and paths where numbers increase in a single direction.
When students can place two numbers on a number path or number line, they can see the relationship between the two numbers and determine which is greater than, less than, or if they are equal. When initially utilizing these visuals, we will use premade number lines and ensure that the numbers we compare fall within that range.
Building Tens and Ones to Compare Numbers
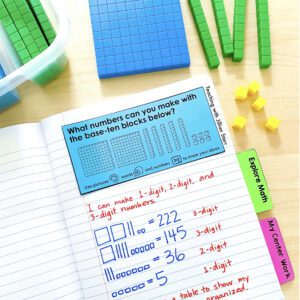
As we move into two-digit numbers, it can be helpful to reinforce place value concepts with visuals! This way, as I mentioned before, there is less confusion when comparing numbers like 12 and 21. We can do this by building written numbers with Unifix cubes or base-ten blocks.
With Unifix cubes, I like to create sticks of ten and then have ones left over (sometimes using a ten frame for visual organization). I model working with two different numbers and building each out of tens and ones.
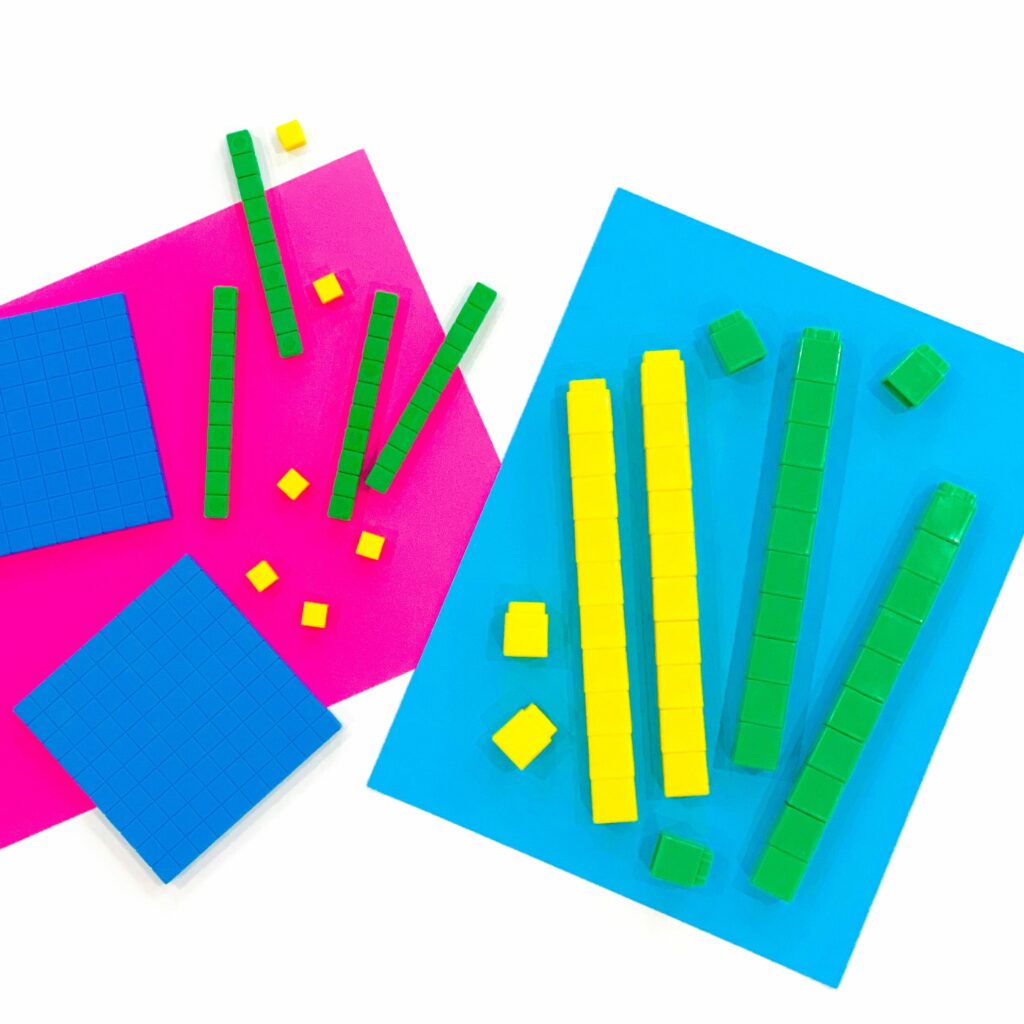
You can do the same with base-ten blocks. However, this would be for students who are more familiar with unitizing and counting by tens to build their numbers. This is because they are not building the numbers block by block and creating groups of ten along the way. Here they are building with pre-grouped units of tens, which requires a higher level of understanding. (You can read this post about counting by 10s to understand more of what I mean).
Once you have built the visual representation of each number with tens and ones, we can guide students to strategies for comparing numbers. First, we look at the number of tens place to see if one number has more. If one does, we know which is the greater number. If one doesn’t, we can move on to the ones place to see which number has more and make a determination of greater than or less than.
Removing the Visuals
Our goal is to slowly remove these visual scaffolds as students become more and more confident with their understanding of quantity and written numbers. Eventually, we want students to look at only the written numbers 32 and 15 and be able to determine that 32 is greater.
Comparing Numbers with Symbols
Comparing symbols should be the last step in our teaching of comparing numbers. Ideally, we wouldn’t have to teach these symbols until later grades, but like me, you probably have had to teach <, >, and = starting in kindergarten and first grade.
Why do I wish this? These symbols are simply a convention. They do not necessarily represent the knowledge or understanding of comparing numbers. <, > and = are the symbols we have attached to the content. Let’s make sure that we spend MOST of our work comparing numbers with objects and written numbers.
There are lots of ways to teach these symbols (I have an entire blog post about visuals to teach greater than and less than signs). Regardless of how your curriculum introduces these symbols, the focus should be the language about “greater than,” “less than,” and “equal to,” instead of getting kids to know which way the opening should face.
While knowing the appropriate symbol, and which way it goes is important, it needs to be connected to the language. Otherwise, students may find themselves in later years looking at symbols without numbers (e.g. x > y) and not knowing what to do.
I hope this post has been helpful in understanding the stages of comparing numbers. It’s important to really focus on the relationships between numbers when comparing numbers. Symbols are a way to express those comparisons!

