Virtual Teammates, it’s time we talk about guided reading.
I’ll admit it. Planning guided reading was my ultimate weekly feat. It took me hours to pour over the data I had collected on student reading progress. I felt like I was constantly reinventing the wheel when it came to engaging and effective lesson plans. And what would help guide my independent students while I worked in small groups?
Can you relate?
There was a lot of trial and error involved in planning guided reading. But over the years, I have started to find practices that make planning guided reading easier. I implemented simple routines and systems that transformed my guided reading block and gave me back hours of prep time.
I narrowed down those routines and systems into five steps that will transform how you plan and implement your own guided reading block. Let’s dive in!
1. Use consistent centers to make planning easier
Teammates, if there is one teacher tip I will stand by no matter what, it is this one. Keep your centers consistent and predictable. It will increase student independence, support an inclusive classroom model, and make planning guided reading so much more efficient.
The student-centered positives are something I talk about a lot:
- Students know the routines (what to do + where to go)
- Student anxiety or confusion lessens
- Students feel more confident in the directions (so confidence and motivation increase)
However, the positive impact of consistent centers also directly affects TEACHERS! They make managing and planning guided reading a breeze (or at least, breezier). Therefore, the teacher-centered benefits are unmatched.
First and foremost, when students know the routines and feel confident that they know the directions, your management system becomes even more effective. The most significant shift I noticed was that I wasn’t spending my time putting out fires after I became more consistent with my routines.
Back in the day, I “changed up” my centers regularly to keep things exciting. And oh yes, they got really exciting. But not always in a positive way. I noticed students sitting silently, not knowing what to do. I also heard kids calling out, “What do I do now?” from across the room. Every day wasn’t “mayhem” exactly, but I certainly wasn’t able to focus on my small group instruction. And my students weren’t thriving emotionally or academically.
Once I decided to keep things simple and consistent, all of that changed. I focused on modeling and practicing only a select few activities. The content would change, but the directions wouldn’t. Students knew where to go, what to gather, and what to do. My focus could stay with the students directly in front of me.
The other massive teacher benefit of consistent centers is easy planning for guided reading.
The “change-up” has some pros, but a lot of cons. In my personal experience, I found that constantly changing my centers and adding in new activities didn’t serve me.
You see, prep-time and class time are precious. And every time I would add in a new activity, it would eat away at both. I would spend hours creating everything for a literacy center for every new activity I implemented. That included worksheets and directions. In class, I would spend precious small group time modeling and practice all of the new activities.
Consistent centers gave me back hours of prep time. I use activities that are already naturally differentiated. So, planning per skill as we progress is simple. When I sit down to plan, I already know what to use. I plug in the working skill that students need to practice. And, tada, my centers for the week are complete.
Teacher Tip: Decide on a variety of centers before you begin planning new content for the year. Know what you are going to have students do each week. After that, you can plug the content based on student needs.
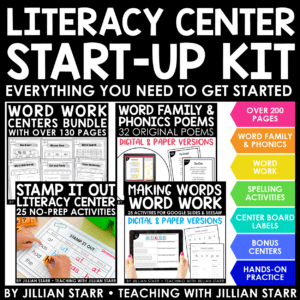
Literacy Center Start-Up Kit
2. Reading Graphic Organizers
My experience learning to read profoundly informs my teaching practice. I was the kid who, more than others, needed more scaffolding and one-on-one time with my teacher. I was also the kid who was turned off by reading because I was given books that were “my level” but uninteresting. My teachers also gave me very different work than the others.
So, when planning guided reading, I have some firm pedagogical beliefs:
- Students should be reading books that they love
- Students should have resources that support specific skills and comprehension at their level (rather than a completely different activity)
- Guided reading activities should be naturally differentiated and accommodate all the students in your classroom.
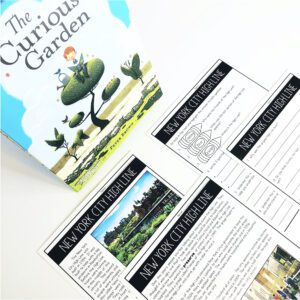
Reading graphic organizers meet those criteria. They are the universal guided reading support. They are flexible, can fit any text, and meet students at their level.
Once you teach students how to use reading graphic organizers, they become independent learners no matter the reading level. Why is that?
- Graphic organizers are direct visualizations of the comprehension skills you are teaching.
- They can support almost any book.
- They are a low floor, high ceiling activity, with opportunities for students to draw or write about the book.
Teacher Tip: Directly teach your students how to use the graphic organizers. Model and practice each graphic organizer within your small groups as you work on new skills.
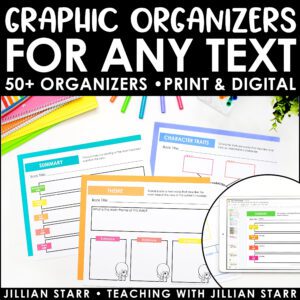
Graphic Organizers to Use with ANY Text
3. Dedicated space
Never underestimate the power of spatial organization!
Seriously, you might not realize it, but an organized space saves a considerable amount of time for planning guided reading and managing guided reading centers.
Why? Because when you proactively dedicate space for each subject area, you are already planning. You are planning where you will teach, the materials, and how you envision students using them.
The most important thing for me is that all of the materials I need are quickly accessible from my small group table. That includes:
- Folders
- Binders
- Whiteboards
- Highlighters
- Pre-printed worksheets (ready to go for the week)
With all of those materials nearby, I can quickly turn, grab, and turn back. It is helpful as I plan out all of the working pieces of a literacy block. I can quickly reference student progress, remind myself what I have done with certain groups, and check what’s missing.
4. Individual Student Binders
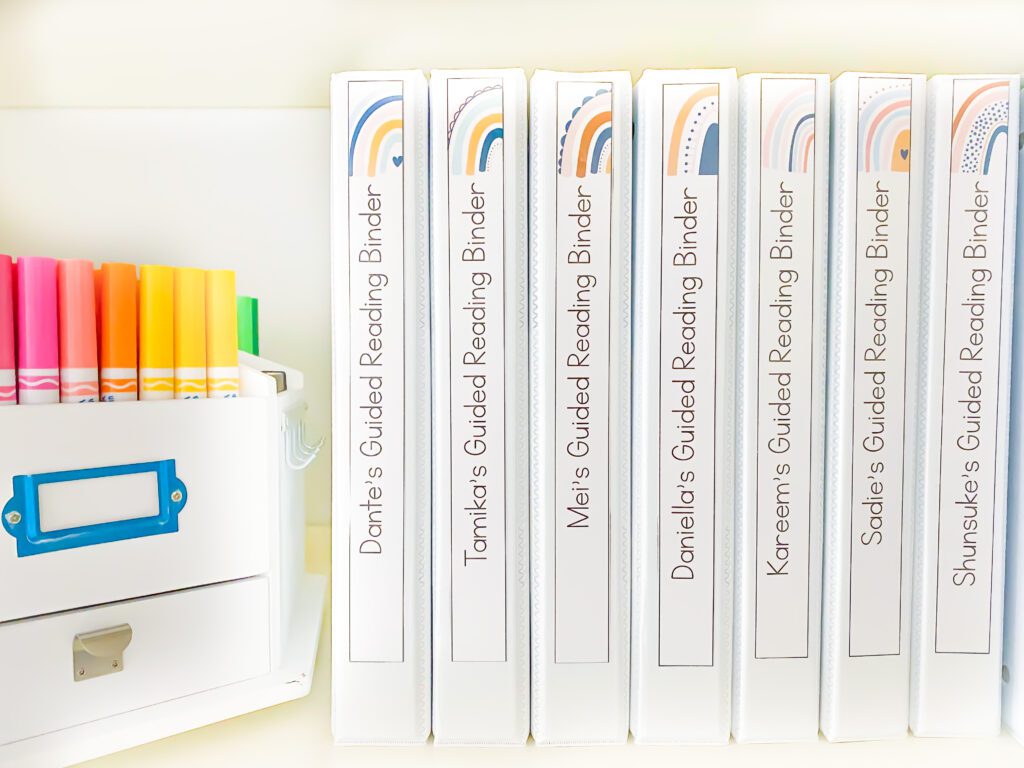
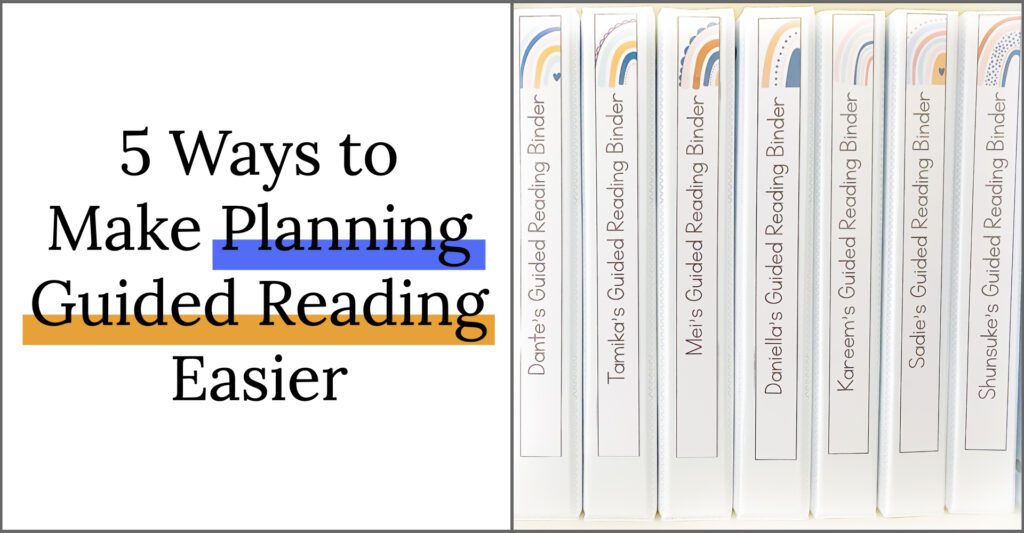
Individual student binders were the game-changing decision that made planning and implementing guided reading so much easier. In fact, these binders have made such a difference in my literacy instruction that I dedicated an ENTIRE blog post to them, which you can check out here!
My individual student binders are a collaborative data collection tool and organizer. They are where I store all of my guided reading notes (from running records to quick jots during small group) and where students house their written work. I keep all of these guided reading binders within close reach. They are housed just behind my teacher table, ready to be grabbed as needed.
Inside is simple. It starts with a table of contents. Then, it is complete with templates that make guided reading small group notetaking quick and easy. I grab a template, and we are ready to go. The template is divided into columns: day, book, level, and notes. All student work from guided reading centers goes behind those filled-out templates and notes. That includes completed work AND missed or unfinished work.
Data collection for guided reading (a longstanding headache) became streamlined as soon as I switched to individual binders. Everything I want to collect and keep track of goes inside each individual guided reading binder.
That includes missed and incomplete work. Talk about a planning guided reading lifesaver! Whenever a student needs extra time or has missed a day, work still goes into their binder. Then, I routinely set up a “Catch Up” center. Students grab their binder and take a look and what needs to be finished.
The most valuable aspect of these individual student binders for guided reading is the trust they build between students and me. Implementing this system was the first time I had created a place for assessment easily accessed by students. Students use their binders to house their work, and they also use their binders as a personal portfolio. They can regularly look back and see their own growth, including the notes I’ve taken as they have grown.
Trust is built. They can see that the notes I’m taking are supporting them, and they can see exactly what I want them to work on. Win-win!
5. Database of grab and go lessons
Right now, I need to give my former in-person team an enormous thanks. I’ve been fortunate to work with collaborative, hardworking teammates. One of the most successful creations stemmed from those collaborative teams: databases of grab-and-go lessons.
Dear virtual teammates, whether you are part of a collaborative team or planning solo, this is a lifesaver. A database of grab-and-go lessons will save you an incredible amount of time when planning guided reading.
Without a database, I was constantly reinventing the guided reading wheel. I felt like I had to be creative and come up with a new lesson for every skill and every book I read with my small groups. Over time, I was collecting lessons but often forgot about them so I would recreate it yet again. It was exhausting.
And I wasn’t alone with my exhaustion. So, that’s when I started working with my team to create a database. It quickly became a time-saving resource. Every time we used a lesson, we would add it to the database. When we were looking for a lesson, we would check the database first. If one fits our needs, we would grab it and go!
You might be wondering how to get started. Here’s how I do it (and it is so, so simple):
- Create a Google Doc (yes, I love Google).
- Add a table with columns and rows.
- Add titles to your columns:
- Book Title
- Lesson outline
- Terms
- Skill
- Link entire lesson plan to the table for easy access.
- Either within the document or as an outside document.
There are, of course, many ways to create a database. You (and your team) might realize another way of going about it that works best for you. For example, you might want to use a spreadsheet instead of a table within a doc. Play around with the organization. For those flying solo, reach out to your virtual community! I have met some of the most thoughtful, creative, and intelligent teachers through Instagram and Facebook. And, I’ve heard tales of many internet connections blossoming into virtual teammates 🙂
At the end of the day, guided reading can be one of the most engaging and exciting subjects to teach. There is a lot of flexibility with different texts. And there is nothing more rewarding than seeing a child lost in a good book. I hope these five tips help your planning guided reading easier. As always, if you have any tips of your own, please let me know! I’d love to hear them.

