It’s that time again… back to school! While the Sunday Scaries are real, few things make me more excited than setting up a classroom. My teacher imagination runs wild imagining all the areas dedicated to learning and growing. I can picture the tools that will be available to students. I can feel the energy that our new incoming classroom community will bring.
In my years of teaching, I’ve set up (and re-set up) many classrooms across several grade levels. However, none are more vividly etched into my memory than the moment I stepped into my very first classroom. I was lost. My mind was filled with questions. Where will my students learn? How will they use the space?
A brand new classroom is a blank canvas for learning. How you design your classroom impacts the learning and teaching that will take place. It can impact the community and the flow of the day. So, think of this blog post as a checklist for an efficient and effective classroom setup! I’ve compiled a collection of ideas and strategies for setting up a classroom that has helped me create cohesive and inclusive classroom communities. Now, it’s your turn!
Split Up Your Classroom
Over the years, across many different spaces, I’ve played with setting up classroom spaces to serve student needs. I’ve found that there are five crucial spaces I always need when setting up a classroom:
- Meeting Area
- Workspace
- Storage Space
- Teacher Space
- Library
Meeting Area
First, the meeting area. In my classroom, this is where we begin and end each day. Whole group lessons take place here, as do read-alouds and shares.
We spend a lot of whole group time in the meeting area. Therefore, I make sure that there is space for all students to sit comfortably and be able to interact with one another. I have space for a board (whiteboard, smart board, etc.). The meeting area’s walls include community resources, such as calendars, schedules, and classroom agreements. Don’t forget at least some small bookshelf to store read-alouds!
It is important to visually indicate the meeting area as separate from the rest of the classroom. Like many teachers, I often use a large rug to identify the space and create a homey feeling. Bookshelves or benches can also make for a natural divider. Some teachers even double the walls of the meeting area for library walls!
Workspaces
Next, I think about workspaces. Students work independently, collaboratively, and in small groups. Sometimes they work with me, and sometimes they need a space where they can navigate an activity without any guidance.
Think about how many tables and chairs will be needed. Are your tables conducive to both independent and group work? Is there flexible seating available? If so, where can students go to make a choice that works for their bodies (see: storage and materials below)?
Sidenote: Recently, COVID-19 precautions have led to new seating requirements. How will your school’s requirements for spacing impact your workspaces?
The Library
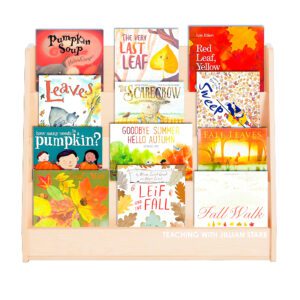
Classroom Libraries are also key areas to designate in the classroom. Again, every room is different. Some libraries consist of multiple bookshelves. Others are just one well-curated selection of books.
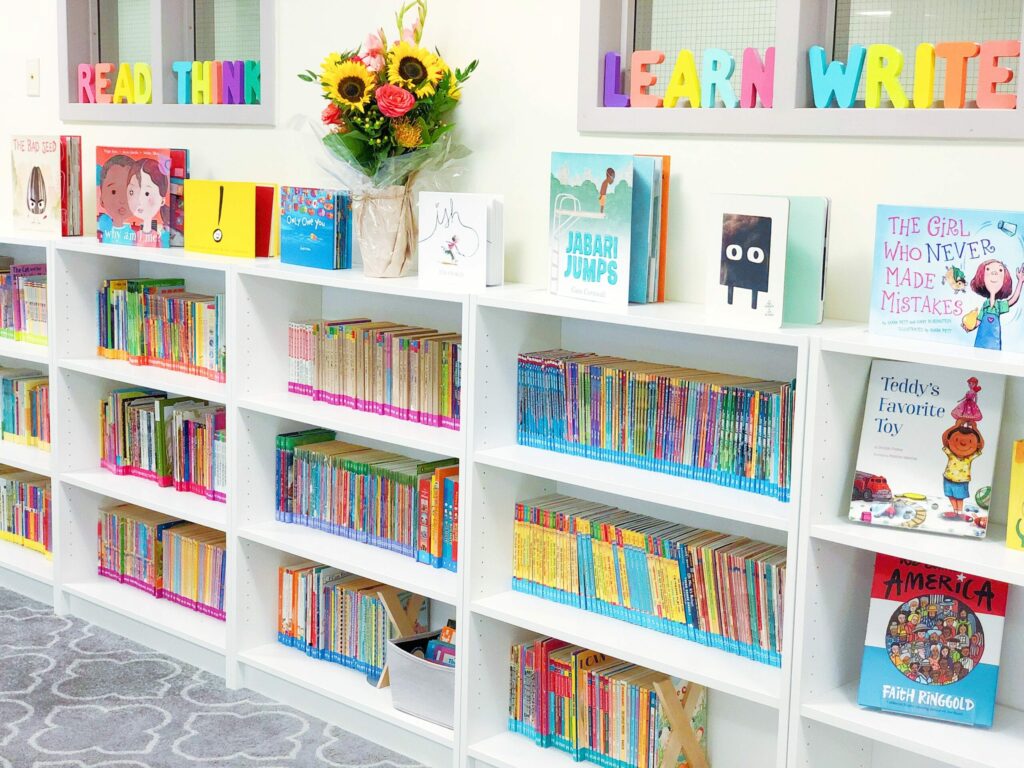
When setting up a classroom, the classroom library should always be located in an area that is both easily accessible to students and a little “off the beaten path.” Why? Because you want students to be able to find a book independently and browse their options without worrying about disrupting other students.
Storage
While it isn’t glamorous, storage also needs a place in your classroom. When setting up a classroom, it is important to think about both student-facing storage and teacher-facing storage.
Student-facing storage includes:
- Cubbies for lunchboxes, coats, extra clothing, backpacks, etc.
- Designated spaces for individual classroom materials, folders, and binders.
Teacher-facing storage includes:
- Places to put tools and materials that you use daily
- Places to organize materials needed for each day
- Areas to store materials that don’t need a permanent place in your classroom
- Back-up lesson plans and year-long planning materials
Teacher Space
Finally, don’t forget about yourself. Teacher space is also an important part of the community environment.
Whether or not you choose to share your space with students is up to you. However, over the years, I have realized how important it is for there to be a dedicated area for a teacher’s desk or table and materials (including my beloved flair pens). Actually, I find that the teacher space is the most versatile space in the classroom. Setting up a teacher’s space in the classroom gives you a place to plan, a space for small group work, a place for “rare” materials, and sometimes even a safe corner for students to regulate.
Having a dedicated teacher space doesn’t mean that your area should be front and center. When setting up a classroom, I like to keep mine tucked into the corner of our primary learning/group work area. That way, I can use it to lead small groups while keeping an eye on the rest of the class. Proximity to small group and planning materials is a must as well!
Setting Up a Classroom Space for Materials
Once you decide on the classroom layout, it is time to think about the fine-tuned aspects of function.
Word of advice: Don’t fall into the trap of planning for pretty rather function. I often see beautiful classrooms with very clearly defined spaces with one catch. The materials students need are on the other side of the room.
So, what happens? Students scramble to find their materials. The typical “beautiful chaos” of the classroom quickly becomes messy and frustrating. Once I embraced strategic organization of materials throughout the classroom, I no longer heard students calling from every side of the room, “Where is the pencil sharpener?” or “I can’t find my binder!”
Our days go so much smoother when:
- Teachers can easily find what we need
- Our students can independently access the materials
- Everyone can help put back materials after use
So, think about two questions as you go from layout to setting up a classroom space:
- What do my students need to be successful in this space?
- What do I or my co-teachers need to be successful in this space?
For me, I want students to be able to see the materials they need from their workspace. All my math materials (including manipulatives) are in one location right next to the area where we do the math most. Binders, paper, and pencils for literacy can be found in one place: right next to the area where we do the most literacy work. Read-alouds, schedule cards, and calendar cards are all tucked on one shelf: front and center in our meeting area.
Bottom line: I place materials right where they are needed most.
Setting Up A Classroom with Transition Spaces
Picture this: You’ve designed the ultimate classroom. You dedicated every inch of your classroom to a specific subject, storage, type of learning, or community activity. There is no wasted space; everything has a function.
But wait. Not all spaces should be active. For your day to run smoothly, you need adequate space for transitions.
What are transition spaces?
Transition spaces are all of the spaces used to move from one part of your classroom to another. For example:
- Space between tables and chairs
- The areas surrounding your active learning zone, between the learning areas and the walls
- Space for students to move from one learning zone to another
- Space in front of key materials and shelves
How do I make sure there is enough transition space? I think about points of entry. After setting up a learning zone, I ask myself:
- How do I want students to get to and from the space?
- Is there enough wiggle room for many students to follow a direction at once?
- Can students exit or enter independently, and are they able to get to multiple places from one transition area?
Ultimately, you want students to be able to use the spaces you create. Likewise, you want students to be able to move freely without feeling frustrated.
Create a Safe Space
Inclusive classrooms need safe spaces.
Students are not allowed to leave our classroom during the day. Yet many students have sensory sensitivity or have moments of deep emotions. So, what happens when a student becomes overstimulated in these ways? They need a safe space to separate and regulate.
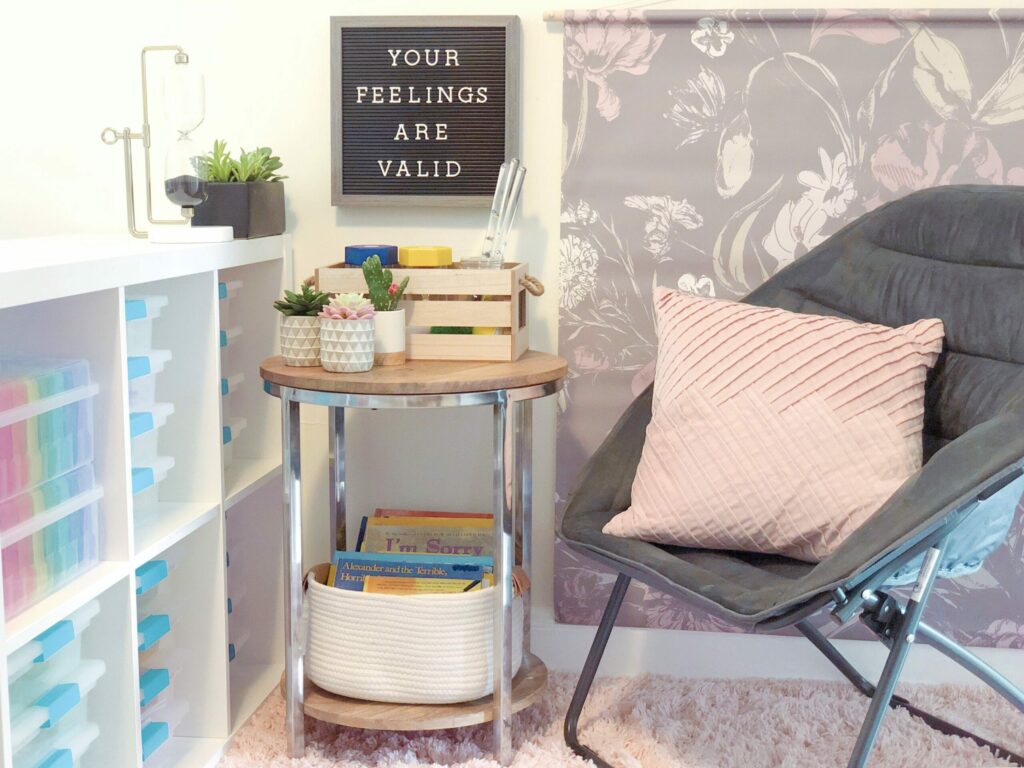
What does a safe space look like? Ideally, a safe space is located in a corner of your classroom, just slightly removed from the other spaces. “Just out of sight” is essential because students need privacy. If other students can easily see them, they may not be willing to use the space.
Sometimes, classroom space is limited. That doesn’t mean the safe space is the first zone to get rid of. One year I had so little space that I made a safe space under my desk!
Get creative with your safe space. And make sure that there are plenty of tools for self-soothing connected to it. Pillows, hourglasses, and breathing technique cards are all simple and effective ideas for your space safe.
Create Space for Student Ownership
Imagine being a kid. Nervous, you step into your brand new classroom with a teacher you’ve only seen in the hallway once or twice. As soon as you enter, you spot a familiar word on the wall: your name! Excited, you keep looking around. You spot it four more times! This is your classroom.
When setting up a classroom as a teacher, never forget: the classroom belongs to the students. Furthermore, students who genuinely feel like they belong and have a sense of ownership over the space will connect to the community much more quickly. That’s a massive step toward a successful year.
That is why I start with student names in at least five places. Why so many times? When students walk into the room, they know they are meant to be in this space. I want students to look around and see themselves in all parts of the classroom. Not just their cubby!
Here are some of my favorite places in the classroom to put names while setting up at the beginning of the year:
- On their cubby
- Marking their meeting seat
- On a binder spine with the literacy materials
- Labeling their math manipulatives box
- On the door to the classroom
- On bulletin boards with places for student work (start with empty frames and name tags)
- On the walls!
Ultimately, where you place student names doesn’t even need to be functional. You could decorate the walls or floor with names. They would still serve an important purpose: welcoming your new class into their new learning community.
Alright, it is time to get started with back-to-school prep. First step: setting up your classroom! I hope this post helps you as you divide (literally) and conquer your classroom setup. Let me know how it goes, and please share any tips you find helpful along the way. Stay tuned for the next installment of the Back-to-School Starter Pack of blog posts. As always, I’m here to support you!


Leave a Comment