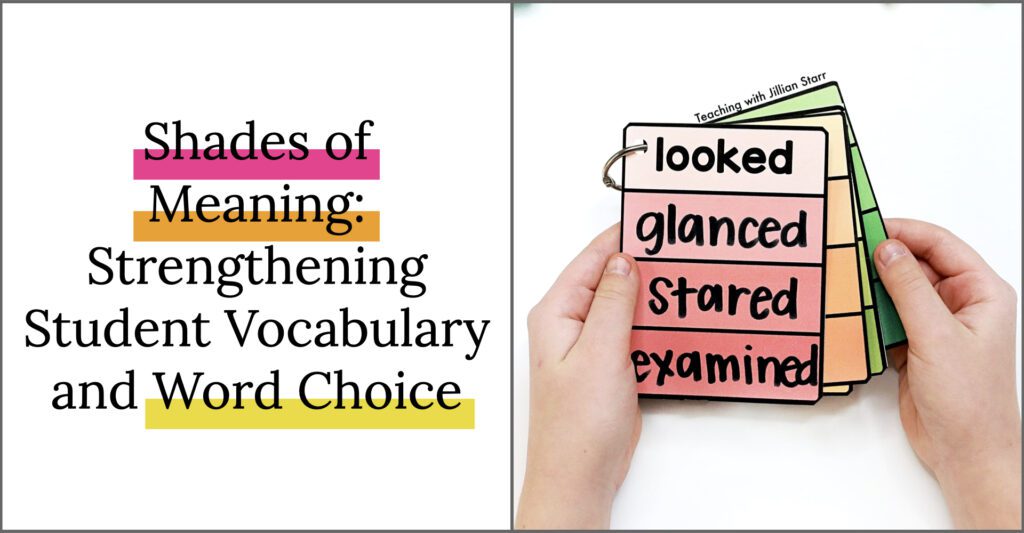
One of my favorite vocabulary units is teaching shades of meaning. Understanding the power of word choice is critical to molding great writers, speakers, and communicators. When we teach shades of meaning, we are offering students a visual to support their acquisition and storage of vocabulary. Let’s dive into how this can look in the classroom!
Shades of Meaning Defined
When we talk about shades of meaning, we’re talking about a group of synonyms that have varying degrees of strength, for example: Big, Large, Huge, and Gigantic. Each of these words grows in strength from one to the next. When we teach about word strength, we are helping our students understand the power of words and how little choices in language can alter meaning.
Introducing Shades of Meaning
If you’ve ever heard me talk about math, you know I love number talks! Some of my favorite number talks are the old game “One of These Things is Not Like the Other!” A few years ago, I started doing this with words too. Sometimes I do this to help students look at vowel sounds, digraphs, parts of speech…etc. However, I also use it to introduce Shades of Meaning.
I start with a square split into four additional squares. In each square, I write a word. Three of these words will be synonyms with varying strengths, for example: great, clean, wonderful, and incredible). Almost immediately my students will understand that three of the words are similar in meaning, but “clean” doesn’t belong.
This sets us up for a deeper conversation. How do we know that they share a similar meaning? Why do we have more than one word for a single idea? How do we know which words to use and when?
I like to give students a sentence and ask how the meaning of the sentence changes with each word. “The food was brought to the table. She took a bite. The taste was _________.” How do we picture her reaction to the food with each word choice? What do we see in our minds?
Shades of Meaning
Finally, I ask the question, how can we order these words to show the difference in their meaning?
Once students can verbalize the changes in strength with each word and can put them in order, we are ready to take this idea further.
Group Activity
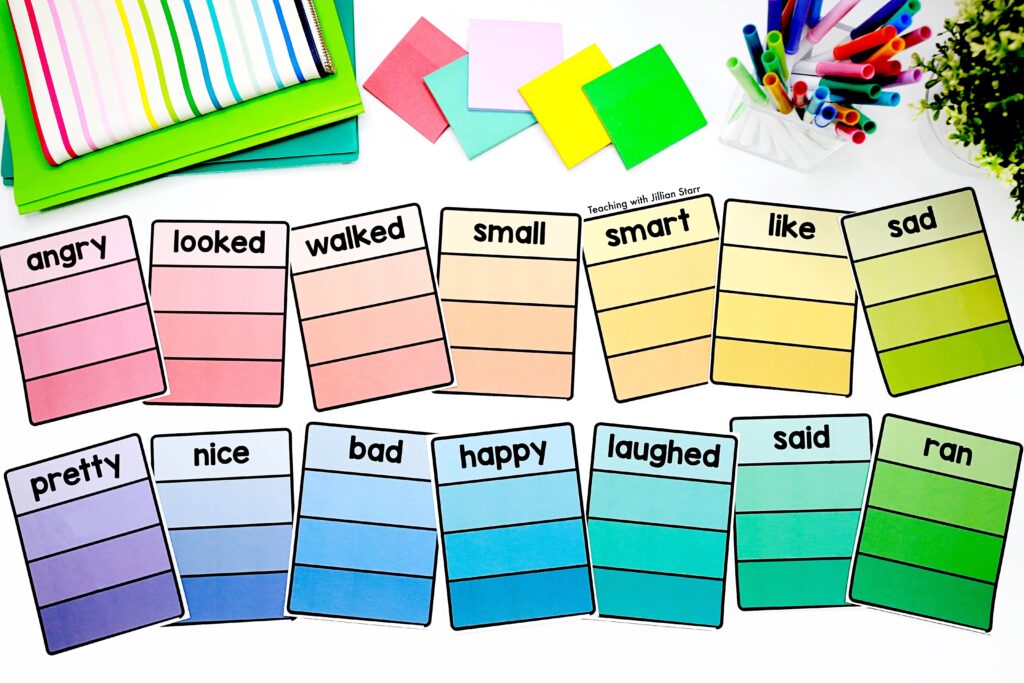

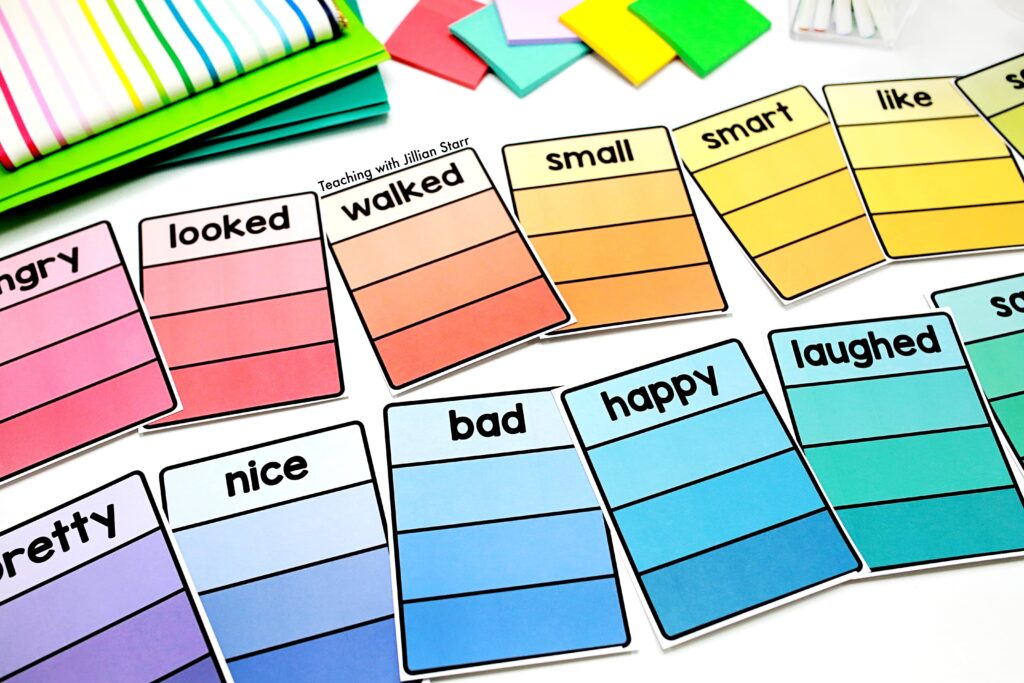
Before I jump into this section, know that I love using paint swatches to teach shades of meaning. However, I did start to feel guilty about asking my local hardware store to keep funding this series of lessons year after year, so I created my own after a while. Know that you can use either one, and it just depends on your preference.
I make sure to have at least one paint swatch per student. but I prefer to have more because they often mess up, and I always have students working at different paces.
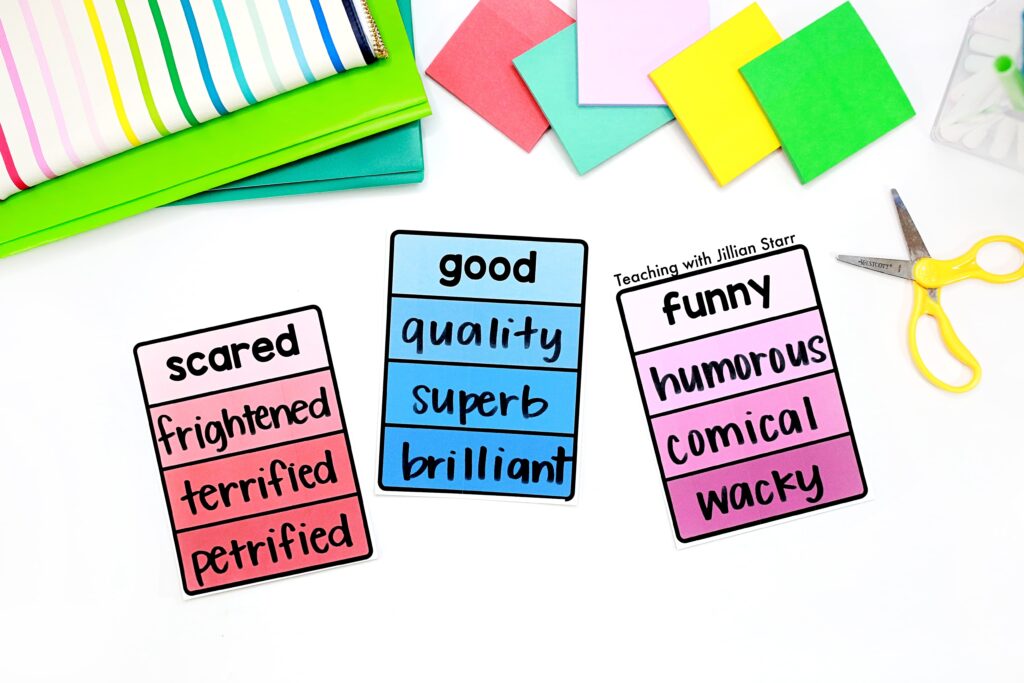

I include a rather “boring” word at the top of each paint swatch, in the lightest section. This signifies that it has the least color, and therefore the least strength. In the years that I’ve used my own, I just print out the activity pages, since they have the words are already included at the top.
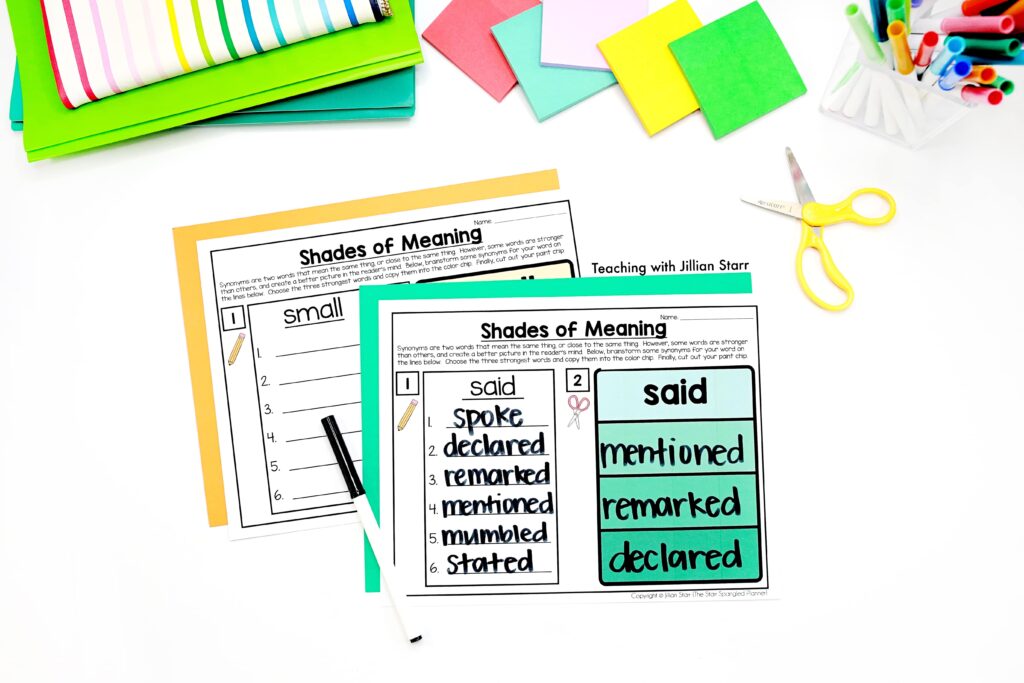
Then I allow students to choose their own swatch and think of synonyms of varying intensity. They write all of the synonyms on the left side of their page. Their job is to level those synonyms by strength and then write them on the swatch, with the strongest written on the bottom.

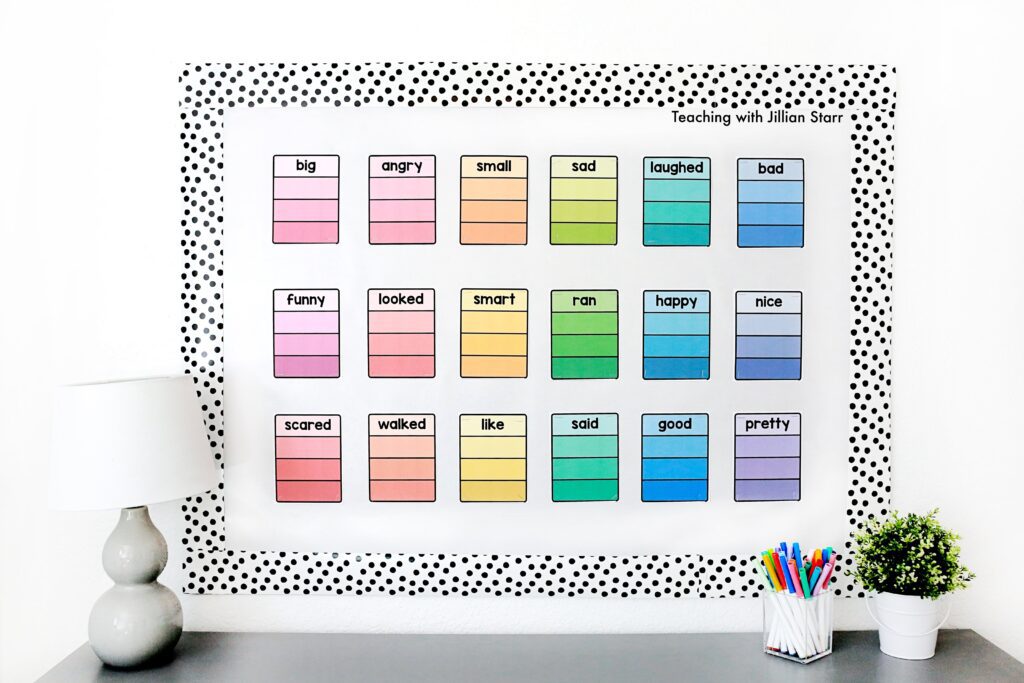
Afterward, we cut out the swatches and this can become a beautiful bulletin board! (This one can’t wait for students to fill them in!)

Make it a Center Activity
After we have successfully introduced shades of meaning and enjoyed our group activity, it’s time to let students work independently with multiple words. This will help reinforce concepts as well as build their vocabulary.
How does it work? Well, I needed an option for students to use that didn’t use up all of my colored ink! So, I created black and white templates for them to use that they could then color in themselves. They’re essentially the same as the work we completed in the whole group, but now my students can create as many as they like and do their own shading to show the shades of meaning.
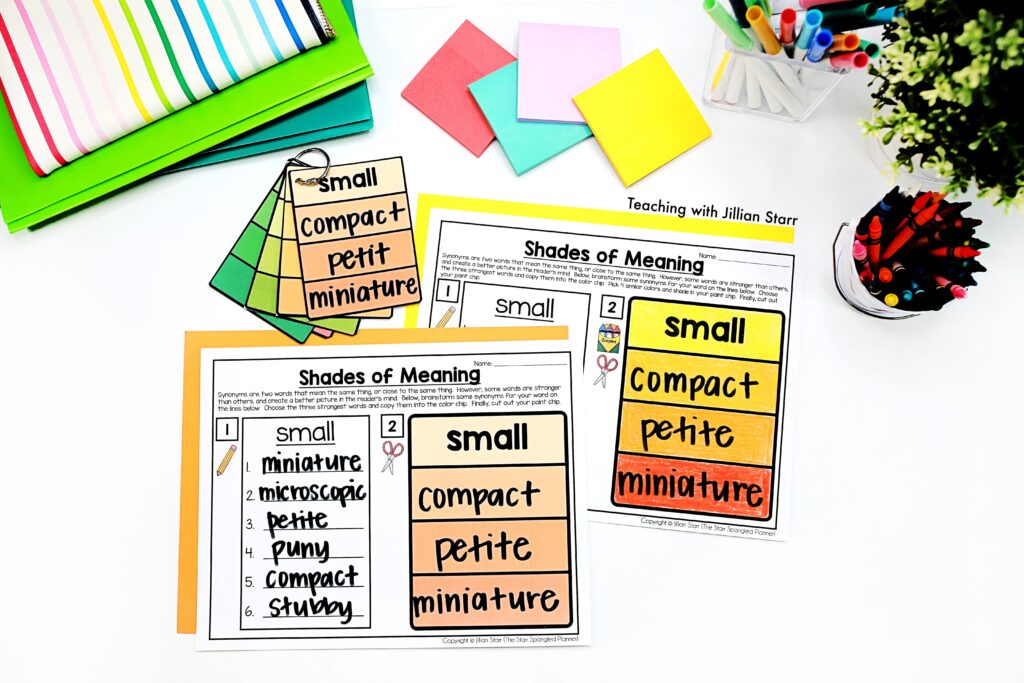

I include this work at one of our literacy centers for the following weeks and I love watching my student’s vocabulary build and organize.
Shades of Meaning Individual References
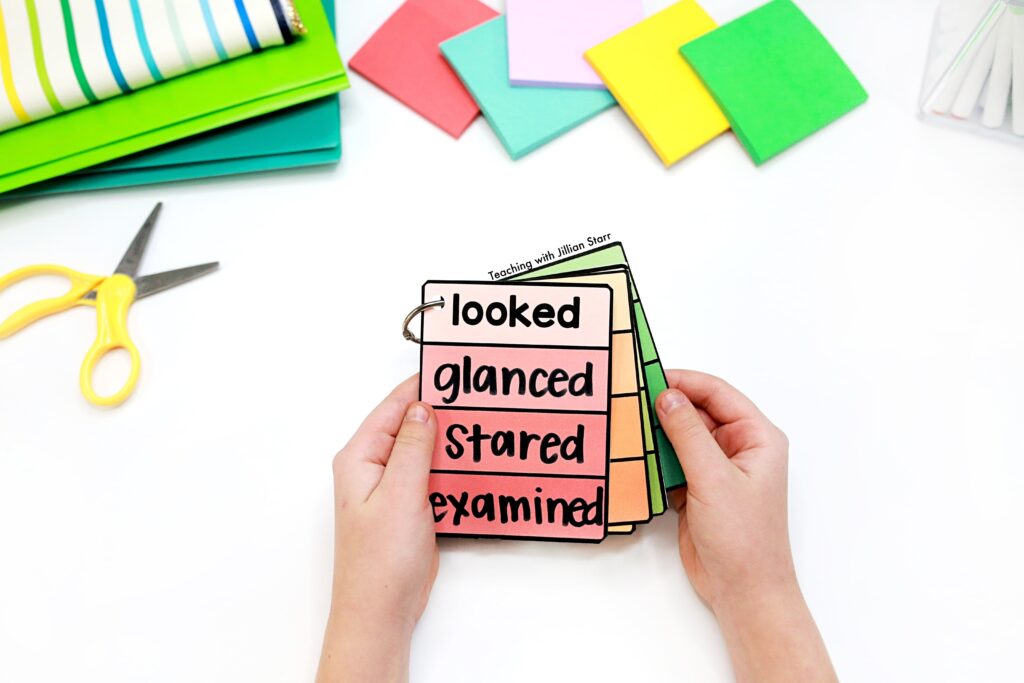
After having many students find so much success with this activity, I started thinking about other ways we could utilize this activity. For some students, I ended up making their cards into individual reference rings that they could keep in their desks (or hang on the side with a magnetic hook).
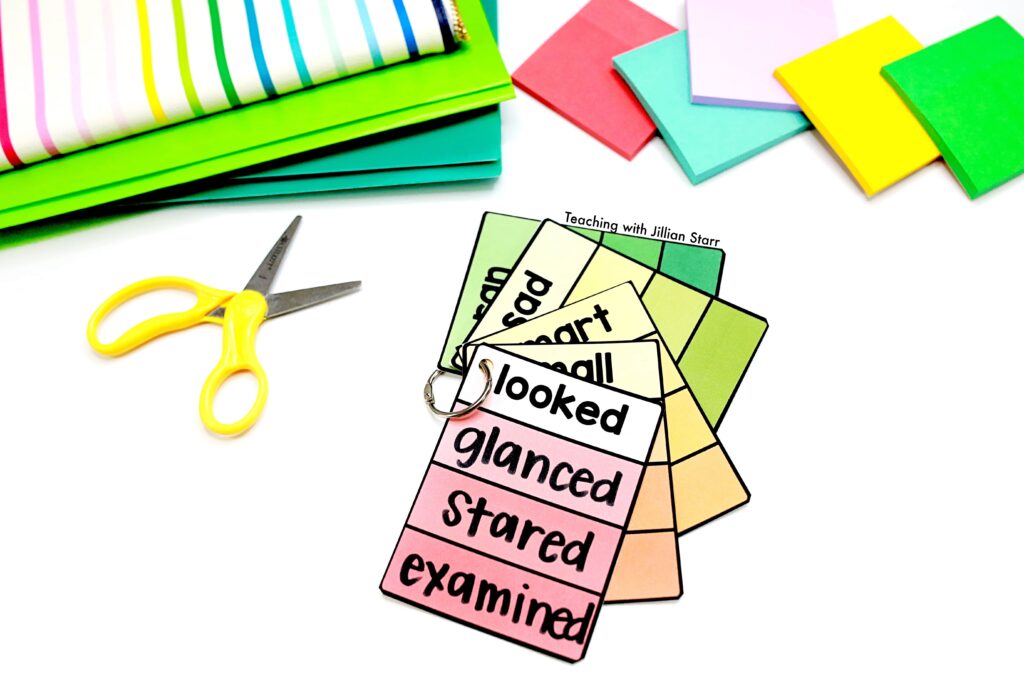

To make these, you can either use the cards from their center work, or you can print the smaller versions that I created for this purpose. Then punch a hole in the upper left corner (not too close to the edge or it will tear) and put a key ring through them. (Be sure to get the key rings that open like claws, and not those that spiral.)
It became such a powerful tool for them during Writer’s Workshop! When they realized they had used a rather “boring” word, they pulled out their shades of meaning ring and would look for a stronger word choice to use instead. It was so amazing to watch them use the resource independently to better their writing!

I hope that some of these ideas have been helpful for you as you work to boost your student’s vocabulary and word choice. Teaching shades of meaning has been game-changing for my student’s writing. I hope it will be for yours too!
To find this resource, you can click HERE or you can click on the button below!



Leave a Comment