Virtual Teammates, I have a confession. I struggled with teaching story elements for many years. Characters, setting, plot, conflict, and resolution. I knew I had to teach them. I knew their importance in the grand scheme of reading comprehension. But, every approach I took felt disorganized and scattered.
Then it hit me. I could simplify my approach to teaching story elements in a way that would be more rewarding and meaningful for my students. I would create a mini-routine for this unit. And it worked.
These days, I start my story elements unit with one single text and stick with it. We read through it FIVE times. It makes planning easier and understanding stronger. You might be thinking: Don’t the students get bored? Don’t you run out of things to say? The answer: Nope! And today, I’ll walk you through my steps to teaching story elements with a single text. Let’s dive in!
Step 1: Pick a Text
It may sound simple, but this is a crucial step. The text you choose can either make the journey to learning story elements a breeze, or it can lead to a lot of confusion down the road.
Identify a Supportive Mentor Text
The first rule of thumb is: Use a clear mentor text that demonstrates all five story elements.
When reading through your favorite stories, make sure you can answer yes to the following questions:
- Is the main character front and center, and are there secondary characters?
- Is the story set in a specific place or time that is identifiable through context and pictures?
- Is the plot linear, and does it include a major event with smaller sub-events?
- Does this story include an explicit conflict that encompasses all or most of the plot?
- Does the resolution to the conflict happen at a predictable moment in the story?
I’m often surprised at how often my favorite picture books play with the story elements. Truthfully, that’s what makes them so fun. For example, The Book With No Pictures by B.J. Novak is incredibly silly and self-referential. Kids love it. But, the story elements don’t follow a typical structure. Some books have no real conflicts, while others have no real resolution. Moral of the story: Be sure to identify each of the story elements in your first mentor text.
The second rule of thumb is: Keep it simple. Keep it engaging.
Often, more complex stories blur the lines between each story element. They are fun. They are unexpected. However, you want students to be able to identify story elements with independence. And not to worry! Simple texts do not have to be boring.
Here are some qualities I look for in a story elements mentor text:
- Illustrations that include a lot of hidden details
- Humor that becomes class “inside” jokes
- Relatable stories with messages that hit home
- Stories that involve interactive elements, such as call and response
- Strong character leads with whom students can identify
Exemplar Mentor Text
One of my favorite mentor texts is Chrysanthemum by Kevin Henkes. Chrysanthemum exemplifies all of our story elements in strong, direct ways:
- Chrysanthemum is the clear main character, and there are multiple secondary characters.
- There are two primary settings: Chrysanthemum’s house and her school.
- The plot is linear and doesn’t involve too many twists and turns.
- The conflict begins early and escalates.
- The resolution comes at the end, a predictable time for the conflict to resolve.
In addition to hitting all of our targeted story elements, the illustrations and story message are meaningful. Those features help keep students engaged over and over again.
Keep reading to see some of my favorites at the end of this post!
Step 2: Establish Your Story Elements Text
One of my favorite teaching mottos is to go slow to build deeper knowledge. And this mini-unit will definitely benefit from sticking to a slow but meaningful approach.
You’ve chosen your mentor text. Now what?
Now, it is time to get ready for a five-day journey with your single text. Each day, you will introduce a new story element. With this approach, setting up your foundation is crucial.
Prep
PAUSE!
Part of going slow is being proactive before embarking on a new unit. Thankfully, my story elements mini-unit is extremely low-prep and simple. However, that doesn’t mean I just jump right in.
Before I begin teaching story elements, I make sure to have three things on hand:
1. Mentor text (a physical copy and a scanned version to put on the SmartBoard®).
I’m an old-fashioned gal. I like reading read-alouds from the physical book. The benefits of reading (and modeling) with a real physical text are endless. However, a large version of the same book on a SmartBoard also presents a range of possibilities. Students can read along, see more details in the pictures, and circle and underline important text details.
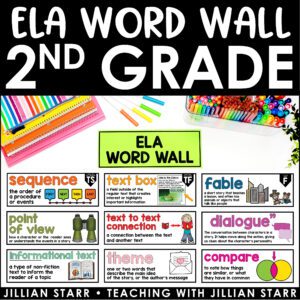
2. Word Wall Cards
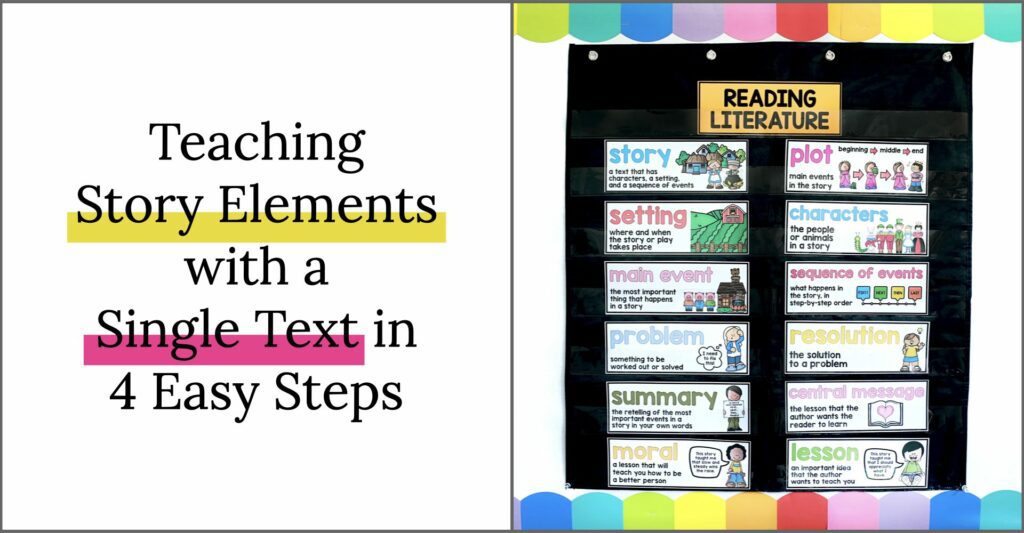
When I saw low-prep, I mean almost zero. However, I do need my word wall cards. Word wall cards anchor our routine for this unit and will be referred to over and over throughout our practice. I keep all five story elements cards (and related cards) on deck.
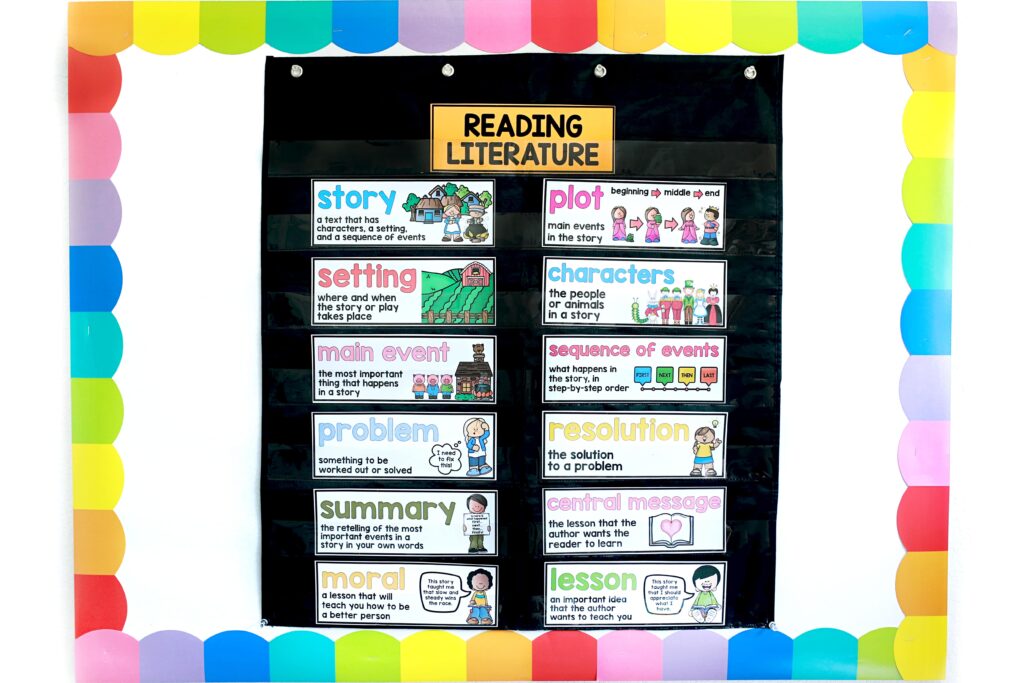
Each day, I add the targeted vocabulary to a temporary wall in our learning space. Throughout our lesson, we will refer to our word wall cards regularly. So, it is important that they are very visible to the group.
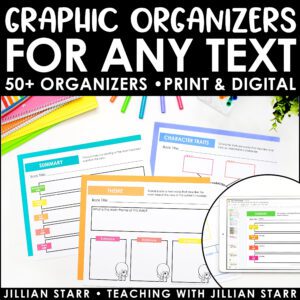
3. Graphic Organizers
I don’t ask students to use story elements graphic organizers immediately. However, I model their use throughout the process of dissecting story elements with a single text. Modeling is key. When students see you model the use of a resource repeatedly, they will learn how to use it.
Eventually, you want students to follow the same procedure independently. If you use graphic organizers (I like to enlarge them on a screen) while doing group work, you save yourself time by teaching how to use graphic organizers as you go.
Day One
Now, you’re ready for day one.
Day one is a celebration and the beginning of your text discovery. Relish in it!
First, excite your students. I always liked to wrap my read-aloud in wrapping paper. I would give clues about the story and see if anyone had read it already. For example, if I chose to use Chrysanthemum, I could tell them that the author is Kevin Henkes and the book features a character named after a flower.
Second, prepare them for a journey. This is day one. But, you will be reading this story five times. Remind them that they are discovering clues throughout the journey and that the class will be amazed by how many “hidden” details they discover each day.
Third, introduce your daily word wall cards. Day One: Character. Place your word wall card on your bulletin board or whiteboard at the front of your teaching area (not your permanent word wall set up). Alert students to the idea of repeating these words a lot over the next few weeks. And remind them that these words might be familiar, but you will use them in new ways. You will also be expanding their meanings. For example, on day one, I don’t just use the card “character.” I also the word wall card “character traits.”
Fourth, read the text! Yes, it is finally time. Ask students to listen closely for clues about characters and character traits you read through the text.
Finally, discuss and record. Ask students which characters were in the book. Expand vocabulary by including questions about main characters versus secondary characters. Then, examine each character and think of different traits to describe them.
Don’t forget: The discussion is key. I like to record our discussions and thoughts on enlarged versions of the same graphic organizer they will use.
Note: I was fortunate to have five ELA blocks throughout the first week of this unit, one each day. I highly recommend starting your mini-unit on story elements on a Monday and introducing one element per day. However, that isn’t possible for everyone. Do not fret! Take your time, and use five days when you can.
Step 3: Reread to Discover More Story Elements
Rereading texts is powerful. You might worry that students will lose interest and that rereading the same text wastes precious ELA time. I’m here to change your mind.
Hear me out: students miss so much the first time. Rereading stories with my students and my own children baffles me every time. They notice new details, have “aha!” moments, and continue to ask questions.
Now, let’s talk about inclusive teaching. Rereading texts has enormous benefits for students learning English as a second language. They hear vocabulary words repeatedly, gaining a more thorough comprehension of the text every time they read it. Likewise, there is a similar benefit for students with language disabilities, ADD/ADHD, and/or auditory processing difficulties.
Reread for Each Story Element
I reread my primary mentor text five times at the start of our story elements unit.
Why?
In addition to the benefits I described above, this gives us time to really focus on each element. Students have a stronger sense of the story each time we read it together, so they can focus less on the story and more on picking apart the comprehension.
How does that look day-to-day? Here are the word wall vocabulary cards and story elements I introduce each day:
Monday:
Character
Character Traits
First Person
Third Person
Tuesday:
Setting
Wednesday:
Plot
Sequence of Events
Thursday:
Conflict
Problem
Friday:
Resolution
I follow the same routine as Day One for all story elements.
Finally, we have a giant chart filled with information. When using Chrysanthemum and other illustration-heavy books, I encourage students to find more visual details that give us clues about each story element (enter: the benefits of a large version for students).
Step 4: Follow-Up: New Texts, Same Story Elements
By now, you are probably itching to read new stories and dissect story elements from new books. It’s time!
Now, your students are ready to apply the same practices to a range of simple and more complex stories. Then, they can use what they learned through group modeling to dissect texts independently.
Group Read Alouds with More Complex Stories
I break out all of my favorites on week 2 of my story elements unit. During this week, I continue to do whole group lessons. In those lessons, I continue to model and lead conversations about texts. After our deep dive into the first mentor text, which was simple and predictable, I start to spice things up with more complex stories.
Unlike the first week, I aim to do a new book every day. We read a new text each day and apply our comprehension skills to pull out all five story elements. I model using a graphic organizer to “collect” story elements.
Note: I will slow down my pace if my students still struggle with the skills we practiced in week one.
Independent Practice
After two weeks of group practice, it is time for students to embark on their own reading comprehension adventures.
It begins when students receive texts that we haven’t read as a group. They choose their text and then follow the process we practiced as a group.
This is when graphic organizers become your best friend.
Graphic organizers will help your students follow the same process independently. They know the pattern of reading, thinking, and recording because they have practiced it with you repeatedly.
Here is the catch: The purpose of graphic organizers is to help students organize ideas, make connections between concepts, and internalize structures. That can be hard to do when too much is going on within the page itself. Personally, as a child who struggled with dyslexia and overstimulation, I remember many times when graphic organizers overwhelmed me.
Great Texts for Lessons on Story Elements
First Mentor Text: Chrysanthemum by Kevin Henkes
Chrysanthemum is a powerful story that not only clearly exemplifies all of the story elements. It also has an important central message around identity and names. Rereading Chrysanthemum allows students to learn and relearn the importance of names and develop empathy for characters, particularly Chrysanthemum and Victoria.
Follow Up Mentor Text: Lily’s Purple Plastic Purse by Kevin Henkes
Full disclosure: I’m biased. Lily’s Purple Plastic Purse was one of my childhood favorites. I loved the alliteration, the playfulness, and the main character, Lily’s, spunky attitude. Lily’s Purple Plastic Purse is an excellent follow-up to Chrysanthemum. The language and style of the author, Kevin Henkes, will be familiar to your students. However, this story is slightly more complex.
First Mentor Text: Jabari Jumps by Gaia Cornwall
Jabari Jumps has been my go-to mentor text for story elements in my most recent years in the classroom. The story is simple with a strong message. Yet, students will grow closer to the main character with each read.
Follow Up Mentor Text: Jabari Tries by Gaia Cornwall
I was thrilled when Gaia Cornwall released Jabari Tries. My students grew so fond of Jabari in the first mentor text that I just needed a way to thread that engagement and excitement into the next week. In Jabari Tries, Gaia Cornwall builds on the message of a growth mindset while adding additional characters and a slightly more complex plot. Reading Jabari Tries helps to scaffold the next level of complexity with your students.
Alright, it is time for you to teach story elements to your class. Doing so with a single text will streamline your unit while supporting a more in-depth understanding of how to pick apart any text. As always, I’d love to hear how it goes. Happy reading!



I love this post. Is there a way to get a printable version so that I can refer back to it? When I tried to copy and paste it, the format was all messed up.
Hi JoAnne! I’m so glad you enjoyed this post! I don’t actually have a printable version of my posts. I am not even sure how to go about that, but I will look into it for the future. <3 Thank you for the suggestion!
Brilliant!!
Thank you so much! What a wonderful way to break down these very important skills. One of my favorite posts!