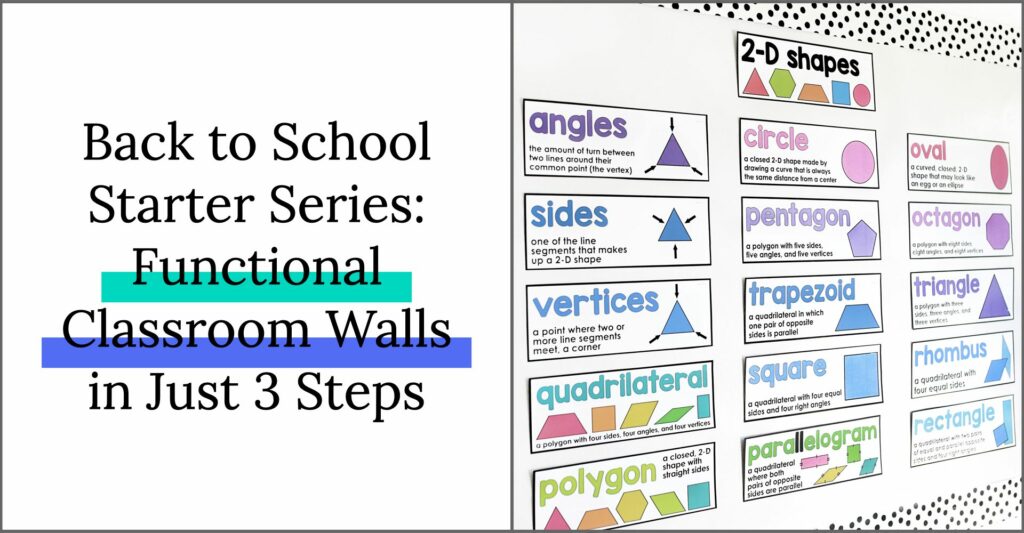
New teachers often ask, “How do you set up classroom walls for the first day of school?” Short answer: I don’t.
My answer might be surprising or unsatisfying. After all, many of my posts on Instagram include bright and colorful walls, neatly-labeled material caddies, and organizers galore. However, an intentional classroom setup, including classroom walls, is at the heart of my teaching philosophy.
As some of you may know, I am a trained Responsive Classroom teacher. Responsive Classroom is a philosophy and practice rooted in an intentional classroom setup, routines, and community. Intentional classroom design is a critical component of the practice.
The intentional setup of classroom walls is no exception.
But here’s the secret: What if I told you that you could ease up on your back-to-school prep and support your students more by doing less? Today, I want to share a back-to-school win-win:
- Put your mind and first-day jitters at ease
- Let you in on my not-so-secret method of classroom decor
1. Start with Blank Classroom Walls
I really do start with a blank slate. No word walls. No anchor charts. No bulletin boards.
When I first became a classroom teacher, I was so excited to set up a Pinterest-perfect classroom. I put everything I needed on the classroom walls before the first day of school. Word walls, anchor charts, bulletin boards, rotation charts… Like a stage set and ready for actors, I was so excited to see my classroom “ready” for students.
But, in my third year of teaching, I was introduced to a new approach: Responsive Classroom. It was then that I realized I was doing myself and my students a disservice by creating a space for a community that hadn’t formed yet.
Now, except for a few essentials and name tags, my classroom walls are ready by being blank when students walk in the door. I keep all of my classroom wall materials neatly organized for when my students show readiness and need.
The Big WHY
Why not start off the year with your walls full? I couldn’t wrap my head around it at first either. After all, I saw filling the classroom walls as a form of preparation. Moreover, I thought that decorating before students entered would save me time.
However, have you ever tried to anticipate a need too soon? You spend a lot of time problem-solving and, often, undoing and redoing your hard work.
Blank walls allow you to meet your students before decorating their space. Starting from scratch, you get to know how students learn best and what could interfere.
This is particularly important for neurodivergent students. As a person with ADHD and sensory integration difficulties, I can understand how blank classroom walls can be a blessing. As you begin the year learning the social norms and physical space, less on walls means there is less to process. Therefore, students can focus more on learning routines and community norms.
Blank classroom walls give you time to see what works and what doesn’t work. You can see one item at a time if a specific type of wall text or anchor chart becomes more triggering to students.
Likewise, blank walls can minimize confusion and maximize focus. In those first three years, busy walls actually became a distraction. Students would notice something on a wall that we hadn’t learned yet. Curious, students would ask, “When are we going to do that?” Inevitably, my answer would have to be “soon” or “later this year,” leaving that student to continue wondering about it until the time came.
Finally, starting with a blank slate allows you to build the classroom walls with your students. Not only can you identify the visual resources needed, but students can also be part of the decorating process. This gives them ownership over the classroom.
What Is on My Classroom Walls for the First Day of School?
There are three things on my walls:
- A classroom calendar
- The class schedule
- Student names
The classroom calendar and schedule are ready for immediate use as soon as our day begins. Calendars and schedules get students on the same page and provide a sense of ease. They help students know what will happen and how our classroom works.
Names are also important. Placing names around the space, including on classroom walls, helps students know that the classroom is their space. Secondly, some students aren’t familiar with Roman letters. I taught in a school that include a large Hebrew-speaking population. Name tags help them start recognizing their name written in English. If possible, include native letters as well. It emphasizes respect and importance for both (or multiple) ways of writing a name.
2. Gradual Additions
You might be wondering: when does everything get put on the classroom walls? And unfortunately, there is just one straightforward answer.
Start Slow
Remember: A major WHY for intentional classroom design is to learn student needs first and intentionally introduce each new addition to the classroom. Going slow can help you optimize the classroom environment while also:
- Providing explicit expectations about how to use wall text
- Teaching students how to use the classroom walls
Throughout the first six weeks of school, two things happen simultaneously: I teach students how to use our classroom space while students teach me what kind of community will support their needs.
Going slow gives you time to set clear expectations and teach students how to use each resource on your classroom walls. For example, center rotation boards can be very helpful. However, students need to understand how they work and how to use them. Otherwise, they are more confusing than empowering. As I introduce the idea of centers (the activity and routine), I also introduce rotation boards (the wall resource). I wait to put them on the wall permanently until we have modeled and reviewed how to use them multiple times.
Add As You Go
My biggest tip for classroom walls: Add as you go. That means adding resources to your walls when you need them. Don’t teach for the sake of adding resources. This benefits your students and makes classroom “decoration” feel easier and integrated into your teaching routine.
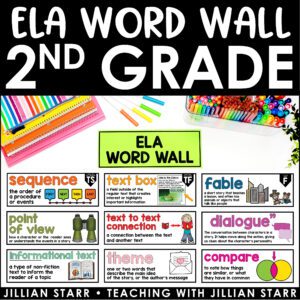
First, teaching a resource in context makes it much more valuable. You will not only draw students’ attention toward the resource, they will also learn how to use it. When I introduce a resource, it is always part of a lesson and activity in which they will immediately use it. For example, I often teach math word wall cards (the resource) as I introduce new vocabulary (part of the lesson). Those new words will be part of the day’s activity.
Second, when you “add as you go,” you save a lot of time. You only need to worry about preparing for the lesson at hand. Since you are teaching the resource within the context, it becomes part of the lesson itself.
Co-Create Walls
I aim for interactive walls, used as a resource, not a place for “done” words or information. That’s why it is important to think about how to get kids to keep going back to the words.
Enter: Co-creation. I love co-creating walls within lessons for two reasons:
- Students are more likely to remember and use wall resources
- Students develop a sense of ownership over the classroom space
I will never forget the day. I was frustrated because my students kept forgetting about our classroom word walls. I knew that all of the information they needed was on the wall. They could access it independently. I taught them how in past lessons. So, why were students feeling dependent on me for that information? It just wasn’t sticking. That’s when I tried something new.
I took down the words and asked my class: What are some ways we can organize this word wall? Immediately, students started to raise their hands with ideas. Eventually, we settled on a new system and the students put the words back on the wall in a new order.
Lo and behold. I started to notice students using the word wall once again. Being part of the process empowers students to use resources more and more. They become much more than decorative.
Likewise, co-creating classroom walls is one of the most powerful ways for students to feel a sense of ownership. Students will take pride in knowing that they contributed to the systems you put in place. And, thus, are much more likely to use them!
3. Tricks for Limited Classroom Walls
I love using wall space as a dynamic resource. However, small classrooms with limited wall space is a common roadblock.
Over the years, I’ve noticed teachers (including myself some years) use walls in amazing ways- even when there isn’t a lot of space available.
Change Your Walls with Your Units
Don’t have a lot of wall space? Treat every unit like the first day of school.
Often, the end of a unit means your students don’t need that resource anymore. That means it is a good time to take it down and free up precious wall space. Start with a blank slate as you begin your next unit.
Added Bonus: Make the “takedown” a part of the end-of-unit celebration or review.
Quick tip: Do some students still need those resources as visual support? Create an individual word wall on a binder ring. These are great for emerging bilinguals or students with IEPs.
Make Your Own Classroom Walls
Over my career, I’ve been moved around a lot. Some years, I have ample wall space that I fill up slowly with the students– collecting our learning all year long. In other years, wall space is at a premium. That’s when I need to think creatively.
That’s when I create my own classroom walls. Sometimes, that means literally building walls. But mostly, it means using other flat vertical spaces.
Here are some places you can use as “wall” space:
- The back of bookshelves
- Window and Window Shades
- Under the teacher desk (this is great for de-escalation and calming resources)
- Chair pockets
- Window Edges
- Locker and storage unit doors
- Inside of cubbies or lockers!
Note: Be mindful of the ratio between wall space and resources. Too many resources and small spaces can become very overwhelming for some students. Go slow and add what makes sense for your community.
I hope this helps you ease your back-to-school planning, take a step back from prepping the classroom and engage in intentional classroom preparation. Trying this strategy for the first time? Have questions additional questions? Share it with us!


Wow!!!! I am starting my 32 year of teaching and you just provided me with a huge aha!!!!! Love it when that happens!
I’m into my classroom tomorrow to get things ready for the year and you just sent me with a new idea!!!! I absolutely LOVE your thoughts on the walls!!! I can see how the community builds itself and creates its environment and just how much more powerful this is!!!
For those that do Secret Stories, it is recommended that those are all up and posted from the beginning of the year. Now, that I’ve read this, I’ve got an idea to try. Like many who do Secret Stories, I have a detective costume and little notebooks for the kiddos and I do a big intro to get them hooked. I’m going to hang the stories during the lesson with the kiddos. I’ll let them be curious and sort them in a way that works for them (keeping in mind that they can be sorted again differently at the end of a unit).
Thank you Jillian! I recently subscribed to your blog and I have been engaged and learned something new quite a bit! I don’t think it’s true about “old dogs” and “new tricks”. Now off to do more research on the responsive classroom.
Lisa