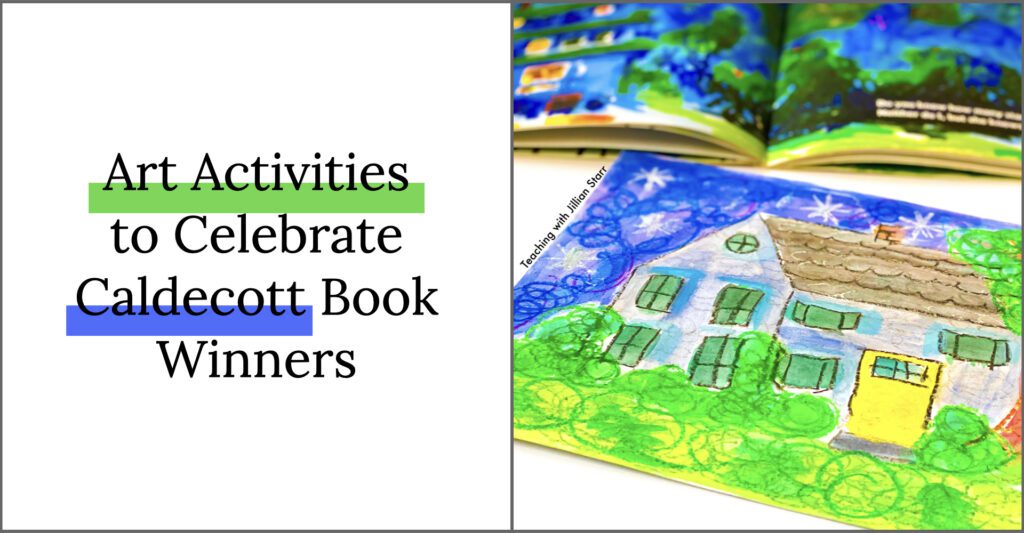
We’ve all seen that shiny medal affixed to so many beloved children’s books. Many of my favorite books- both from my childhood and those I share with my own students – just so happen to be Caldecott book award winners or honorees. After pointing this medal out once or twice, my students become very intrigued and are always on the lookout for more Caldecott books.
Capitalizing on this student interest and incorporating hands-on activities to help students further connect with these Caldecott books is one of my favorite January activities. Today, I’m sharing a few of my favorite Caldecott book art projects – all using supplies you may already have on hand in your classroom or your recycle bin.
What is the Caldecott Award?
Before we dive in, let’s chat for a minute about this award… It’s kind of a BIG DEAL!
The Caldecott Award began in 1938 and is named after Randolph Caldecott, an English illustrator. It is awarded in January or February to highlight the most distinguished children’s picture book from the previous year. The award is presented to the illustrator of the book honoring the way illustrations support the story. One book is awarded the Caldecott medal each year, denoted with a bronze medal on the cover of the book. Up to five additional books are awarded Caldecott Honor, with a silver medal on the cover of the book.
Remember Caldecott Winners All Year
January is not the first time that my students are hearing the word “Caldecott” I make it a point to mention this award anytime it pops up on the cover of a read-aloud. By the time January rolls around, my students have seen MANY of the previous winners and honorees.
We spend some time in January leading up to the announcement of the new Caldecott winners by engaging with the illustrations of previous winners and honorees. Over the years, I’ve found some hands-on ways for students to:
- Carefully observe and connect with the illustrations in Caldecott book award books
- Try new art techniques
- Explore their creative sides
Let’s dig in. Here are a few of my favorite Caldecott book art projects based on previous winners and runner-ups!
The Hello, Goodbye Window: Oil Pastels and Watercolors
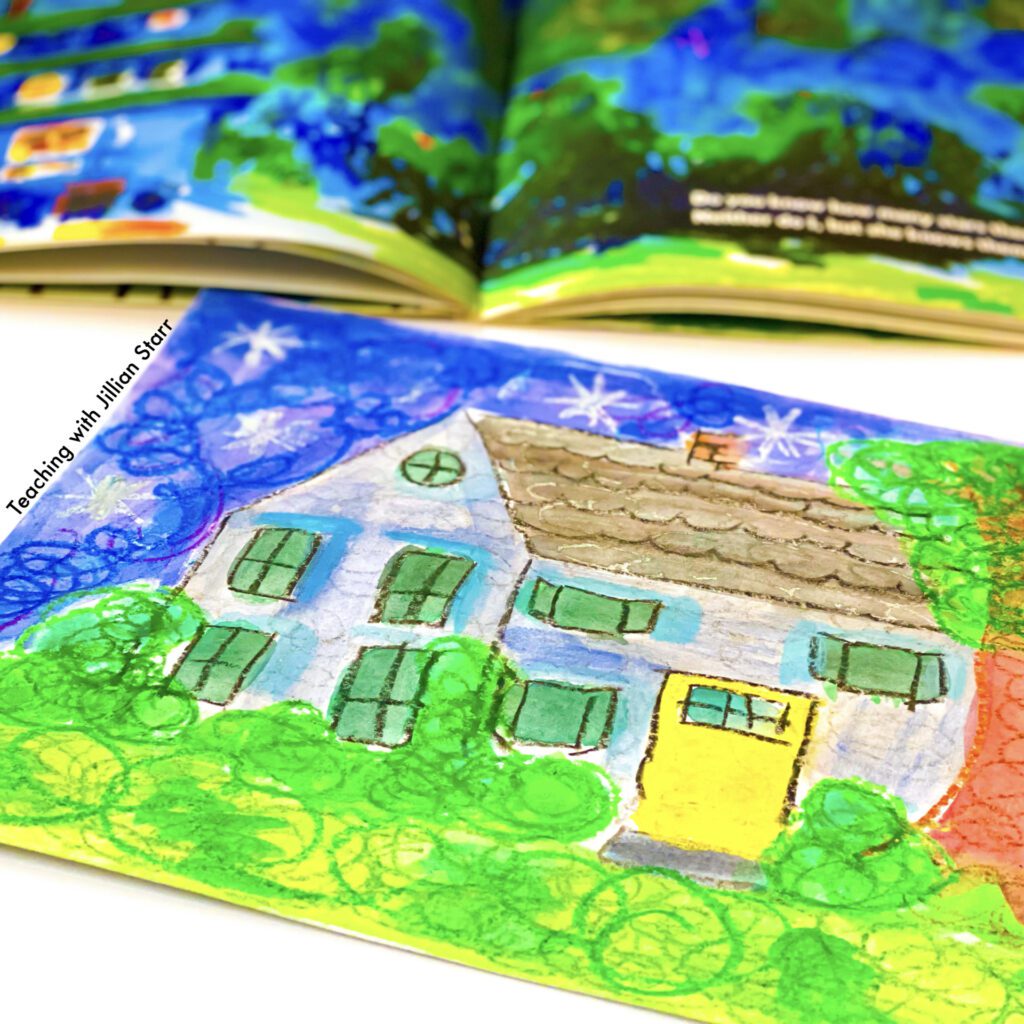
The Hello, Goodbye Window by Norton Juster is a personal favorite! The story itself is beautiful, but the bright illustrations make the book. I just love how Chris Raschka creates such vivid images of the grandparents’ home at different times of day with simple swirls and layers of paint.
For this art project, I have students draw a building that is important to them. This can be their home, apartment building, school, or favorite destination.
Materials Needed:
- Oil Pastels/Cray Pas
- Watercolors
- Paint brushes
- Thick Paper
I often model each Caldecott project, as many of these steps and techniques are new to my students. This way students can observe and have an example to refer to before attempting the project on their own.
For this book, I make sure to include a demonstration of how to create an outline of the home with oil pastels, fill it in with swirls, and then paint over their scene with watercolors. These always come out beautifully, and make an amazing bulletin board display!
Snowy Day: Mixed Media Collage
Snowy Day is a classic winter read-aloud. Author and illustrator, Ezra Jack Keats, won the Caldecott book award in 1963 when he used a variety of mixed media collages to create whimsical illustrations of the first snow day of the year.
During this read-aloud, we define the term “collage,” look carefully at the illustrations, and discuss how Keats may have made the various textures and colors of the illustrations. Students spot painted designs, solid papers, and patterns within the illustrations.
To create our own snowy day collages, we need a variety of papers for students to choose from. Some years, I prepare the papers ahead of time, other years I involve students or caregiver volunteers to help gather and prepare materials.
Materials Needed:
- Scissors
- Glue
- Pencils
- Plain construction paper
- Paper painted in broad strokes with tempera paint
- Other paper materials with interesting textures and patterns (paper bags, wrapping paper, wallpaper, thin cardboard boxes- like cereal boxes)
*Bonus: this is a great opportunity to talk about re-using paper that would otherwise be thrown out or recycled.
Beginning with a full sheet of construction paper (or a sturdier, recycled rectangle piece of cardboard), students sketch out their design. Then they can “shop” in our collection of paper, painted papers, and recycled papers. Starting with the background, students cut out the shapes to create their designs and then glue them into place. We notice how Ezra Jack Keats covered his whole page with collage, leaving no white space, and I encourage students to do the same. We finish the project by adding the smaller elements of the picture to the foreground- like people and sleds.
Knuffle Bunny: Photo and Drawing Collage
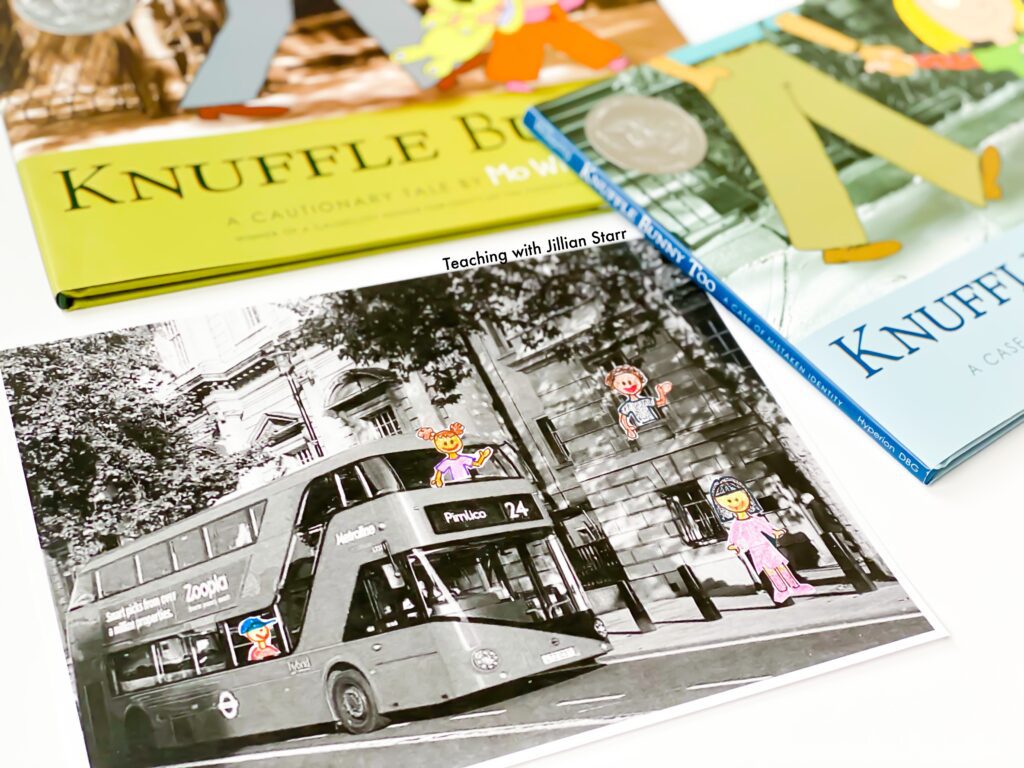
If you’re anything like me, your Mo Willems collection runs deep! Not only are his books super engaging, and offer great opportunities for early readers to practice reading with expression; two of his books are also Caldecott honorees! Knuffle Bunny: A Cautionary Tale and Knuffle Bunny: A Case of Mistaken Identity have both won Caldecott book honors.
For this Caldecott book project, I try to snap a few pictures ahead of time: usually one of the playground, one of our classroom, and one of another common space in our school, like the library or cafeteria. I print these out in black and white on a full sheet of printer paper. (Real talk: Some years I’m short for time and print familiar places in our neighborhood from the internet).
After choosing a background scene, students think about what they would like to be doing in the scene and who else (human or stuffed animal) will be in the scene with them.
Students:
- Draw these characters on plain paper
- Color them in with markers.
- CAREFULLY cut out the characters
- Glue them onto the photographed scene
And there it is- A Mo Willems-like Caldecott book Photo and drawing collage!
This is Not My Hat: Ink, Watercolors and Stamps
The underwater scenes in This is Not My Hat by Jon Klassen are intriguing. I am always blown away by the observations that my students make when we discuss this one! I like to show the pictures with the document camera and ask my students what materials they think the illustrator used to create the designs and patterns. This gets us thinking of the materials we’ll need to gather for our own art!
To prepare for this project, you’ll need a few key supplies: Black construction paper and tempera paint (in place of watercolors and stamps) It helps to add a bit of white paint to all of your colored paint. This will help the colors to show up and pop on the black paper.
Possible materials for stamped designs:
- Sponges
- Cardboard
- Tissue paper/ newspapers/ mesh bags from oranges
- Bubble wrap
- Cotton balls/swabs
- Pencil erasers/ marker caps
- Sea shells or rocks
I cut some of these materials into the shapes of fish or sea plants. Students dip them in paint and stamp them on their papers. Next, students crumple up other materials (like tissue paper, newspapers, and produce bags) to dip in paint and dab on their paper to add texture and depth to the water. Finally, they can add more specific details like bubbles and eyes using a cotton swab, pencil eraser, or marker cap. Seashells or rocks can add texture to the seafloor.
The project is a class favorite. My students always enjoy recreating their favorite parts of this underwater Caldecott book or coming up with interesting variations of their own. These paintings pop off our walls and become a focal point in our classroom.
Creepy Carrots: Monochromatic with a Color Pop
Monochromatic now that’s a fun word! Not only is Creepy Carrots by Aaron Reynolds a favorite Halloween read-aloud, but this book also won the Caldecott book honor in 2013. Revisiting this book again in January gives us a chance to explore that word- Monochromic- and talk about how most of the illustrations in the book are all in the same color family (black, greys, and white). With this monochromatic scene, we can really see the orange items pop off the page!
For our monochromatic with a color pop Caldecott book project, we do a lot of planning ahead. Students decide on a scene and a focal object that will POP! This project works great with markers, crayons, or colored pencils… even paint, really, whatever you’ve got on hand.
Once students have a scene in mind and a piece of paper, they:
- Carefully draw the pictures with a pencil
- Color their focal objects with their pop of color first, so they don’t forget
- Color the remainder of the picture with black, white, and grey
* To take things a step further and add even more of a nod to Creepy Carrots, we use a 12 x 18 piece of white paper folded in half like a book spread (or two 9 x 12 pages). Students imagine that their object is being creepy and following them, as the carrots did. On one page they make the picture of what they imagine is happening and on the second half, they create the same picture but draw what is really happening. In this case, the monochromatic background stays the same, and the colored objects change from a funny/ spooky, imagined object, to an ordinary object.
Color Zoo: Animal Shape Collage
Lois Ehlert is another familiar author and illustrator (we LOVE her fall books). Color Zoo won a Caldecott book honor in 1990. Reading this book is an EXPERIENCE; shapes are cut out of pages so each page turn changes the shape and reveals a new animal. Of course, I love the connections to math and geometry. This book also challenges my students to think about how shapes can fit together or layer to create images. Ehlert included a handy guide in the back of the book highlighting the names of the shapes and which shapes she used to create each animal.
For this Caldecott book art project, students create vivid, color-block animals of their own. I prepare many shapes ahead of time. (A die-cut machine comes in handy here, but is not necessary.) I begin with squares of construction paper of every color I can get my hands on. From there, I leave some as solid squares, and I cut shapes out of others, leaving both the shape and the square with a shape cut out for students to choose from. Students can cut out the shapes themselves, too.
I like to give students ample time to explore the shapes and various combinations before gluing them down to create their final animal. We love to hang up the finished animals in the classroom to showcase our class “Color Zoo.”
I hope this gives you some ideas for sharing in the joy of the Caldecott book awards with your students! What’s your favorite Caldecott book award winner or honoree? Let me know in the comments.


Leave a Comment