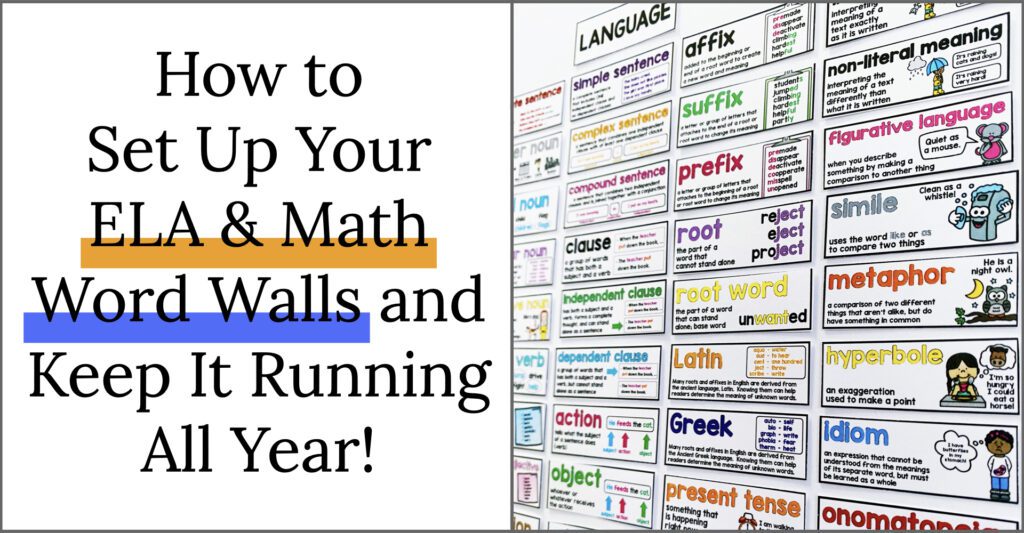
Word walls are alive. They are dynamic features of our classrooms that our students constantly and consistently use. Their existence fosters ownership and independence.
Yet, creating a functional word wall is not as simple as laminating some terms and putting them on the wall. Take it from my own experience! For several years, I noticed that my word walls were getting lost in the background of my classroom. And worse, for some kids, they were visual distractions! That’s when I decided to rethink how I use my word wall, with a focus on usability that kept my students’ needs in mind. After switching classrooms and grade levels numerous times, I’ve had to think through (and think through again) how to best set up my ELA and math word walls as helpful, interactive visual supports and I’ve finally found the perfect balance.
Every classroom (and teacher!) is different. But today, I am so excited to share how I set up my ELA and math word walls so that they are used (and useful) all year long.
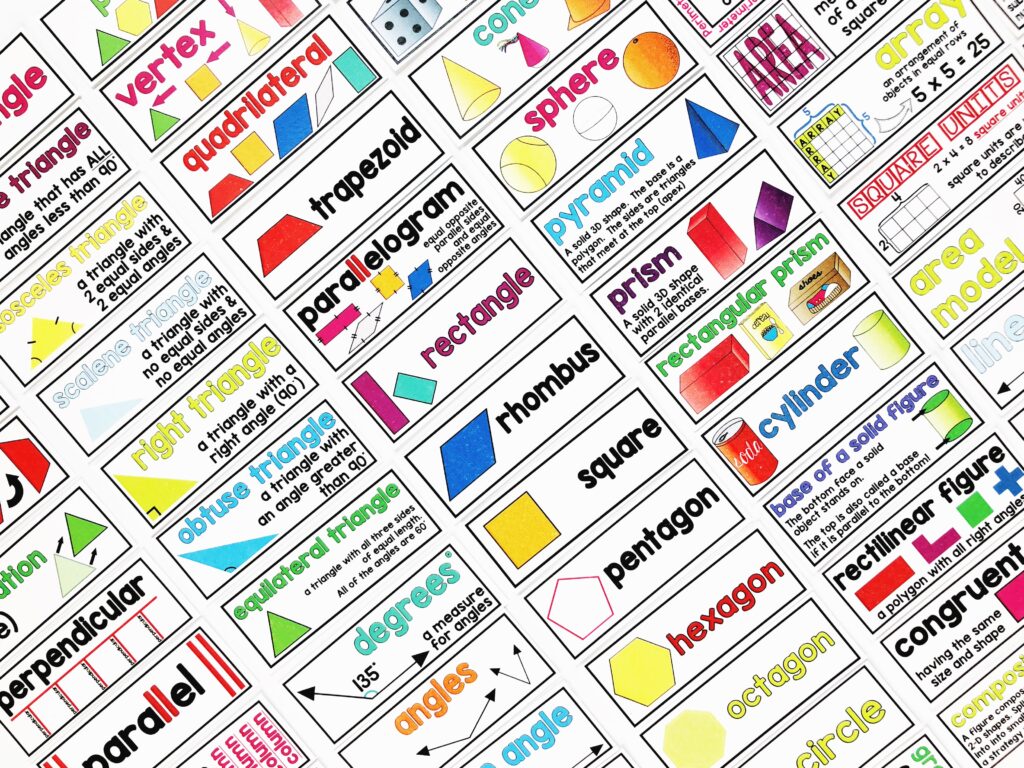
Start with a Clean Slate
Switching to a “clean slate” revolutionized how my word wall functioned. It became a dynamic, interactive feature of the classroom!
It is essential to introduce words with purpose. At the start of the year, terms on the wall have little meaning to the students in my room. They don’t know why they are there and might not even know what they mean.
Before the year begins, I create and label designated spaces for both my ELA and my math word walls. I choose wall space that is close to other related resources or manipulatives, therefore students see a space created specifically for word study. They know that it will be a part of the curriculum without a visual and mental overload. At this point, and for some time following, there are no words on the walls.
If I want a word wall to be functional, I need to be deliberate about how I use it and talk about it. That is why I decided that the best way to present my word wall was to build it slowly. I introduce the wall itself at the beginning of the year, then, progressively teach each term when they become needed. When we add a new word, the room is buzzing with excitement. Because students have interacted with the term repeatedly within authentic contexts and eventually put the word up themselves, students develop a sense of pride and excitement.
What if I have limited wall space? Do I keep all the words on the wall?
You don’t have to! Some classrooms are too small to do this. There have been times when including every word from every standard on my word wall was impossible.
Limited wall space calls for a rotating word wall. In this model, words connected to current units of study remain on the wall, while the rest go back into my word wall organizer.
Sometimes I also keep a few “review” words. These are words that we won’t use as frequently, but students have difficulty remembering.
Quick tip: Don’t want to let go of those words as a visual support? Create an individual word wall on a binder ring that is available at your centers! These can also be a great tool for emerging bilinguals or students on IEPs.
Math Word Wall (Grade 2)
Split Your Word Walls in Two
One word wall is excellent, but two is even better.
My secret weapon for teaching vocabulary is teaching with my word wall cards. I keep them organized and close to me, ready to be pulled out when it is time. In whole group lessons, I teach each word. I show the card, say the word, and continue using the word within the context of our learning.
Spoiler alert: I don’t put it up on the big wall just yet!
After teaching the word (or words), I keep reviewing it throughout a few lessons, which can sometimes mean a whole week. I use them in whole group lessons first, then as needed I incorporate them into my small group centers. With repetition and multisensory usage, my students slowly integrate the word(s) into their own working vocabulary.
Although I wait to put words on the wall, they have a visible, temporary home that is prominent and easy to access (for both students and teachers).
I chose to create that small space in my meeting area– a particular spot for “focus words.” Some years these terms are located on a separate easel for lessons, and other years they can be found on the meeting board.
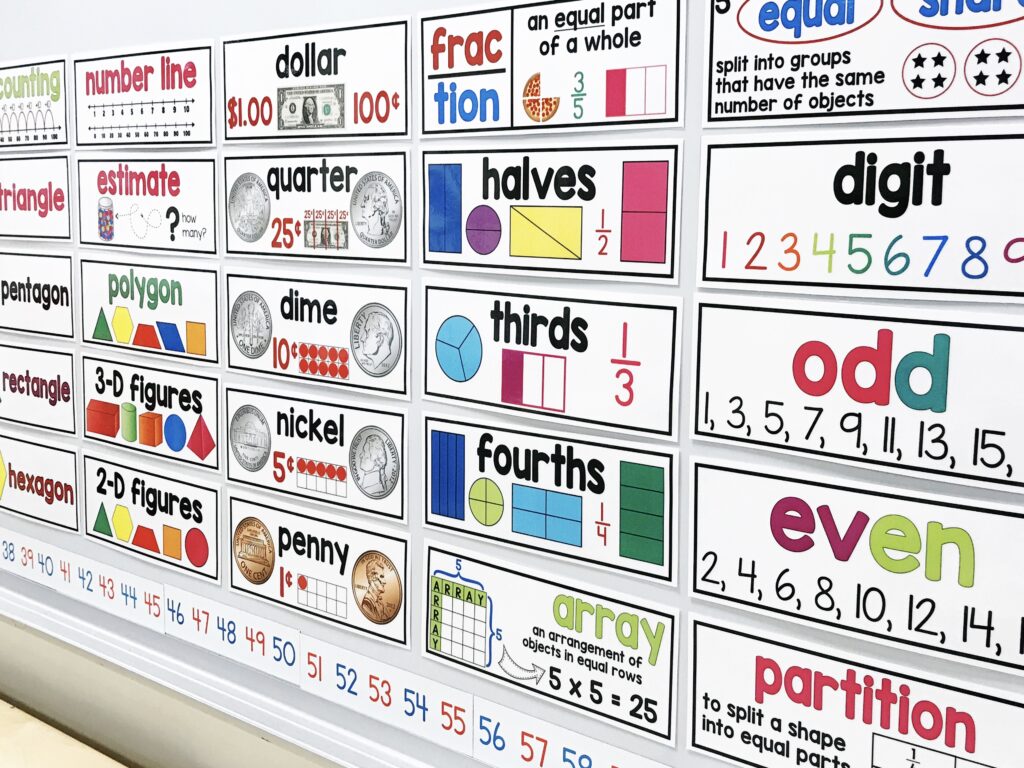
Each week, I put up a few new terms that will appear in our lessons and activities. Keep this limited! I’ve noticed that the more words I add, the less attention they receive.
Once I notice many students using the term with some independence, it is time for the wall! To begin, I teach the process of adding a word to the wall. I gather everyone in the meeting area and exclaim, “We gained a word!” After a celebratory moment, students watch as I move the word from its temporary home to the word wall itself. My students love the feeling of “gaining” new words to the wall, and with enough emphasis, they know that word is there to use.
Next, it is my students’ turn! Once we have set up our organization system and practiced the routine, I have students add the words to the wall. When students add the words themselves, they are empowered to use the words more and more. The terms are so much more than a decorative reference. I will note: We always follow this routine as a whole group (never individual students or small groups).
By the end of the year, your students have walls of words they have learned, reviewed, and used. It is a physical representation of their hard work and continuous learning throughout the year!
Remember: You want your word walls to be interactive and seen as a resource, not a place for “done” words. Keep going back to the words. Even once they make it to the big wall, incorporate this space and the terms into your lessons. Continuous practice and reference are crucial for students to continue seeing the wall as a resource. Some ways to keep this space interactive include:
- Make it a game: Students find words that match definitions in morning meeting
- Teach in front of the wall!
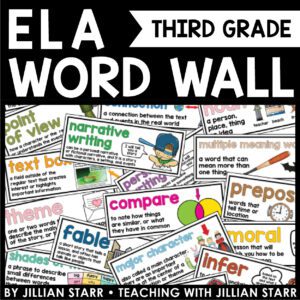
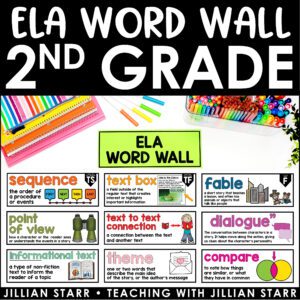
ELA Word Wall (Grade 3)
Organize, Organize, Organize
A well-run, well-used word wall comes down to one word: Ownership.
Students need to know that this part of our classroom is available and a community-created resource for them to use.
A big part of that: Students need to really understand the organizational system of the words to find the words they need. And the best way to do that is: Let the kids help!
When students help decide on how to organize the terms, three powerful things happen:
- Students help you understand what works best for them
- They understand the organizational system of the word wall because they created the system
- Students feel ownership over the word wall and are more connected to the visual supports in the classroom.
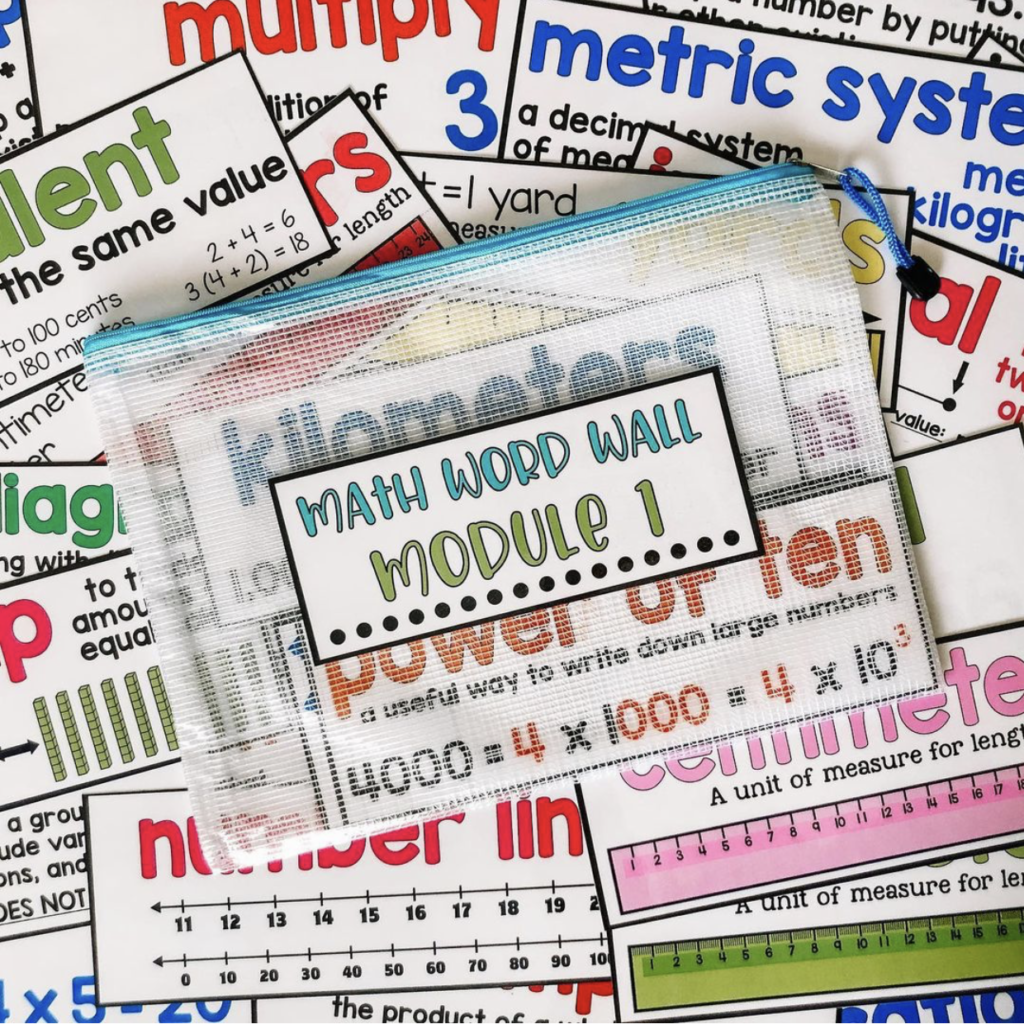
The process of organizing our word wall is similar to the process of creating class agreements. We discuss and decide as a community. First, we talk about how the organization helps us know how to find things. The kids always have a lot to say!
Then, I show students examples of different methods of organizing the words: either alphabetically or topical (by strand). We talk about the merits of each system. I make sure that we answer the question: Why would each kind of organization be helpful? During this stage, I invite students to share organization systems that help them. They often include library systems and systems from home (i.e., kitchen drawers), and we discuss how different organizational systems can be useful in different spaces.
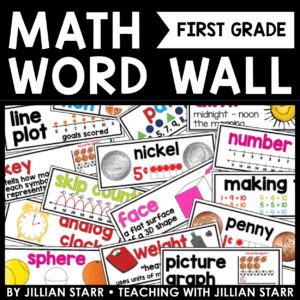
Math Word Wall (Grade 1)
In the end, the students vote on how we will organize our terms throughout the year. The idea: choosing a system that best fits the majority of the community.
I hope this helps you take a step into your classroom and reimagine how your classroom community looks! I know many of you have had other great successes with word wall! Have a strategy that works well in your classroom community? Share it with us!

Leave a Comment